How to Change Gun Safe Combination in 10 Easy Steps
Finding the Right Combination for Your Gun Safe
If you’ve ever struggled to remember the combination to your gun safe, you’re not alone. Many people face the frustration of forgotten codes or the anxiety of needing to change them for security reasons. The reality is, securing your firearms should never feel overwhelming.
Fortunately, changing your gun safe combination can be a straightforward process. With the right guidance, you can ensure your safe is both secure and accessible.
Let’s walk through the steps together, making this task easier for you.
—
To change your gun safe combination in 10 easy steps, start by gathering the necessary tools and confirming your current code.
Then, open your safe using your existing combination or key, and access the lock mechanism carefully.
Follow the manufacturer’s instructions to enter programming mode and set a new code.
Test the lock multiple times with the door open and closed to guarantee it works smoothly.
If issues come up, troubleshooting tips can help you fix them.
Continue with this guide to learn more about securing your safe properly.
Key Takeaways
- Gather the necessary tools, including the change key or override tool specific to your safe model.
- Open the safe with the current combination or override key and access the lock mechanism inside.
- Enter programming mode following the manufacturer’s instructions to prepare for code change.
- Input and confirm your new combination, ensuring it follows the required format.
- Test the new code multiple times with the door open and closed to verify proper operation and security.
Why Regularly Updating Your Safe’s Combination Matters
Regularly updating your safe’s combination is essential because it reduces the risk of unauthorized access, especially from former users or if the code has been compromised.
When you change the combination periodically, you keep your valuables secure and limit the chances of someone guessing or cracking the code.
This practice is especially important after moving or experiencing a security breach, as it prevents potential theft or unauthorized entries.
By consistently changing the combination, you’re actively maintaining the safe’s security and making it harder for criminals to gain access.
It’s also a good way to guarantee only trusted individuals can open the safe, giving you peace of mind.
Remember, routine updates are a simple yet effective step in protecting your belongings.
Regularly changing the combination reinforces your commitment to safety and keeps your safe secure over time.
Gather Tools and Info Before You Begin
Before you start, make sure you have the right tools, like a change key or reset tool, specific to your safe model.
Confirm the current combination or locate the override key so you can open the safe safely.
It’s also helpful to review the manufacturer’s instructions to understand the proper reset steps.
Gather Necessary Tools
To successfully change your gun safe’s combination, you’ll need to gather the right tools and information first.
Start by ensuring you have the correct change key or override tool specific to your safe model, as these are essential for the process. It’s also wise to have the manufacturer’s manual or instructions handy to follow the proper procedures.
Prepare a clean, well-lit workspace to access the safe’s internal components safely and comfortably. Before starting, confirm the current combination or access method to open the safe.
Finally, keep a pen and paper nearby to record your new combination securely once the reset is complete.
| Tool Needed | Purpose |
|---|---|
| Change key or override tool | Access the lock during reset |
| Manufacturer’s manual | Follow proper steps for your model |
| Pen and paper | Record the new combination securely |
Confirm Existing Combination
Since you’ll be changing your safe’s combination, it’s important to verify the current code first.
Confirm the existing combination by opening the safe and testing the code to guarantee you have correct access. This step helps prevent errors during the reset process.
Gather all necessary tools, such as the manufacturer’s change key or override key specific to your model, and familiarize yourself with the safe’s manual. Knowing the exact procedure for your make and model will make the process smoother.
Make sure the safe is in a stable, secure location with good lighting, so you can work safely and accurately.
Confirming the current combination is a vital first step before proceeding with any changes to your safe’s code.
Obtain Manufacturer Instructions
Gathering the right instructions and tools is the first step in safely changing your gun safe’s combination.
Start by reviewing the manufacturer instructions specific to your safe’s brand and model number.
These instructions will guide you through the correct procedure and safety precautions.
Make sure to gather all necessary tools, such as the change key, screwdriver, and any reset tools provided by the manufacturer.
It’s also important to confirm whether your safe uses a digital keypad or mechanical dial, as this affects the instructions and tools needed.
Additionally, check if any codes or keys are required to open the safe before beginning the process.
Having all this info and the proper tools on hand ensures a smooth, safe, and successful safe code change.
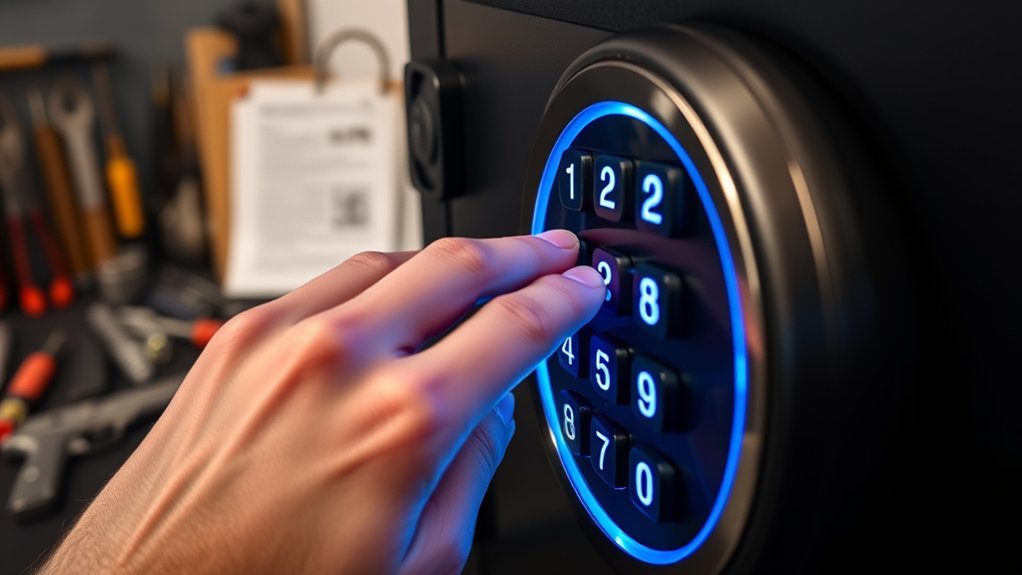
How to Open Your Safe Using Your Current Code or Key
When you’re ready to open your safe, make sure it’s unfastened first—either by entering your current code on the keypad or using the override key if your lock has one.
This ensures the safe is in an unlocked state before attempting any changes. For digital safes, follow these steps:
- Press the designated button (like zero six times) to activate the lock.
- Enter your current code to unlock and open the safe.
- Confirm the safe is fully open and the locking bolts are disengaged.
If your safe has a key override, simply insert the key into the lock, turn it to disengage the locking mechanism, and open the door.
Always double-check that the safe is open before proceeding with any reset or change of your combination.
Using your current code or key correctly ensures safe access and smooth transition to changing your combination later.
How to Access the Lock Mechanism on Your Safe
To access the lock mechanism, start by opening your safe with the current combination or override key.
Then, remove any panels or covers that hide the lock body, usually located inside the door behind the dial or keypad.
Carefully follow the manufacturer’s instructions to reach the internal components without causing damage.
Remove Safe Door Panel
Ever wondered how to get inside your safe to change the combination? To remove the safe door panel, follow these steps:
- Unscrew the screws securing the safe door panel, usually around its edges.
- Carefully detach the panel, making sure not to damage any wiring or internal components.
- If it’s an electronic model, unplug the safe or remove the batteries to prevent accidental activation.
Use a flashlight to see the lock body and connection points behind the panel clearly.
Keep all screws and parts organized for easy reassembly.
Removing the safe door panel gives you access to the internal lock mechanism, so handle everything gently to avoid damaging your safe during this process.
Locate Lock Body
Are you ready to access the lock mechanism inside your safe? First, make sure the safe is unlocked and the bolts are retracted. Open the door using your current combination or override key.
Next, remove the back panel from inside the safe door to expose the lock body. Carefully locate the lock body behind the front dial, which is usually secured with screws or clips.
Use a screwdriver or similar tool to remove any covers protecting the lock mechanism. Once exposed, you’ll be able to see the lock body clearly.
Access Inside Components
Once the safe is open and stable, you can access the internal components by removing any panels or covers inside the door that protect the lock mechanism.
To do this, first identify the internal panels or covers that shield the inside components.
Then, carefully:
- Remove screws holding the panels or covers in place.
- Gently lift or slide off the covers to expose the lock body.
- Locate the reset or change keyhole, reset button, or access port specific to your safe model.
Following these steps reveals the inside components, giving you access to the lock mechanism.
Make sure the safe remains securely open and stable throughout the process before manipulating any internal parts for combination changes.
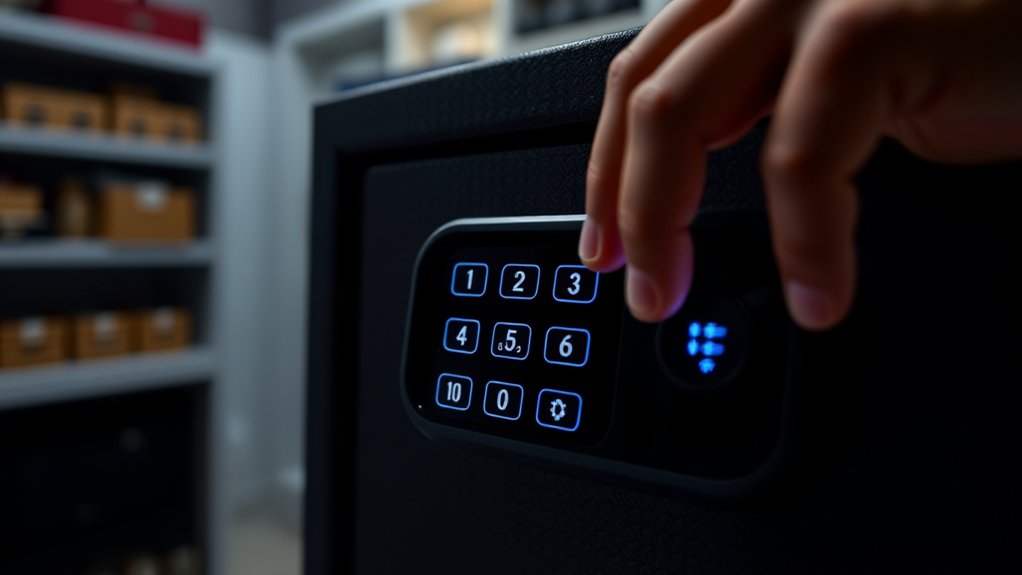
How to Change Your Safe’s Combination in Programming Mode
To change your safe’s combination in programming mode, you’ll first need to access the safe’s setup by following the manufacturer’s specific instructions, such as pressing and holding certain buttons or turning the dial to a designated position.
Once in programming mode, use the existing safe lock code or override key to authenticate and enable the change function.
Follow the prompts to input your new combination, making sure it meets the required number of digits or pattern.
After entering your new code, confirm it by re-entering when prompted.
It’s crucial to test your new combination several times with the safe open to ensure it works correctly before locking it.
Remember, each safe model may have slight variations, so always refer to your manual for exact instructions.
Changing your safe lock combination correctly helps maintain security and ensures you can access your safe easily with the updated code.
Verify Your New Combination Several Times
After changing your safe’s combination, it’s essential to verify that it works correctly before locking the safe permanently.
You want to make sure your new combination unlocks the safe smoothly and consistently. To do this, follow these steps:
- Open the safe and enter your new combination, then verify it opens easily.
- Close the safe and lock it, then immediately enter the new combination again to confirm it still works.
- Repeat this process at least three times to ensure the combination is reliable and error-free.
Verifying the combination multiple times helps identify any misalignment or mistakes made during the reset process.
Repeatedly testing the new combination ensures accuracy and prevents future lockout issues.
It also prevents future lockouts or access issues caused by incorrect code entry.
Test the Lock Operation With the Safe Door Closed
Once you’ve set the new combination, it is crucial to test the lock with the door closed to confirm it works properly.
Make sure the lock engages and disengages smoothly, showing the internal mechanisms are aligned correctly.
Only after verifying these points should you fully secure the safe to prevent future issues.
Verify Code Functionality
Before closing the safe door, it’s vital to test the new combination multiple times to verify it works smoothly. This helps ensure the code opens the lock reliably every time.
To do this:
- Enter the new code and check if the lock opens without resistance or misalignment.
- Wait a moment, then try the code again to verify it still works from a delay.
- Confirm that the handle or locking mechanism responds properly when using the new code.
Repeat these steps a few times, making sure the code opens the safe consistently.
If it functions correctly, you can confidently document or memorize the new code.
Verifying the code’s reliability now prevents future lockouts and guarantees secure access.
Ensure Lock Security
To guarantee your safe’s lock is secure after changing the combination, it’s essential to test the lock’s operation with the door fully closed. Start by locking the safe and then enter the new combination to see if the lock responds correctly.
Make sure the safe open mechanism engages smoothly and securely, confirming the locking bolts fully engage. Repeat this process several times to verify consistent performance.
It’s crucial that the lock functions reliably with the safe closed to prevent accidental lockouts or security issues. If you notice any hesitation or failure to lock or unlock properly, recheck the combination and repeat the test.
Conducting this thorough check ensures your safe is secure and ready for use with the new code in place.
Troubleshoot Lockouts, Malfunctions, and Reset Failures
If your safe isn’t responding or seems to be malfunctioning, it’s important to troubleshoot carefully before attempting to reset or change the combination.
For lockouts caused by multiple incorrect code entries, avoid panicking—refer to the manufacturer’s instructions or contact a locksmith to prevent further damage.
If the safe is unresponsive, try these steps:
- Replace the batteries or use the override key to regain access.
- For digital safes, follow the reset procedures in the user manual to reinitialize the system.
- If the dial resists turning or sticks, don’t force it—have a qualified technician inspect and repair the lock to avoid causing permanent damage.
Remember to Notify Your Manufacturer or Locksmith After Changing the Code
Once you’ve changed your safe’s combination, it’s vital to notify the manufacturer or locksmith right away. This notification is essential to keep your warranty valid and guarantee continued support if issues arise.
Many manufacturers require you to register or inform them of any code changes to maintain the lock’s protection and coverage. Failing to do so could void your warranty, limiting your access to professional assistance in the future.
Promptly reporting the new combination also helps prevent unauthorized access, keeping your safe secure. Additionally, keeping a record of this notification confirms that your security system is properly aligned with the new code.
This step guarantees that the manufacturer is aware of the change and can update their records accordingly. Remember, timely notification not only safeguards your warranty but also enhances your safe’s overall security and integrity.
Make this a priority after every code change to stay protected.
Tips for Securely Storing and Managing Your Safe Code
Storing your safe code securely is essential to prevent unauthorized access, especially if the combination is compromised.
To do this effectively, keep your safe code in a separate, secure location away from the safe itself.
Avoid sharing your combination with multiple people, and opt for unique, non-predictable numbers to boost security.
Regularly update your safe code, especially after moving or if you suspect a breach, to maintain protection.
Use a password manager or encrypted digital note to securely record and manage your safe code, reducing the risk of theft or loss.
When storing or updating your code, consider these steps:
- Keep a physical copy in a secure, hidden spot.
- Use a digital method with encryption for added safety.
- Test your new code multiple times before locking the safe completely.
Frequently Asked Questions
How Do I Change the Code for Safe?
You change the code on your safe by opening it with the current combination, then accessing the reset button inside.
For digital safes, enter your new code and confirm.
For mechanical safes, follow the manufacturer’s dial sequence to reset the combination, often requiring a special change key.
Always test the new code multiple times before locking, and keep the new code secure and separate from the safe.
How to Change a 3 Dial Combination Lock?
Changing a 3 dial combination lock is like rewriting a secret code—your own hidden language.
First, open the safe with your current combo and access the lock mechanism.
Turn the dial to the current combination, then insert and turn the change key.
Dial the new numbers carefully on the Changing Index, rotate the key to lock in your new code, and test multiple times.
Reassemble, and your safe now speaks your new secret.
How Do I Change My 4 Digit Lock Code?
To change your 4-digit lock code, open the safe with your current code.
Then locate the reset or programming button inside.
Press and hold this button, then enter your new code, confirming it as per your safe’s instructions.
Make sure your new code is unique and not easily guessed, like avoiding birthdays.
Test it several times before closing the safe, and always check your manual for model-specific details.
How to Reset Old Safe Combination?
To reset your old safe combination, first open the safe using your existing code or override key.
Then, find the reset or reprogram button inside—often hidden behind a panel.
Press or turn the mechanism as instructed by your manufacturer, then input your new code or combination, confirming it before closing.
Always test the new combination thoroughly, ensuring it’s secure and functioning perfectly before securing your valuables again.
Conclusion
Changing your safe’s combination might seem intimidating, but with these steps, you’re the master of your security universe.
By updating your code regularly, you’ll keep your valuables safer than a treasure chest guarded by dragons.
Just follow the process carefully, and you’ll avoid any lockouts or mishaps.
Remember, a secure safe is your fortress—so don’t let your code become an open invitation for trouble.
Stay vigilant, stay safe, and keep your secrets locked tight!
In conclusion, regularly changing your gun safe combination is essential for maintaining security and peace of mind.