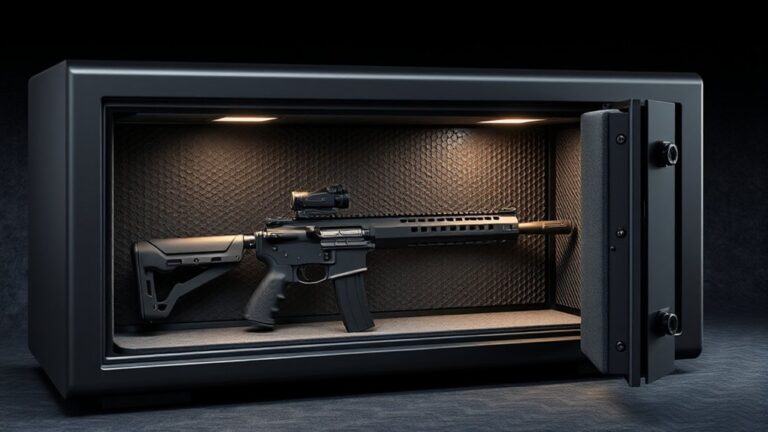
7 Tips for Aiming With Suppressor Height Sights
Tips for Aiming With Suppressor Height Sights
Are you finding it challenging to hit your target consistently with suppressor height sights? You’re not alone; many shooters struggle with this issue. It can be frustrating to feel like you’re doing everything right, yet your shots aren’t landing where you want them.
The good news is that with a few adjustments and some practice, you can greatly improve your accuracy. Let’s dive into some essential tips that will help you master aiming with suppressor height sights, so you can shoot with confidence.
To aim effectively with suppressor height sights, make certain they’re properly installed and securely fitted before shooting.
Zero your sights at multiple distances like 7, 15, and 25 yards to understand how impact points shift.
Practice consistent sight alignment and verify your sights are co-witnessed if using a red dot.
Regularly check for mechanical issues and make fine adjustments through consistent practice.
Keep these tips in mind, and you’ll improve your accuracy each time you shoot.
Key Takeaways
- Ensure proper zeroing at various distances to account for sight height-induced impact shifts.
- Maintain consistent head and eye positioning for accurate co-witnessing with red dots.
- Regularly check and tighten sights to prevent movement that can affect aim and accuracy.
- Practice dry-fire drills to develop muscle memory and improve sight alignment under different conditions.
- Confirm that sights are properly installed and aligned before shooting for reliable targeting.
What Are Suppressor Height Sights and How Do They Change Your Aim?
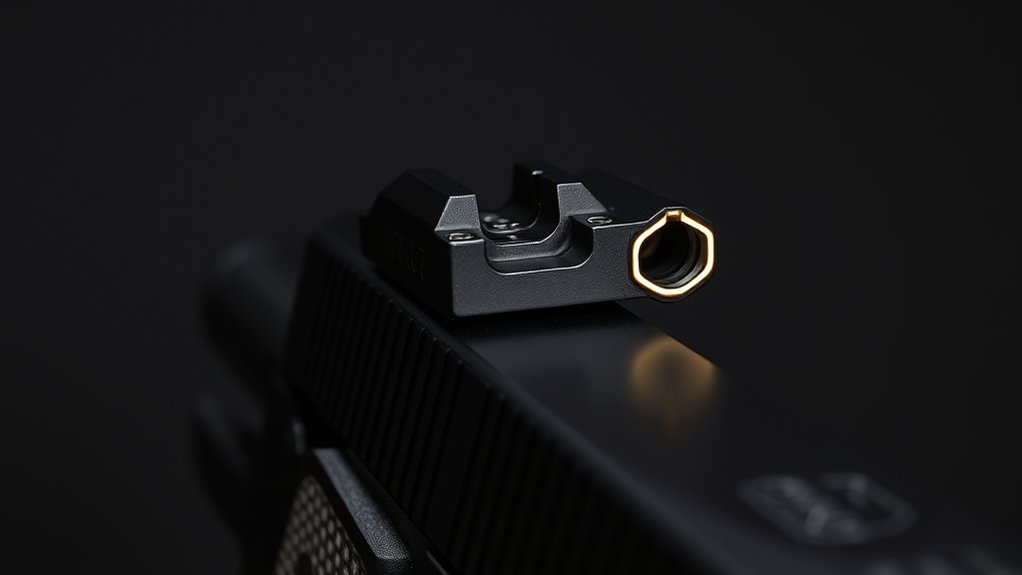
Suppresser height sights are taller iron sights designed to be visible above the body of a suppressor, typically measuring between 0.300″ and 0.450″ in height.
They’re used to maintain a clear sight picture when shooting with a suppressor attached, guaranteeing the suppressor doesn’t block your front sight post.
Because of their increased height, suppressor height sights change the relationship between your sight line and the bullet’s point of impact.
This means your shot might hit lower than where you’re aiming unless you adjust your zero accordingly.
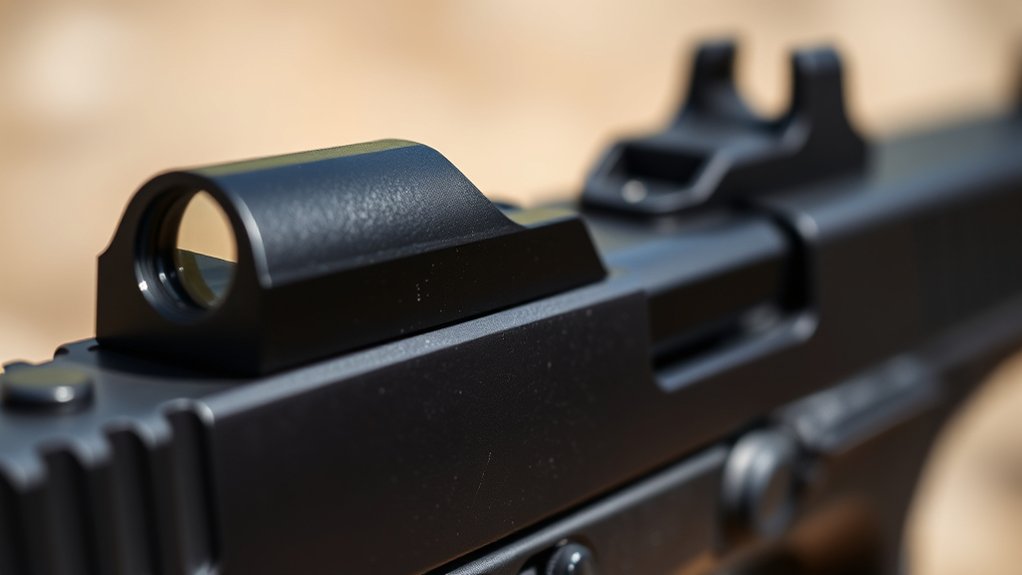
These sights support co-witnessing with red dot optics, allowing you to use both sights simultaneously.
Proper sight alignment becomes even more critical with these taller sights to ensure accuracy.
Understanding how they influence your point of impact helps you develop consistent shooting habits.
With suppressor height sights, you’ll need to re-zero at specific distances to maintain accuracy and guarantee your sight picture aligns with your intended target.
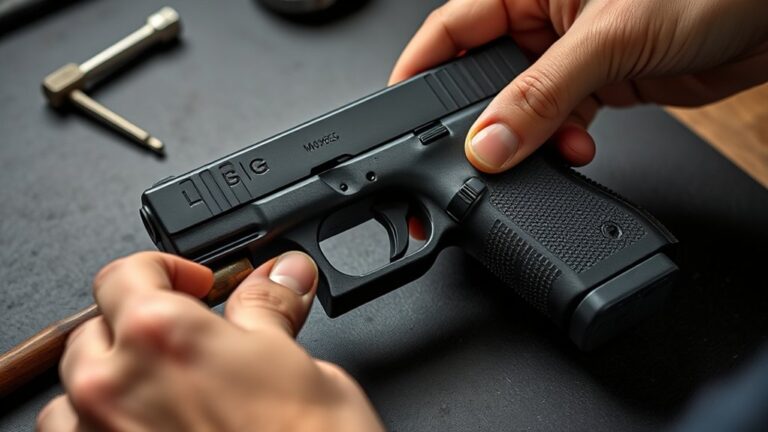
How to Properly Fit and Check Tall Suppressor Height Sights Before Shooting
Before shooting, make sure your suppressor height sights are flush with the slide and free of gaps.
Use a torque wrench to tighten the screws to the manufacturer’s specs, and check for any cracks or damage.
Also, confirm the sights are securely dovetailed and haven’t shifted after cleaning or firing.
Ensuring Proper Sight Seating
How can you guarantee your suppressor height sights are properly seated before shooting?
First, confirm your suppressor height sights are fully seated in the dovetail and flush with the slide surface.
Use a sight pusher or appropriate tools to verify that the sight is securely pressed into the dovetail without any lateral movement.
Check for gaps between the sight and slide with a flashlight or magnification—there should be none.
Once aligned, tighten the sight screws to the manufacturer’s recommended torque to prevent movement during recoil.
Always inspect the sight for damage or misalignment, and visually confirm that the sight’s edges align evenly with the slide.
Proper sight seating is key to accuracy and safety with suppressor height sights.
Verifying Mechanical Stability
Ensuring your suppressor height sights are securely fitted is essential for accurate shooting and safety.
You need to verify sight stability by confirming the front sight is fully seated and flush with the slide, with no gaps or wobble.
Use a torque wrench to tighten sight screws to the manufacturer’s specified torque, ensuring mechanical security and preventing shifting during recoil.
Visually inspect the dovetail engagement to confirm the sight is snug and properly aligned, avoiding lateral movement that could affect sight alignment.
Check for physical damage like cracks or bends that could compromise accuracy or stability.
After installation, perform a test firing at a short range to verify zero and confirm the sights remain securely in place, ensuring consistent mechanical security and reliable zero verification.
How Sight Height Affects Zeroing at Different Distances?
Your sight height considerably influences your bullet’s trajectory and where it hits at various distances.
When zeroed at 25 yards, the impact tends to be lower at closer ranges unless you make adjustments.
Understanding how sight height shifts the point of aim helps you choose the right zero distance for consistent accuracy.
Impact on Bullet Trajectory
When using suppressor height sights, the increased sightline elevation impacts the bullet’s trajectory, especially at various distances.
This higher sight height shifts the point of impact, often causing bullets to land lower than expected at a given zero distance.
It alters the bullet trajectory arc, meaning you might need a different zero to hit accurately over different ranges.
For example, zeroing at 25 yards typically results in impacts about 2 inches lower without adjustments.
As distance increases, the higher sight line makes the bullet drop more apparent, requiring recalibration for precision.
To manage this, consider:
- Adjusting zero distance to match your sight height
- Recognizing impact differences at various ranges
- Recalibrating for consistent point of impact
- Understanding how sight height influences bullet trajectory
Zeroing Distance Considerations
Using suppressor height sights raises the point of aim, which directly influences how you should approach zeroing your firearm at different distances.
The increased sight height shifts the point of impact (POI), especially at closer ranges like 7 yards, often about 2 inches low if zeroed at 25 yards.
Because taller sights change the ballistic trajectory, you need to select a zeroing distance—typically around 15 to 25 yards—that balances the point of aim and point of impact (POI).
Verifying and adjusting your zero at these distances ensures consistent accuracy across ranges.
Proper zeroing accounts for the sight height’s effect on bullet path, helping you maintain precision whether shooting at close or longer ranges.
Zeroing Your Suppressor Height Sights at 7, 15, and 25 Yards
Zeroing your suppressor height sights involves a step-by-step process that starts at close range and progresses outward.
Begin at 7 yards to establish a baseline for your point of impact relative to your point of aim. Focus on creating a consistent sight picture and using your preferred aiming technique to guarantee accuracy.
Once zeroed, move to 15 yards to fine-tune your zero by adjusting the front sight or your aiming method, accounting for slight trajectory differences.
Confirm your zero at 25 yards, where the bullet’s arc typically crosses the sight line, ensuring accuracy at moderate ranges.
During each step, keep your grip, stance, and shooting conditions consistent to avoid shooter-induced variations.
Record your POA/POI results at each distance to understand how impacts shift with sight height and range.
This systematic process will help you develop reliable zeroing across multiple distances for precise shooting.
Troubleshooting Sight Alignment and Mechanical Fit Issues
Ensuring your sights are properly aligned and fit correctly is key to consistent accuracy.
Start by checking that the front sight is firmly seated flush with the slide, and that the dovetail engagement is snug without gaps. Any looseness can cause sight misalignment during shooting.
Regularly inspect your sights for cracks, bends, or surface damage; replace or repair damaged sights immediately to prevent shifts in alignment.
Use a bore laser to verify proper installation and confirm the sights are aligned with the barrel bore—early detection of mechanical fit issues is vital.
Confirm that sight screws are tightened to the manufacturer’s specified torque with a torque wrench; improper torque can lead to movement during firing.
After cleaning or handling, perform a mechanical fit check to verify the sights remain secure.
Proper installation, consistent alignment checks, and correct torque application are essential to troubleshoot and resolve sight fit issues effectively.
Fine-Tuning Your Zero and Improving Accuracy With Practice
Achieving precise accuracy with suppressor height sights requires careful fine-tuning of your zero and consistent practice at various ranges.
Start by zeroing your sights at 25 yards to account for the increased sight height, ensuring the POI aligns with your POA at typical engagement distances.
To refine your zero, practice at multiple ranges like 7, 15, and 25 yards, noting how the bullet trajectory shifts and adjusting accordingly.
Use controlled, repeatable firing groups to verify your POI relative to the sight picture and record these results.
Regularly verify your zero with your specific ammunition, as different loads can affect impact points, prompting re-zeroing.
Incorporate dry-fire drills focusing on sight alignment and sight picture to develop muscle memory, which improves precision when shooting.
Consistent practice and careful adjustments are key to mastering your suppressor height sights and achieving reliable accuracy.
Tips for Co-Witnessing Red Dots and Avoiding Common Shooting Errors
Co-witnessing your red dot with suppressor height sights can considerably enhance your shooting speed and accuracy, but it requires proper setup and consistent technique.
Co-witnessing improves speed and accuracy but demands proper setup and consistent technique.
To achieve effective co-witness, confirm your suppressor height sights are properly zeroed to align with your red dot for a seamless sight picture.
Use a consistent head and eye position to maintain a clear view of both the irons and the red dot, preventing obstructions that can cause aiming errors.
Verify that your red dot is mounted at the correct height for your desired co-witness level—whether absolute or lower 1/3—to maintain consistent sight alignment.
Practice switching smoothly between iron sights and the red dot to develop quick target acquisition without losing your point of aim.
Regularly check and maintain both sights and the red dot to prevent mechanical shifts that can lead to aiming mistakes or misaligned co-witness.
Consistency is key for reliable performance.
Frequently Asked Questions
Do You Have to Aim Higher With Suppressor Height Sights?
Yes, you generally need to aim a bit higher with suppressor height sights.
Because they’re taller, your bullet impact will be slightly lower at the same point of aim compared to standard sights.
To compensate, you should zero your firearm at a specific distance by aiming a little higher initially.
Once properly zeroed, you’ll find it easier to shoot accurately without constantly adjusting your aim, even with the taller sights.
Do Suppressor Sights Shoot Low?
Yes, suppressor sights can shoot low if they’re not properly zeroed for the increased sight height.
Because they are taller, your point of aim might not match your point of impact at typical distances.
To fix this, you should zero your sights at a specific distance, like 25 yards, or adjust the front sight height.
Proper measurement and adjustment guarantee your shots stay on target without consistently hitting low.
What Are the Measurements for Suppressor Height Sights?
Think of suppressor height sights like tiny skyscrapers on your firearm, designed to stand tall above the suppressor.
They typically measure between 0.300 to 0.450 inches in front and 0.400 to 0.500 inches in rear, with front sights around 0.350 inches.
To find the perfect fit, measure from the slide top to the sight’s top, ensuring your aiming structure remains clear and accurate.
Are Optic Height Sights the Same as Suppressor Height Sights?
No, optic height sights aren’t the same as suppressor height sights.
While both are taller than standard sights, suppressor height sights are designed to clear suppressors. This makes them taller and specifically suited for iron sight use with suppressors.
Optic height sights, on the other hand, are built to align with mounted red dot optics. They typically sit at a different height to co-witness or just below the optic window.
Conclusion
Getting comfortable with suppressor height sights is like tuning a musical instrument—you’ll hit the right note with practice and patience.
By understanding how they change your aiming point, fitting them properly, and zeroing at various distances, you’ll sharpen your sight picture and boost your accuracy.
Remember, each adjustment is a step closer to hitting your mark consistently.
With time, your firearm will become an extension of your aim—like a finely crafted arrow flying straight to its target.
Ultimately, mastering suppressor height sights will significantly enhance your shooting experience.