How to Sight a Scope at 25 Yards: Simple Steps for Fast Zeroing
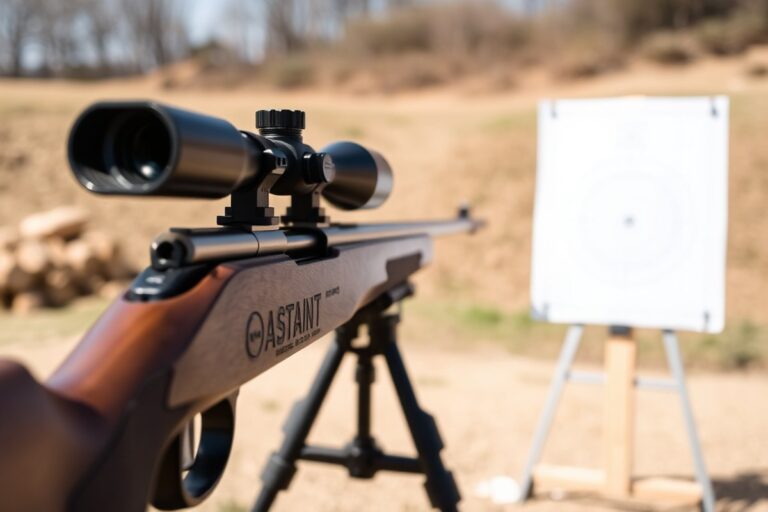
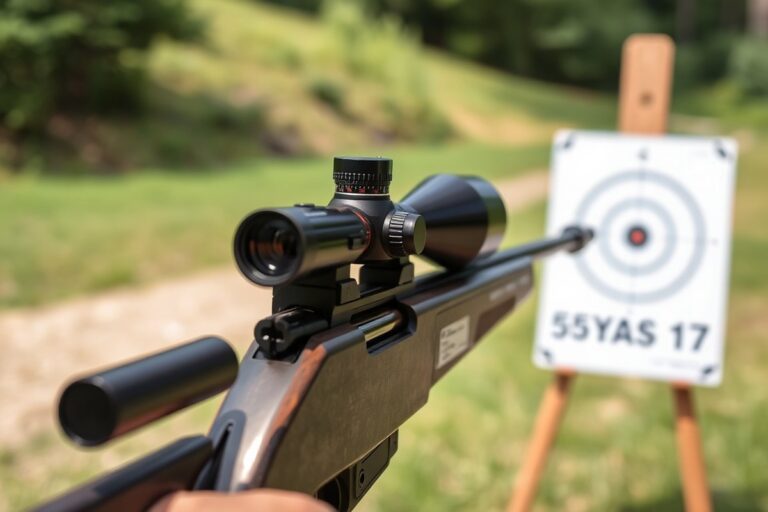
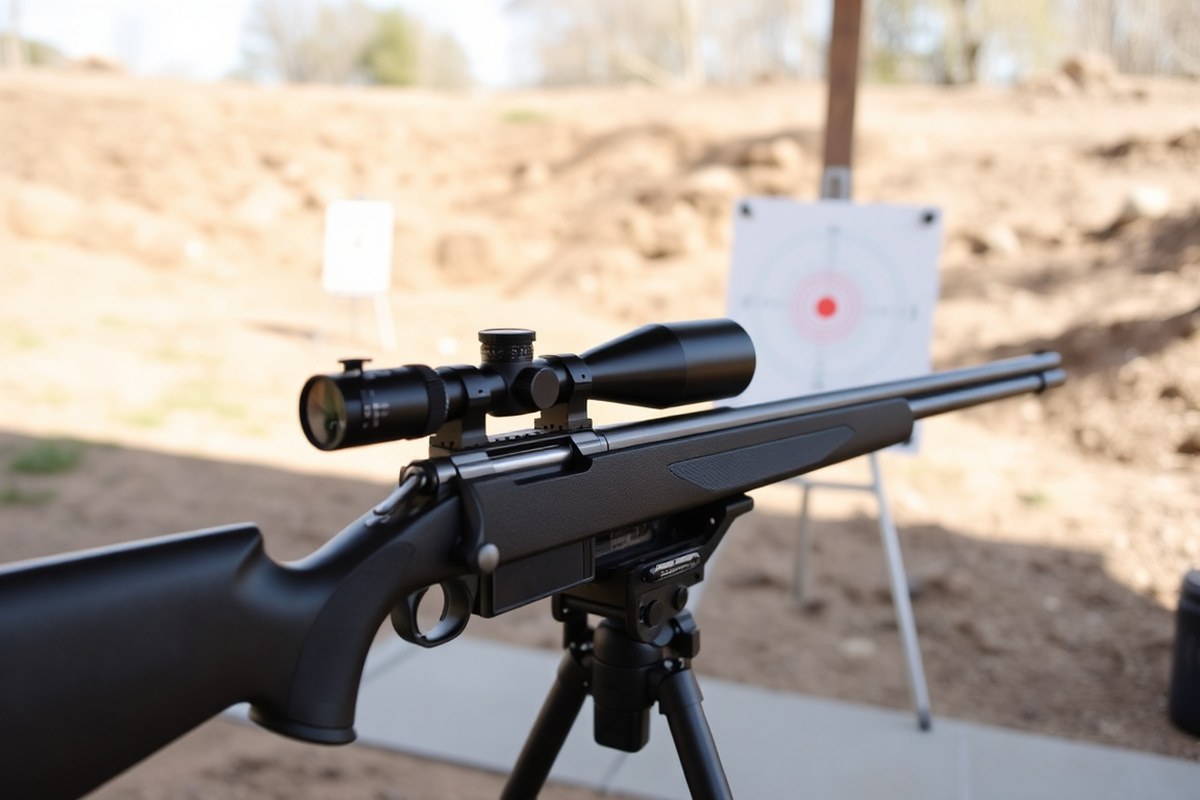
How to sight a scope at 25 yards starts with mounting your rifle securely and aligning the bore with the scope’s reticle. This close range allows you to quickly adjust your aim and zero in on the target before moving to longer distances. Begin with bore sighting to place your point of impact near the target and save time during live firing.
Key Takeaways
- Use a stable rest or vice to keep your rifle steady when sighting at 25 yards.
- Bore sight first to get your point of impact on paper before making fine adjustments.
- Recognize that the point of impact at 25 yards is usually 1.5 to 2 inches low due to scope height over the bore.
- Adjust the windage turret on the right side of the scope to move the bullet impact left or right as needed.
- Each click on a 0.1 MIL scope moves the point of impact about 0.09 inches at 25 yards.
- Set up proper lighting and clearly marked targets to improve aiming accuracy in your 25-yard shooting environment.
How to Properly Sight a Scope at 25 Yards
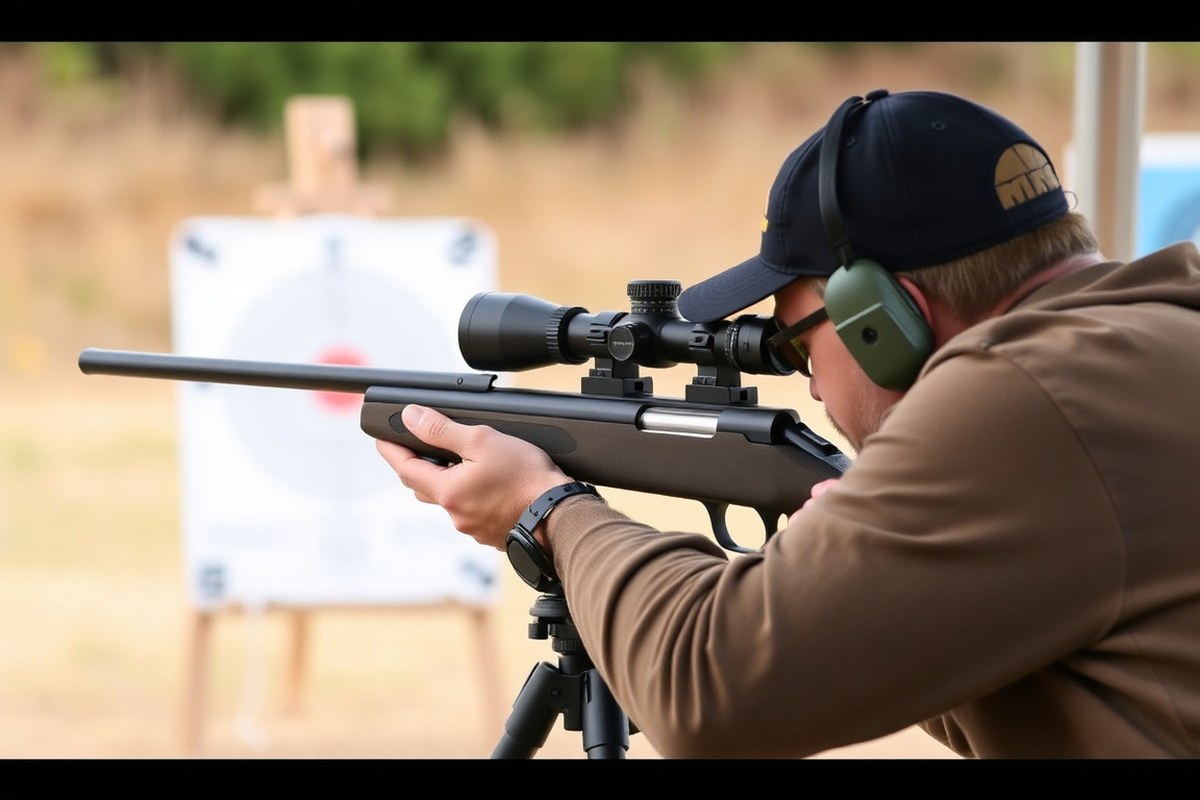
To sight a scope at 25 yards accurately, begin by securely mounting your rifle and setting up a proper target. Next, bore sight or align the scope to the barrel’s bore for a solid starting point. Finally, fire small groups of 3-5 shots, then make systematic windage and elevation adjustments until your shots cluster near the bullseye. Confirm your zero with follow-up shots to ensure consistency before moving to longer distances.
1. Secure Rifle and Setup Target
Start by stabilizing your rifle using a solid rest or sandbags to minimize movement during shooting. Place a clearly visible target with distinct bullseyes at exactly 25 yards. This distance allows easy adjustments while providing enough range for meaningful group patterns.
- Set up your shooting bench or area with a stable rest to hold your rifle steady.
- Measure and confirm the exact 25-yard distance using a tape measure or known markers.
- Select a target designed for precise aiming, such as a bullseye or grid-style paper target.
- Mount the target securely to avoid movement from wind or impact.
- Ensure consistent lighting so you can clearly see the reticle and target details.
2. Bore Sight or Initial Alignment
Bore sighting aligns the scope’s reticle with the barrel’s direction, helping your first shots land near the target without wasting ammo. Removing the bolt allows you to look down the barrel to aim directly at the bullseye, then adjust your scope reticle until aligned. Using a laser bore sighter can improve speed and precision of this step.
- Remove the rifle’s bolt for a clear line of sight through the barrel (follow your rifle manual for safety).
- Position the rifle so you can see the 25-yard target through the barrel’s bore.
- Adjust the scope’s windage and elevation turrets to center the reticle on the same point the barrel is aimed at.
- If available, use a laser bore sighter inserted into the chamber to align your scope reticle precisely with the laser dot on the target.
- Reinstall the bolt and confirm rifle safety before proceeding.
3. Fire Groups and Adjust Scope
After initial alignment, fire groups of 3 to 5 shots at the 25-yard target to evaluate your point of impact. Avoid making large adjustments; turn windage and elevation knobs in small increments, commonly 1/4 MOA per click, to gradually bring your shots to the bullseye. Allow the rifle to settle between shots for accuracy.
- Load 3 to 5 rounds into your rifle and fire a tight group aiming at the bullseye.
- Observe the group’s location on the target relative to the center.
- Adjust the elevation dial if shots are high or low; adjust windage if shots are left or right.
- Adjust in small increments for controlled corrections (for example, 1/4 MOA clicks equal roughly 0.25 inches at 100 yards, so about 0.06 inches at 25 yards).
- Restabilize your rifle and repeat the shooting and adjusting process until your group clusters around the bullseye.
4. Confirm Zero with Follow-Up Shots
Once you achieve a tight group centered near your aiming point, confirm your scope zero by firing additional groups without changing any settings. This final verification ensures your previous adjustments are consistent and not a result of random shot placement. Only when your shots reliably hit near the bullseye have you properly sighted the scope at 25 yards.
- Fire a second group of 3 to 5 shots aiming at the exact bullseye without adjusting the scope.
- Check if the group remains centered and maintains tight clusters.
- Repeat if necessary to confirm stability; large deviations may mean restabilizing your rifle or reviewing earlier steps.
- Record your final elevation and windage settings as a reference for sighting at longer distances.
- Maintain the scope and mounting tightness to ensure consistent zero between shooting sessions.
Why Choose 25 Yards for Initial Scope Zeroing?
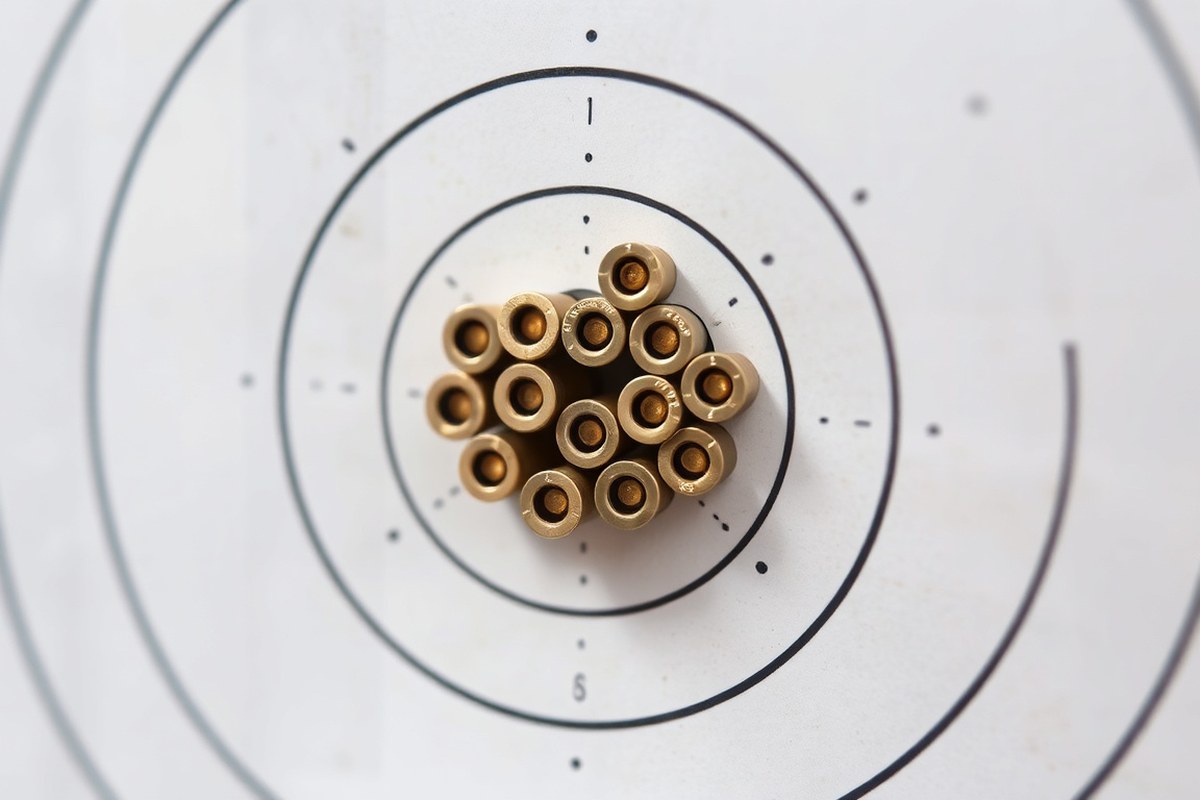
Choosing 25 yards as the starting point for sighting your rifle scope offers a balance of convenience and accuracy. At this distance, you reduce external factors like wind and bullet drop, making it easier to align your reticle with the bullet’s actual impact point. This simplification helps you zero your scope faster while understanding how your bullet’s trajectory will behave at longer ranges.
Why 25 Yards Reduces Environmental Variables
Sighting in at 25 yards limits the influence of wind, gravity, and bullet drop, which become more pronounced at greater distances. Wind has less time to push the bullet off course, and bullet drop is minimal because gravity hasn’t had much effect yet. This means your shots will closely reflect your scope’s current calibration without needing to compensate for these variables. Indoor or sheltered 25-yard ranges are often used to further control environmental conditions, allowing you to focus on adjusting your scope instead of battling the weather.
How Sight Height over Bore Affects Impact
The vertical distance between the center of your scope and your rifle’s bore axis is called sight height, usually about 1.5 to 2 inches for most rifles. This height creates a natural arc in your bullet’s path, causing the bullet’s point of impact to appear lower than the scope’s reticle at close distances like 25 yards.
Expect your initial shots at 25 yards to group roughly 1 inch low. This is normal and helps establish a baseline zero that compensates for the scope sitting above the bore. Adjusting your elevation turret will bring your point of impact up to match the reticle once you understand this offset.
Understanding Bullet Trajectory in Early Sighting
Bullet trajectory typically follows a curved arc due to gravity pulling the bullet down over distance. Starting at 25 yards lets you see the bullet’s impact close to the bore line, simplifying your first elevation and windage corrections. By zeroing here first, you establish a foundational alignment before considering the more complex trajectory that appears at 100 yards or beyond.
This approach also means each click of your scope’s adjustment turret has a more noticeable effect. For scopes with 1/4 MOA clicks, each click shifts the point of impact about 0.09 inches at 25 yards, providing precise control during the initial zeroing process.
Why Starting at 25 Yards Saves Time and Ammo
Zeroing directly at longer distances like 100 or 200 yards can waste rounds if your scope isn’t roughly aligned. Without the initial 25-yard zero, shots may miss the target entirely, leaving you guessing which direction to adjust. Working at 25 yards confines shot groups within easy view and reach, letting you make fast and accurate corrections with fewer rounds. Once your scope is close to zero at 25 yards, moving out to your actual hunting or shooting distance requires fewer adjustments, saving time at the range and ammunition costs.
Start your zero by shooting three-shot groups at 25 yards, then make small adjustments knowing each click moves impact only 0.09 inches at this distance.
Essential Equipment Needed for Sighting at 25 Yards
To successfully sight your rifle scope at 25 yards, gather specific tools and set up a controlled shooting space. Using stable, low-recoil ammunition suited for short distances ensures better precision. Confirm the 25-yard distance with a reliable tape measure or known markers to avoid errors. A calm, well-lit indoor area is ideal because it minimizes variables like wind and lighting changes. You can sight your scope indoors safely and effectively, saving time and providing consistent conditions.
- Rifle with properly mounted scope
- Stable shooting rest or sandbags to minimize movement
- Targets designed for precision at 25 yards, such as bullseye or grid paper targets
- Tape measure or laser rangefinder to mark exact 25 yards
- Low-recoil, consistent ammunition for better grouping
- Good lighting source if shooting indoors to clearly see the target
- Cleaning supplies to ensure the barrel and scope lens stay clear
| Equipment | Why It Matters | Approximate Cost |
|---|---|---|
| Stable Shooting Rest | Keeps rifle steady to improve shot grouping | $20 – $70 |
| Precision Target (Bullseye/Grid) | Helps identify exact point of impact for adjustments | $5 – $15 per pack |
| Tape Measure or Laser Rangefinder | Allows exact distance setup for consistent zeroing | $10 – $100 |
| Low-Recoil Ammunition | Reduces scope shift from recoil to maintain accuracy | $10 – $25 per box of 50 rounds |
Using a stable shooting rest reduces natural shake and fatigue, letting you focus on adjusting the scope. Targets with defined aiming points let you track your groupings clearly, aiding precise elevation and windage changes. Accurately measuring 25 yards ensures the zero established at this range will translate predictably when shooting farther. Indoors, lighting must be consistent and bright enough to read the target markings easily. Without these tools, poor shot placement or incorrect distance measurement can mislead your adjustments, resulting in an inaccurate zero.
Mounting and Aligning Your Scope Correctly
Mounting your scope correctly and aligning it precisely with your rifle’s bore are essential for accurate zeroing at 25 yards. Proper installation prevents shifts during shooting and ensures the scope reticle matches where your bullet travels. Bore sighting before live firing saves time and ammunition by getting your scope close to true alignment.
Choosing and Installing Scope Rings
Start with quality scope rings designed for your rifle and scope diameter to provide a stable base. Rings come in one-piece or two-piece styles, with varied heights allowing clearance over the barrel. Proper fit and tightness are important to avoid movement under recoil. Install the rings on properly matched bases that are secure and level, using recommended torque settings.
- Select scope rings that fit your scope’s tube diameter, typically 1 inch or 30mm.
Aligning Scope with Rifle Bore
Aligning the scope with the bore centers the line of sight on the barrel’s trajectory, reducing initial aiming error. This step lays the foundation for accurate zeroing at 25 yards without wasting shots. Alignment is done by visually centering the bore and the scope reticle on the same point.
- Place the rifle securely on a stable rest to minimize movement.
- Remove the bolt (if a bolt-action) or open the action (if possible) and look through the barrel from the breech end to center it on a target at 25 yards.
- Without moving the rifle, look through the scope and adjust turret windage and elevation so the reticle aligns with the same target point.
- Lock the adjustment knobs if your scope has locking options.
- Check that the rifle is still steady and the scope has not shifted during adjustments.
Optional Bore Sighting Techniques
Bore sighting helps you bring the scope’s point of aim close to the bullet’s point of impact before live firing. It reduces ammunition waste and speeds up the zeroing process. Two common bore sighting methods are mechanical bore sighters and laser bore sighters.
A mechanical bore sighter uses a collimator inserted into the barrel, projecting a reticle or grid inside the scope. It is cost-effective, usually under $50, and works well for quick alignment but requires good lighting and a clean bore. A laser bore sighter emits a laser beam from the barrel’s chamber, projecting a dot on your target for easier and more visible alignment, costing around $60 to $100. Both require maintaining rifle stability and checking that your scope turrets start near zero or factory settings.
Manual bore sighting by looking through the barrel is another option but demands a steady rifle rest and clear line of sight at the 25-yard target. This method is free but less precise, making follow-up adjustments necessary at the range.
Making Precise Windage and Elevation Adjustments at 25 Yards
Each 1/4 MOA click on most rifle scopes moves your shot’s impact point by a quarter-inch at 100 yards. At 25 yards, one click shifts the impact about 0.0625 inches (1/16 inch), since the adjustment scales with distance. Measure how far the group center is from the bullseye in inches at 25 yards, then divide that distance by 0.0625 to find how many clicks to adjust. For instance, a group hitting 0.5 inches right at 25 yards needs 8 clicks left on the windage turret to center the shots.
MOA (Minute of Angle) and MIL (Milliradian) are the two common units for scope adjustments. One MOA equals roughly 1.047 inches at 100 yards, and one MIL equals about 3.6 inches at 100 yards. At short ranges like 25 yards, the linear distance each click moves the point of impact decreases proportionally. Scopes commonly have 1/4 MOA or 0.1 MIL per click. When using MILs, each click shifts impact about 0.09 inches at 25 yards (0.1 MIL × 25 yards × 0.36). The table below shows approximate adjustment distances per click at 25 yards for quarter-MOA and 0.1 MIL turrets:
| Unit | Click Size | Adjustment per Click at 25 yards (inches) |
|---|---|---|
| MOA | 1/4 MOA | 0.0625 (1/16 inch) |
| MIL | 0.1 MIL | ~0.09 |
Begin by shooting a 3 to 5 round group at 25 yards and note the group’s center relative to the bullseye horizontally and vertically. Divide each distance by the adjustment amount per click at 25 yards to find how many clicks to turn. Rotate the windage turret toward the direction you want the impact to move, right turret turns shift shots right, left turns shift shots left. For elevation adjustments, clockwise usually lowers the point of impact, while turning counterclockwise raises it. Shoot another group after changes to verify the adjustment worked as expected.
For example, if your impact is 0.75 inches high at 25 yards using a 1/4 MOA per click scope, divide 0.75 by 0.0625 to get 12 clicks down (clockwise on elevation turret) to bring it back on target. Similarly, if shots are 0.5 inches left, adjust windage 8 clicks right to center the group. Accuracy depends on consistent measurement and precise turret clicks. After tuning at 25 yards, you can extend to 100 yards to verify your zero and make any fine elevation tweaks where one click equals roughly 0.25 inches.
Always measure from the center of your shot group to the bullseye, not just from a single shot, to avoid misjudging necessary adjustments.
Setting Up an Ideal 25-Yard Shooting Environment
Creating a safe and stable environment is essential for accurate sighting of your scope at 25 yards. A proper setup minimizes errors caused by movement, lighting, or external factors that can mislead adjustments. Start by choosing a location with a flat, level surface to place both your shooting rest and target exactly 25 yards apart.
Your rifle should rest on a solid shooting bench or table. Use a quality shooting rest or sandbags to keep the rifle steady and absorb recoil. Avoid holding the rifle freehand, as even slight muscle tension can affect shot placement. Ensuring consistency in your shooting position is key to reliable sighting results.
Minimizing environmental influences varies depending on whether you are indoors or outdoors. Outdoor ranges may be exposed to wind, moving shadows, and uneven lighting, which can shift your point of impact. To reduce wind effects, position your shooting area in a sheltered spot or wait for calm conditions. Shade your target and rest to maintain consistent lighting, as changes in brightness can affect your ability to see the reticle and target clearly.
Indoor sighting eliminates most environmental variables like wind but requires adequate space and lighting. Ensure the ceiling height and room length can safely accommodate 25 yards of shooting distance. Use bright, even lighting around the target and rifle to prevent eye strain and enable precise aiming. A backstop made of thick rubber or layered cardboard is critical indoors to safely stop your rounds.
- Confirm 25-yard distance using a tape measure or laser rangefinder
- Set up a sturdy bench or table and use a stable rifle rest or sandbags
- Mount a high-contrast target with clear markings on a flat, vertical surface
- Check that your shooting area has safe backstops and no risk of ricochets
- For outdoors, pick a sheltered spot and shoot when wind is calm
- Indoors, ensure adequate ceiling height and use bright, even lighting
- Wear appropriate eye and ear protection regardless of environment
The cost to create such a setup can vary from under $50 for basic sandbags and a paper target to several hundred dollars for a quality shooting rest and professional backstop. Good results show consistent groupings within the target’s critical scoring area, with minimal vertical or horizontal spread caused by equipment or environmental factors. Problems like inconsistent shots often signal unstable rests, incorrect target distance, or variable lighting conditions.
Troubleshooting Common Issues During 25-Yard Zeroing
When your shots group but land off-center at 25 yards, it usually means the scope needs fine windage or elevation adjustments rather than a full remount. Confirm your scope’s adjustment increments, most scopes adjust in 1/4 MOA clicks, which equals about 1/16 inch at 25 yards. Move the reticle by the needed number of clicks based on how far off-center your group is. For example, if your group is 1/4 inch low, raise the elevation by one click. Keeping your rifle perfectly still and supported limits errors during this step.
Inconsistent shot placement often results from variable shooting technique, improper cheek weld, or ammo differences. Using a solid rest keeps the rifle stable, but you must also maintain consistent trigger control and breathing. Try the following:
- Use the same type and lot of ammunition for zeroing to avoid natural shot variation.
- Focus on relaxing your grip; gripping too tight changes point of impact.
- Ensure your eye is centered behind the scope to avoid parallax errors.
- Rest your cheek firmly in the same spot on the stock each time.
- Take multiple shots before adjusting to confirm group consistency.
Another issue is the scope not holding zero after adjustment. This can stem from loose scope rings, improper mounting torque, or damage to internal components. Double-check all mounting screws with a torque wrench, following manufacturer specs, usually between 15-25 inch-pounds for steel rings. Avoid over-tightening as it can strip threads or damage the scope tube. Some shooters apply thread locker to screws, but this requires caution or professional help. Scope durability varies by model and use; avoid impacts that could shift zero.
| Symptom | Cause | How to Fix |
|---|---|---|
| Shots grouped off-center | Misaligned scope adjustments | Adjust windage/elevation by correct clicks based on distance off-center |
| Inconsistent shot placement | Variable shooting technique or ammo inconsistency | Use consistent ammo, rest rifle, maintain steady cheek weld and trigger control |
| Scope won’t hold zero | Loose mounts or damaged scope parts | Retighten scope rings to proper torque, inspect for damage; consult professional if needed |
| Parallax causing error | Improper eye position | Center eye behind the scope and adjust parallax if available |
| Groups too large | Poor shooting form, barrel heating, or dirty lens | Focus on consistent form, wait for barrel to cool, clean lenses |
Addressing these common issues during your 25-yard zeroing session improves accuracy and confidence. Remember to change only one variable at a time to isolate problems. Keeping notes on your adjustments and results can help identify patterns and prevent repeated mistakes. Proper troubleshooting pays off by ensuring your scope aligns correctly before moving to longer-range zeroing.
When and How to Move Beyond a 25-Yard Zero
You’ll know your 25-yard zero is sufficient when your shot groups consistently hit the same point of impact and your scope adjustments respond predictably. At this stage, the reticle should hold steady, and you should trust that your windage and elevation changes directly affect your rounds’ placement. Confirming tight groupings means you’re ready to transition to longer distances without wasting time or ammunition.
Moving from a 25-yard zero to distances like 50 or 100 yards requires careful adjustments because bullet trajectory changes significantly with range. At 25 yards, bullet drop is minimal, so your zero mainly ensures the rifle and scope are properly aligned. When you stretch out to 50 or 100 yards, the bullet starts to drop enough that your point of aim and point of impact will differ unless you adjust the elevation on your scope.
To adjust for longer distances, first decide on your target range based on your shooting needs. For example, if hunting or target shooting primarily occurs around 100 yards, you should finish your zero there. Begin by moving your target to the longer range and firing a test group using your 25-yard zero settings. Measure the vertical displacement from the point of aim to the point of impact. If your shot group hits below the target, incrementally dial in upward elevation adjustments on your scope’s turret, often one click equals 0.1 or 0.25 MOA depending on your scope model. Continue this process, firing groups and adjusting until your rounds consistently hit the bullseye at the desired distance.
Because bullet trajectory causes the round to rise and fall over distance, your zero point shifts. Many shooters use a “battle zero” or practical zero at 25 yards to quickly confirm alignment, then extend to 100 yards for a flat trajectory in the critical long-range zone. A useful decision rule checklist for moving beyond 25 yards includes confirming consistent groups within 1 inch at 25 yards, trusting scope clicks to adjust point of impact, and preparing to compensate for bullet drop beyond this range.
Allow time for gradual adjustment; avoid rushing to zero at far distances immediately. After establishing your 25-yard zero, spend an afternoon at 50 or 100 yards, making small sequential elevation and windage tweaks. This timeline saves ammunition, avoids frustration, and ensures practical accuracy at longer shooting ranges.
Changes in ammunition, scope mount shifts during transport, or even weather can affect your zero. Regularly verify your zero at familiar distances, especially before critical shooting events. Remember, if you plan to shoot targets closer than 25 yards after setting a 25-yard or 100-yard zero, you’ll need to adjust your scope downwards since the bullet’s path rises after the initial zero point.
Always verify your zero after any movement of the rifle or scope, or when changing ammo types, before attempting shots beyond your initial zero range.
Recording Your Zero and Maintaining Scope Accuracy over Time
After zeroing your scope at 25 yards, recording the exact adjustments you’ve made is critical for consistent performance. Note down windage and elevation settings in your scope’s turret clicks, along with the exact distance of 25 yards and ammunition type used. A simple template to follow includes: date, rifle model, scope model, turret clicks from zero (both windage and elevation), bullet type, and environmental conditions like temperature and lighting. For example: Date: 06/01/2024
Rifle: AR-15
Scope: Vortex Viper PST
Windage Clicks from Zero: 12 clicks right
Elevation Clicks from Zero: 8 clicks up
Ammunition: 55-grain FMJ 5.56 NATO
Conditions: 68°F, clear daylight
Keeping this record helps you reproduce your zero quickly and pinpoint any changes if the bullet impact shifts. Write this information in a dedicated notebook or a digital app that you can easily access at the range or in the field.
Scope maintenance plays a key role in preserving your zero over time. A routine checklist can prevent zero loss and keep your scope reliable. Clean your lenses regularly using a microfiber cloth and lens-safe cleaner to remove dirt and oils without scratching. Check all mounting screws for tightness, especially after extended sessions or rough handling; loose mounts are a common cause of zero shifts. Avoid exposing the scope to extreme temperatures or rapid changes in temperature, as this can affect internal components.
Also, regularly inspect the scope for physical damage or signs of wear, such as dents or scratches on the turrets and body. Lubricate moving parts slightly if recommended by the scope manufacturer, but avoid over-lubrication which can attract dust and grit. Including these steps in your post-shooting routine ensures long-term accuracy.
Re-checking your zero every few shooting sessions, or approximately every 200 rounds fired, is a good rule of thumb for maintaining consistent accuracy. If you notice any drift in bullet placement, confirm your mount is secure and repeat the zeroing process at 25 yards. Zero confirmation becomes especially important after disassembling your rifle, swapping scopes, or traveling with your gear.
By methodically recording your zero settings and following a straightforward maintenance checklist, you’ll save time at the range and keep your scope performing accurately. Good records will also help you track how environmental factors and ammunition differences affect your point of impact, letting you adapt quickly when needed.
Step-by-Step Action Plan for Sighting Your Scope at 25 Yards
Follow this simple timeline to sight your rifle scope accurately at 25 yards and build confidence before moving to longer distances.
- Before You Begin: Gather your rifle, correctly mounted scope, bore sighting tools, ammunition, a stable bench rest, and a target visible at 25 yards.
- Initial Setup: Align your scope with the rifle barrel using a bore sighter or laser to get your first shot on paper during your first shooting session.
- First Shots at 25 Yards: Fire 3 to 5 rounds and adjust windage and elevation to center your group around the target bullseye; you’ll know it worked when your group consistently hits close to the aiming point.
- Fine Adjustment Phase: Repeat shooting and adjusting in small increments until your shots group tightly within a few inches of the point of aim at 25 yards.
- Record Your Zero: Note the exact settings on your scope turrets and keep a written log so you can return to this zero after field use or maintenance.
- Verify Stability Over Repeats: After 10-15 shots over a session, confirm your point of impact remains consistent at 25 yards to ensure reliable zero.
- Progress Checkpoint: Once you’re confident your scope is zeroed at 25 yards, plan your next shooting session at 100 yards or your typical hunting distance to confirm or adjust your zero for real-world conditions.
Frequently Asked Questions
What Is the Best Way to Bore Sight Before Sighting in at 25 Yards?
The best way is to look through the rifle bore and align the scope reticle to the barrel’s center. This approach helps you hit paper quickly when you move to live firing at 25 yards. It saves ammo and improves initial accuracy.
Can I Sight My Rifle Scope at 25 Yards Indoors Safely?
Sighting your scope indoors at 25 yards is possible with adequate lighting and a safe shooting area. Make sure to use suitable backstops, verify your shooting arrangement, and ensure your rifle and ammunition are suitable for indoor distances.
How Do I Know When My Scope Is Properly Zeroed at 25 Yards?
Your scope is properly zeroed when the bullet consistently hits the target’s point of aim at 25 yards. You should see tight groups centered on your bullseye after small windage and elevation adjustments. Recheck zero after movement or heavy shooting.
Can I Use a 25-yard Zero for Long-Range Shooting?
A 25-yard zero is a starting point, but you will need longer-range sighting to achieve accuracy beyond 100 yards. It helps establish a baseline, but distance factors like bullet drop require additional zeroing beyond 25 yards.
What Is the Impact of Bullet Choice When Sighting at 25 Yards?
Bullet type and weight affect point of impact, even at 25 yards. Match your zeroing ammo to what you plan to use in the field to maintain accuracy. Different bullets can shift impact points noticeably.
How Often Should I Recheck My Scope Zero at 25 Yards?
Check your scope zero before every major shooting session or if you change ammo or scopes. Regular checks help maintain accuracy and catch mounting shifts or adjustments needed after recoil or transport.
Key Points to Remember
Sighting your scope at 25 yards lays a solid foundation for accurate shooting at longer distances. Accurate adjustments and consistent verification make sure your scope stays true to your rifle’s barrel. Next, take your zero to longer ranges to account for bullet drop and wind effects, ensuring your scope performs reliably in the field or competition.