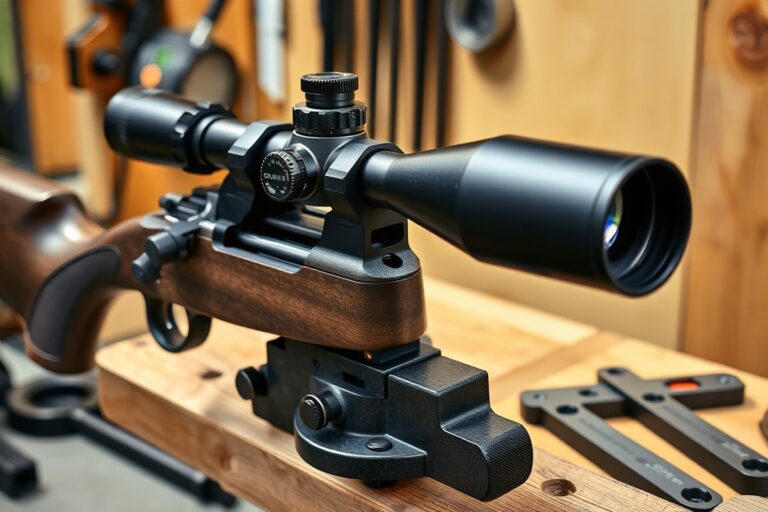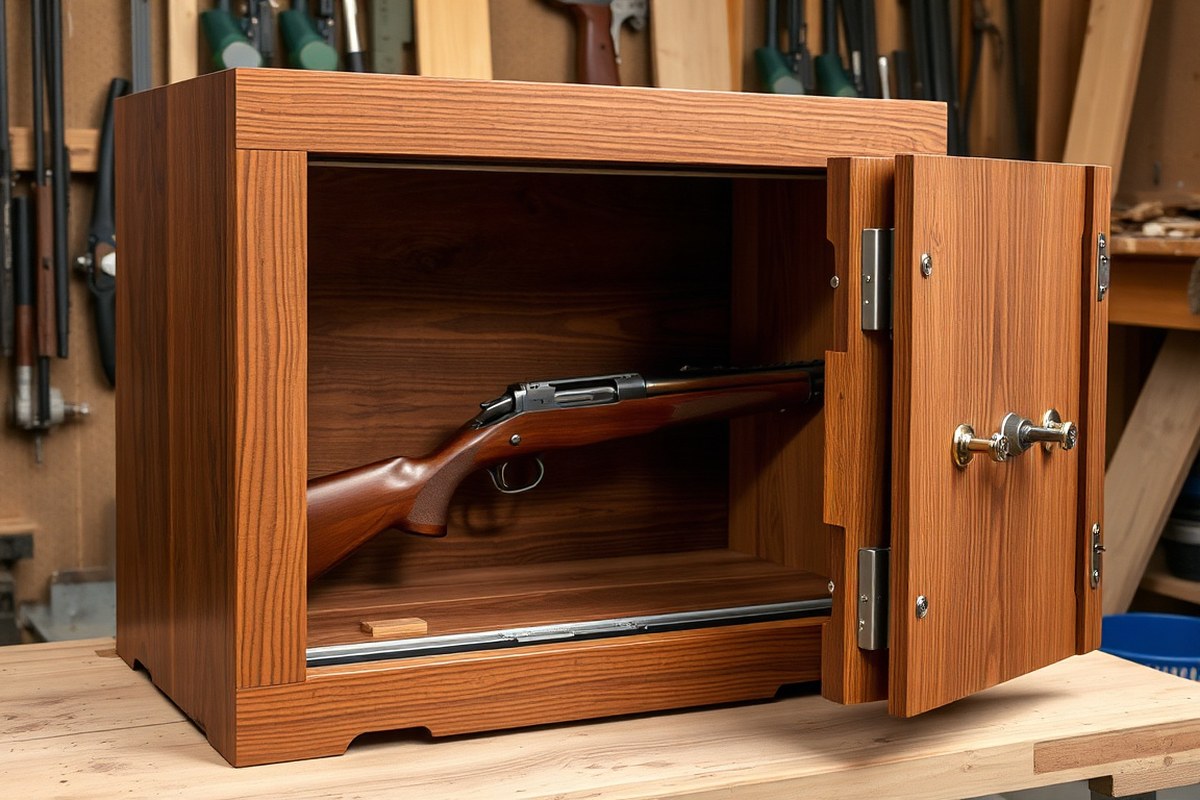
How to Build a Wooden Gun Safe: A Complete Guide with Security Tips
Building a wooden gun safe involves selecting sturdy materials, designing proper internal spacing, and installing secure locking systems. You’ll need to plan carefully to ensure protection against theft, moisture, and physical damage while allowing easy access. This process works well for homeowners and gun owners with intermediate woodworking skills aiming to safeguard their firearms.
This guide covers every step from choosing the right wood and locks to anchoring and maintenance. You’ll get practical tips on securing your firearms, organizing storage efficiently, and avoiding common DIY mistakes to create a reliable, personalized gun safe.
Key Takeaways
- Choose hardwood like oak or maple for durability and resistance to impact in your wooden gun safe.
- Space firearms at least 3½ inches apart to prevent damage and ensure stable storage inside the cabinet.
- Use high-quality mechanical or electronic locks with at least 10,000 possible combinations for better security.
- Apply waterproof sealant or finish to protect wood surfaces from moisture and prevent firearm rusting.
- Anchor your safe securely to floor or wall studs to prevent unauthorized removal or tipping.
- Use Titebond III glue alongside nails or screws and clamp pieces during drying to ensure strong joints.
How to Build a Wooden Gun Safe Step by Step
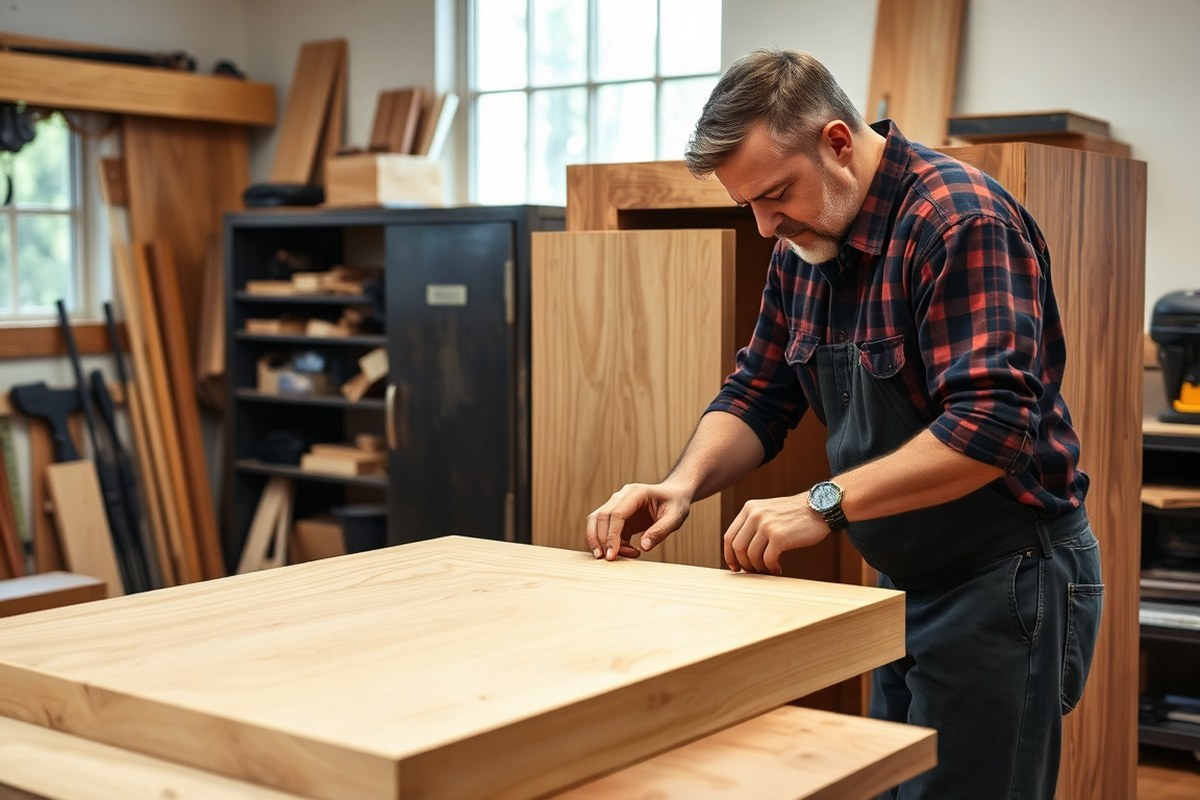
Building a wooden gun safe requires careful planning, precise cutting, and secure assembly to ensure your firearms stay protected and organized. Using quality plywood or hardwood sheets and durable hardware will help you create a safe that withstands everyday use. The process also involves preparing a solid base, crafting the walls and door, assembling components with reinforcing joints, and applying a finish to protect the wood from moisture and wear.
Following a step-by-step method ensures your parts fit together squarely and securely. Maintaining accuracy during cutting and assembly prevents gaps or weak spots that could compromise security. Tight joints and strong fasteners will give your safe stability, while sealing the wood finishes extends its life. Safety precautions, like wearing eye protection and ensuring your work surface is flat, keep the building process smooth and safe.
- Measure and Cut the Wood Panels: Start with high-quality plywood or hardwood boards that are at least 3/4 inch thick. Use a table saw or circular saw to cut panels for the base, sides, top, back, and door. Aim for precise dimensions matching your design, for example, a 24″x48″x60″ box for a midsize rifle safe.
- Square the Pieces and Sand Edges: Check that each cut panel forms perfect right angles with a carpenter’s square. Sand the edges smooth to prevent splinters and improve joint adhesion.
- Assemble the Box Frame: Attach the side panels to the base using wood glue and 2.5-inch wood screws, spacing screws about every 6 to 8 inches. Reinforce corners with metal brackets if desired, ensuring everything is square before tightening fasteners.
- Attach the Back and Top Panels: Secure the back panel first, then the top panel, using the same glue-and-screw method. Check for any warping and adjust before final tightening.
- Construct and Install the Door: Build a door frame with wood stiles and rails, attach plywood or hardwood panels inside it, and mount it on heavy-duty hinges. Use a quality lock mechanism suited for firearms, such as a combination or biometric lock, installed following the manufacturer’s instructions.
- Seal the Safe with Finish: Apply at least two coats of polyurethane or varnish, allowing 24 hours of drying between coats. This seals the wood, helping to reduce humidity and protect against minor spills.
- Dry-Fit and Final Assembly: Before final tightening, dry-fit all parts together to confirm alignment. Adjust as needed to ensure door swings smoothly and closes tightly.
- Inspect and Adjust: Verify all screws are flush or countersunk, no sharp edges remain, and the safe feels sturdy. Address any weak points with added glue or fasteners.
Building your wooden gun safe can cost between $100 and $300, mainly depending on the wood quality and lock type. Taking time on accurate cuts and strong joints pays off in a secure, durable safe. Skipping steps like squaring corners or using insufficient fasteners often results in wobbly or insecure construction. Prioritize precision and stability throughout.
Choosing the Right Wood and Materials

Choosing the right wood and materials is important for building a durable and secure wooden gun safe. The wood must provide strength to resist break-in attempts and last over time without warping or rotting. Hardwoods like oak, maple, and cherry are excellent choices because of their density and toughness. You should aim for boards at least 3/4 inch thick to ensure structural integrity. Plywood is an alternative; choose cabinet-grade or Baltic birch plywood in 3/4 inch thickness for stable, strong panels. Avoid thin plywood below 1/2 inch, as it won’t hold up well against force.
When picking wood, the species and plywood grade affect the safe’s security and longevity. Oak is very hard and resists dents, making it ideal for exteriors. Cherry and maple offer good durability and an attractive finish if you want a gun safe that complements your home décor. Baltic birch plywood resists splitting and provides uniform strength, which is helpful for constructing uniform walls or shelves inside the safe.
| Material | Thickness | Durability | Security | Cost Estimate (per 4×8 sheet or board) |
|---|---|---|---|---|
| Oak hardwood boards | 3/4″ or thicker | High | High – dense and resistant to impact | $50 – $70 |
| Maple hardwood boards | 3/4″ or thicker | High | High – hard and tight-grained | $50 – $65 |
| Cherry hardwood boards | 3/4″ or thicker | Moderate to high | Moderate – softer than oak but durable | $60 – $80 |
| Baltic birch plywood (cabinet grade) | 3/4″ | High (stable, resistant to splitting) | Moderate – good strength but easier to breach than hardwood | $40 – $55 |
Reinforcement materials can significantly boost security. Steel sheet liners or plates inside the walls, ideally at least 12-gauge thick (approximately 0.1 inch), make the safe more resistant to forced entry. You can install these steel plates between plywood layers or attach them inside a hardwood frame. Along with steel reinforcement, use high-quality screws and bolts for assembly. Anchor the safe to the floor with heavy-duty brackets to prevent removal. Adding metal corner brackets inside joints increases rigidity.
- Use hardwood for outer panels where strength matters most
- Line inner walls with 12-gauge steel plates for break-in resistance
- Choose plywood for internal shelves and compartments
- Opt for 3/4 inch thickness minimum on all structural wood
- Employ stainless steel fasteners to prevent rust and loosening
- Seal or finish wood to protect against moisture and warping
- Plan reinforcement placement carefully for balance of weight and security
Skip thin plywood panels; they compromise security and durability for the whole safe.
Cost will vary based on wood species and steel availability. Expect hardwood boards to be around $50 to $80 each, while quality plywood ranges from $40 to $55 per sheet. Steel reinforcement adds to price but improves security dramatically. Excellent results mean a wooden safe that is solid, stable, and resistant to prying, with a smooth finish protecting wood surfaces. Poor choices result in weak panels, ease of break-in, and wood damage over time, which defeats the purpose of your safe’s protection.
Designing for Security: Locks and Reinforcements
Securing a wooden gun safe involves choosing the right locking system, reinforcing the door against forced entry, and adding extra anti-theft measures. Effective locks combined with strong door construction and additional protections ensure your firearms remain safe from unauthorized access. Each security layer should balance convenience, cost, and resistance to break-in attempts based on your specific needs.
Types of Locks for Wooden Safes
Standard lock-and-key mechanisms are the baseline option for wooden gun safes, offering simple installation and affordability, typically costing between $15 and $40. However, these locks can be vulnerable to picking or key duplication, so consider this for lower-risk environments. Combination locks, mechanical or digital, provide keyless convenience with moderate security and cost around $30 to $100. They eliminate concerns about lost keys but may require occasional battery changes for digital models.
For higher security, biometric locks offer quick access by recognizing fingerprints. These usually cost $100 to $300 and come with integrated alarms or audit trails. Installing such a lock requires precise drilling to fit the scanner without compromising wood integrity. Electronic keypad locks are similar in convenience and price but rely on numeric codes, which must be kept confidential and updated regularly to maintain security.
Choosing your lock depends on your budget, how frequently you need access, and threat level. For maximum safety, avoid exposed hinges and select locks rated for security use rather than standard household varieties.
Door Reinforcement Techniques
Reinforcing the safe door is critical to withstand forced entry attacks. Start by using 3/4-inch or thicker hardwood plywood to build the door for added strength. Reinforce the edges with metal strips fastened by long security screws, typically 3-inch screws, to resist prying. Installing internal steel dead bars across the door’s width improves resistance against bending or kick-ins.
Concealed hinges placed internally rather than externally reduce the risk of hinge removal attacks. Interlocking door designs, where the door fits snugly within a recessed frame, add a mechanical barrier that requires more effort to pry open. Jeweler’s lugs, small metal posts recessed into the door frame and door edge, can engage the frame when locked, preventing the door from being lifted or forced out.
Regularly inspect screws and fastening points to ensure none have loosened over time, as weakened reinforcements compromise security. Combining these methods generally creates a door capable of resisting common break-in tactics while maintaining manageable weight for daily use.
Additional Security Upgrades
Beyond locks and reinforcements, adding anti-theft features improve your safe’s security. Mount security cameras focusing on the safe’s location or entrance to provide monitoring and deterrence. Choose cameras with night vision and motion detection for complete coverage. Anchoring the safe securely to a floor or wall with heavy-duty bolts reduces the risk of the entire unit being stolen, especially important if the safe is portable or smaller sized.
Active locking bolts, which extend into the safe frame when locked, add another barrier by physically blocking the door from opening. Some gun safes integrate both active and inactive bolts for better locking stability. Installing internal lighting controlled by the door’s opening mechanism can help you check contents without compromising safety. Also, keep keys or override codes in secure locations inaccessible to children or unauthorized guests to avoid accidental or intentional misuse.
Routine maintenance, such as checking locking components for wear and testing electronic features regularly, prevents unexpected failures. Combining mechanical and electronic elements tailored to your security needs generally provides reliable protection for your firearm collection.
Planning Size and Internal Organization
Determining the right size for your wooden gun safe depends on the number and types of firearms you plan to store, along with accessories like ammunition and cleaning tools. A practical approach uses the rule of thumb for rifles: allocate 36 inches of linear wall space to hold about 12 vertical rifles. Account for the length of your rifles, as this dictates the safe’s vertical dimension, most rifles measure between 40 to 50 inches long. Plan at least 60 inches in height to comfortably stand most long guns upright without crowding.
Internal organization should prioritize securing firearms to prevent damage and improve accessibility. For rifles, vertical storage with individual slots or divider strips lined with felt or foam protects finishes and keeps rifles stable. Pistols and smaller handguns benefit from dedicated shelves, drawers with padded compartments, or lockable trays to keep them separate and prevent scratches. An additional space for accessories like scopes, magazines, and cleaning supplies ensures that everything stays organized and readily available.
- Measure all firearms to define vertical and horizontal space requirements precisely.
- Include adjustable shelves or removable dividers for flexible interior configuration.
- Install racks or slots with soft padding to avoid metal-on-wood contact.
- Use drawers or lockable trays for smaller guns and accessories to prevent mixing and damage.
- Allow extra space for larger accessories and future firearm additions.
- Consider double doors for easier access to a wider safe interior, especially in tight spaces.
- Plan ventilation or moisture control elements to protect finishes while maintaining security.
Maintaining an organized layout reduces handling time and limits risk of accidental dropping or scratching. Cluttered interiors limit your safe’s capacity and can lead to damaged firearms. Customizable organizers or additional racks can increase storage density while keeping the space orderly. The initial investment in quality interior fittings may add $100 to $300 to your project but significantly improves usability and firearm protection. Proper planning for dimensions and internal setup protects your firearms’ condition and ensures your safe fits comfortably within your available space while meeting your security needs.
Protecting Firearms from Moisture and Damage
Keeping firearms dry inside a wooden gun safe starts with controlling humidity and preventing wood warping. Wood naturally absorbs moisture, which can lead to warping and create an environment where rust develops on metal parts. To avoid this, locate your safe in a dry, well-ventilated area, ideally away from basements or spaces prone to dampness. A consistent indoor humidity level between 30% and 50% helps protect both the wood and the guns.
Adding moisture-absorbing materials is essential. Silica gel packs are affordable and effective for small to medium-sized safes. These packets absorb excess moisture and typically last 1 to 2 years before needing replacement, costing about $10 to $20 for a set that fits a gun safe. Place multiple packs inside the safe, especially near corners and shelves where air circulates less. For larger safes, a small electric dehumidifier designed for gun cabinets, priced around $50 to $100, can maintain optimal humidity levels automatically. Choose a model with a built-in hygrometer to monitor conditions.
Protect the wood interior by applying a finish that resists moisture but remains breathable. A penetrating oil finish such as tung oil or boiled linseed oil works well, preventing moisture from seeping into the wood while allowing it to release trapped humidity. Avoid thick varnishes or polyurethane, which can seal moisture inside and cause warping over time. Apply two to three coats with proper drying times between, roughly 24 hours each, to achieve a balanced protective layer.
Inside the safe, consider lining the shelves and walls with a non-abrasive, moisture-resistant material. Felt or foam gun liners help prevent scratches and reduce metal-to-wood contact, lowering rust risk. You can also use specialized gun safe liners made from neoprene or rubber, which do not absorb moisture and are easy to clean. Installing liners costs $20 to $40 depending on the size and material and can extend the lifespan of your safe’s interior and the firearms.
Controlling temperature fluctuations also matters. Rapid changes in temperature cause condensation inside the safe, accelerating rust and wood damage. Keep your safe away from windows, heating vents, and exterior walls. Ideal storage temperatures are between 60°F and 75°F. When the safe is in an unfinished space, use a small space heater or air conditioner to keep temperature steady but avoid pointing airflow directly into the safe.
Avoid placing a wooden gun safe directly on concrete floors, which can transfer moisture and encourage rust and wood deterioration over time.
Regularly inspect and clean your safe. Wipe down guns with a dry cloth and lightly oil metal parts every 3 to 6 months, depending on local humidity levels. Checking the silica gel packs or dehumidifier settings should be part of your routine. Upon seeing any mold, rust, or swollen wood, act quickly by boosting ventilation, swapping moisture absorbers, and treating the damaged areas.
Installing and Anchoring Your Wooden Gun Safe
Securely installing and anchoring your wooden gun safe is essential to prevent theft and accidental tipping. Choose a stable, less visible spot in your home that allows for strong anchoring to a solid floor or wall. Use proper hardware and tools to fasten the safe firmly, ensuring it cannot be easily moved or toppled.
Selecting Location for Installation
Place your gun safe on a stable, level surface like a concrete floor or sturdy wooden subfloor. Avoid carpeted or uneven surfaces that can compromise stability. Choose a location that is discreet but accessible, such as a bedroom closet, home office, or a secure, low-traffic area. The spot should be away from direct sunlight and moisture sources to minimize wood damage.
Consider access restrictions and inform responsible household members of the safe’s location while keeping it concealed from children or unauthorized individuals. Installing the safe against an interior wall is preferable because you can anchor it securely, and the wall provides additional protection.
Anchoring Methods and Hardware
Effective anchoring prevents the safe from tipping or being removed by intruders. Use heavy-duty lag bolts or expansion anchors to attach the safe to the floor and wall. The choice depends on the surface material, wood floors require lag bolts screwed into joists, while concrete floors need masonry anchors.
Use a drill with the appropriate bits, a socket wrench, and a stud finder to locate joists or studs behind walls. Hardware costs vary; expect to spend $10 to $30 on anchors and bolts. For improve security, anchor both the safe’s back and base where possible.
- Locate solid anchoring points such as floor joists or wall studs using a stud finder.
- Mark drill points on the safe and the floor or wall to align anchor holes.
- Pre-drill holes with the correct size bit for lag bolts or masonry anchors.
- Position the safe carefully and insert the anchors through the safe’s mounting holes into the drilled points.
- Tighten the bolts securely with a wrench while ensuring the safe remains level.
- Check that the safe does not shift or tip by applying moderate force after installation.
Installation Safety and Final Checks
Wear proper safety gear such as gloves and eye protection when drilling and handling heavy bolts. Double-check that the hardware used is rated to handle the weight of your safe plus its contents. Avoid anchoring into drywall alone, as it cannot support the safe’s weight.
After securing the safe, test its stability from multiple angles to confirm it is firmly anchored and won’t tip or slide. Make sure the locking mechanism operates smoothly without interference from the anchor hardware. Keep a record of installation details and hardware types used for future reference or upgrades.
Common Mistakes to Avoid When Building a DIY Wooden Gun Safe
One common error in building a wooden gun safe is neglecting to account for wood movement, which causes warping and fit issues. Wood expands and contracts with humidity changes, so selecting properly dried wood and acclimating it to your workshop environment for at least a week helps reduce these issues. Applying a quality wood sealant also protects against moisture. Ensure precise measurements and dry-assemble components before final gluing to confirm the fit. Warped doors or panels not only look bad but can weaken your safe’s security.
Using breakable materials like glass windows or thin sheetrock walls for the safe’s structure undermines security. Even if the door has strong locks, weak walls provide intruders with easy access. Instead, choose solid hardwood panels and reinforce corners with metal brackets. Avoid shortcuts around locks, bolts, or hinges; improper installation of these components makes them fail under pressure. For instance, screws should be long enough, at least 1.5 inches, to securely anchor hardware into thick wood rather than surface layers.
Frequent access to the gun safe can reduce security over time, especially if the placement doubles as regular storage or entry space. Design internal organization that keeps firearm essentials accessible without fully opening the safe every time you need something else. This minimizes unnecessary exposure and wear on the locking mechanism. A well-planned layout helps maintain both security and ease of use.
- Dry wood in your shop for 7 days before building to minimize warping.
- Test-fit all panels and doors using clamps before final assembly.
- Use solid hardwood, avoiding breakable materials like glass or thin drywall.
- Install locks and hinges with screws at least 1.5 inches long for secure anchoring.
- Design the safe interior to reduce the need for frequent full access.
- Reinforce corners and joints with metal brackets for added strength.
- Build a small prototype or mock-up from inexpensive wood to troubleshoot fit and design.
Building a small mock-up before committing to the final build lets you identify fit problems and test lock installation. This way, you catch errors early and avoid costly mistakes. If you notice hinges don’t align or lock bolts don’t fully engage during dry assembly, adjust components before gluing or screwing permanently. Skipping this testing often leads to a finished safe that doesn’t close properly or has a compromised locking mechanism.
Maintaining and Upgrading Your Wooden Gun Safe
Keeping your wooden gun safe in good condition involves regular cleaning, inspecting and maintaining locks, and occasionally upgrading security features. Proper care protects the wood from damage and ensures your firearms remain secure and organized inside the safe over time.
Routine Cleaning and Wood Care
Wipe the exterior wood surfaces with a soft, dry cloth every one to two months to remove dust and debris. Avoid using water or harsh chemicals that can damage the wood finish. Every six months, apply a quality wood conditioner or wax designed for your safe’s wood type to preserve the surface and prevent drying or cracking. Keep the safe in a stable environment with humidity levels between 40% and 60% and temperatures from 60°F to 80°F to avoid warping or mold growth.
Inside the safe, use a clean, dry cloth to remove any dust or residue around the shelves and gun racks quarterly. Check for signs of moisture accumulation regularly, especially if you live in a humid climate. Use silica gel packs or a small dehumidifier inside the safe to maintain dry conditions and protect your firearms from rust.
Never apply oil or furniture polish directly to the inside surfaces where guns rest; it can transfer residue to the firearms and cause damage over time.
Lock and Hardware Upgrades
Inspect mechanical or electronic combination locks at least twice a year. Make sure the lock mechanism operates smoothly without sticking or unusual sounds. Clean the lock with a dry cloth and apply a graphite-based lubricant to keyways as needed, avoid oil-based lubricants that can attract dust. Replace batteries in electronic locks annually to prevent lockout. Consider upgrading to a lock with at least 10,000 possible combinations, including numbers, letters, or symbols, to improve security.
Adding a second solid lock on the door can also improve protection without altering the safe’s external appearance. Look for locks that do not require someone inside the safe to manually turn bolts; remote or keypad-operated locking mechanisms offer better security and ease of use. The cost of a quality lock upgrade can range from $100 to $300 depending on the type and complexity.
Hardware like hinges and door reinforcements should be checked for looseness or wear every year. Tighten screws and replace any bent or rusty parts promptly to maintain the safe’s structural integrity.
Internal Organization Refresh
Periodically reorganize the firearm storage within the safe to prevent unnecessary handling and scratching. Use padded gun racks or foam inserts that fit your firearm types securely. Refresh or replace foam or felt liners every two to three years to maintain cushioning effectiveness and minimize abrasion on gun finishes.
Consider adding adjustable shelves or modular storage options if your collection grows or changes. Upgrading the internal layout keeps firearms easily accessible and reduces pressure on wood surfaces from crowded or awkward arrangements. This also helps you spot any signs of damage or moisture early when shifting your collection.
Organizing your firearms and accessories with labeled compartments or removable trays can improve inventory control and safe usage. Simple changes like adding small hooks for gun cleaning kits or ammo boxes increase convenience without major construction.
Step-by-Step Action Plan
Follow these steps to create a secure wooden gun safe tailored to your needs, ensuring safety and durability throughout the process.
- Before you start: Gather all required materials, including quality hardwood, locking mechanisms, and moisture barriers. Confirm the materials meet your design specifications.
- Day 1: Complete detailed measurements based on the firearms and accessories you plan to store. Check that internal compartments fit your collection comfortably.
- Week 1: Build the frame and walls using hardwood, ensuring tight joints and solid construction. Verify the frame is square and stable.
- Week 2: Install internal shelving, lining, and reinforcements such as metal plates for lock areas. Test drawer or door movements for smooth operation.
- Week 3: Fit the locking system according to your security design, using high-quality deadbolts or combination locks. Confirm locks function reliably and secure the doors firmly.
- After 3 weeks: Apply moisture protection systems like sealants or desiccants inside the safe. Monitor internal humidity to ensure it stays at safe levels for guns.
- Week 4: Anchor the safe to the floor or wall using sturdy hardware. Test for stability to prevent tipping or easy removal.
- Ongoing: Regularly inspect and maintain locks, hinges, and moisture controls. Upgrade components if you identify weaknesses or new security technologies.
Frequently Asked Questions
How to Build a Wooden Gun Safe That Provides Good Security?
Start by selecting strong hardwood like oak or maple and reinforce corners with metal brackets. Use a heavy-duty lock and consider internal steel plating for added security without altering the wood look.
How to Build a Homemade Gun Safe That Prevents Moisture Damage?
Use a sealant or marine varnish on the wood surface and install a moisture-absorbing device inside. This protects firearms against rust and wood warping.
Is It Cheaper to Build Your Own Gun Safe or Buy One?
Building your own can save money if you already have woodworking tools and skills. However, ready-made safes offer tested security and fire rating, which may justify the higher cost.
Can a Gun Safe Be Made of Wood and Still Be Secure?
Yes, but wooden safes must include reinforced locking mechanisms and possibly steel inserts. Wood alone offers limited protection against forced entry or fire.
How Much Does It Cost to Build a Gun Safe Room in a Home?
Costs vary widely but expect several thousand dollars based on room size, materials, and reinforcements. Choose a room with few windows and doors to reduce construction complexity and expense.
What Lock Type Is Best for a DIY Wooden Gun Safe?
A combination lock with a hardened steel deadbolt protects best for wooden safes, balancing security and ease of use.
Key Points to Remember
Building your own wooden gun safe lets you customize security and storage to your exact needs. Taking careful steps to choose quality materials and install reliable locks will protect your firearms and give you peace of mind. Begin by measuring your collection carefully, so your design fits your guns perfectly and offers functional organization.