How to Adjust Pistol Sights in 7 Easy Steps
Finding the Perfect Aim: Adjusting Your Pistol Sights
Have you ever felt the frustration of missing your target, even after a long day at the range? You’re not alone. Many shooters grapple with getting their sights just right, leading to wasted time and ammunition. The good news is that adjusting your pistol sights doesn’t have to be a daunting task. With a few simple steps, you can enhance your accuracy and boost your confidence.
Let’s dive into how you can master this essential skill in just seven easy steps.
To adjust your pistol sights in 7 easy steps, start by ensuring your firearm is unloaded and set up on a stable surface.
Fire a group at your target to see where your shots hit, then mark and measure the impact points.
Decide which way to move the sights based on your results, and make small, precise adjustments using the correct tools.
Test again, refine as needed, and record your settings.
Keep these tips in mind to master your sight adjustments smoothly.
Key Takeaways
- Ensure the firearm is unloaded and securely stabilize it on a bench or vise before making adjustments.
- Fire test shots and record impact points relative to your point of aim for accurate assessment.
- Use measuring tools and markings to determine the deviation and plan the necessary sight adjustments.
- Make small, incremental adjustments to the sight, counting clicks carefully for precise tuning.
- Re-test after each adjustment to verify impact alignment and document changes for future reference.
Gather Your Tools and Prepare Your Firearm
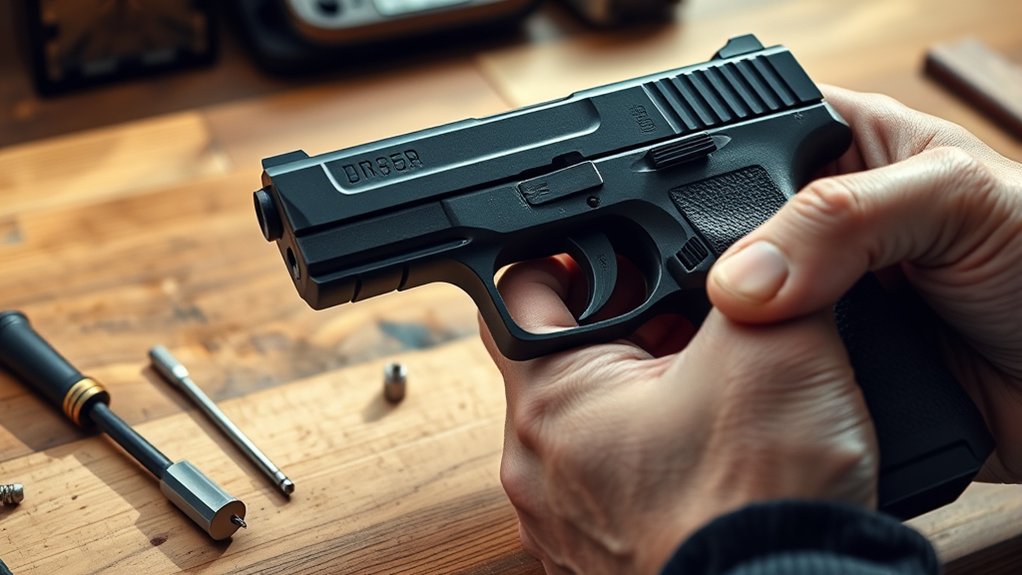
Before you start adjusting your pistol sights, it’s important to gather all the necessary tools and make sure your firearm is safe and ready.
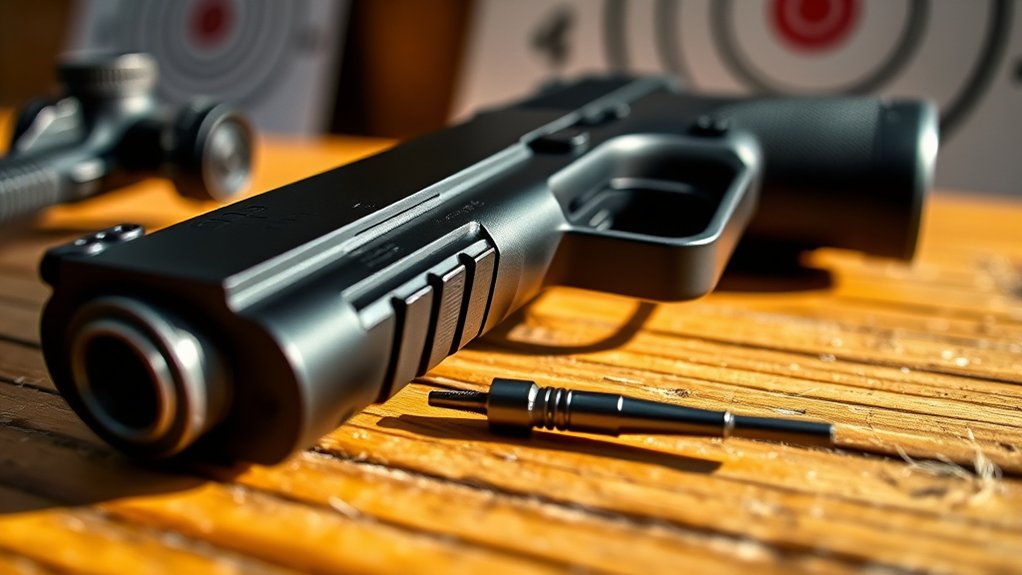
First, collect essential tools like a sight pusher, a small screwdriver or wrench, and marking tools such as a fine-tipped marker or paint pen.
Verify that your firearm is unloaded and safe—double-check the chamber and magazine to prevent accidents.
Knowing whether your sights are fixed or adjustable helps you select the right tools for the adjustment process.
To guarantee accuracy, set up a stable environment like a bench rest or shooting vise, which provides the stability needed for precise adjustments.
Keep a target at your desired zero distance nearby, along with measuring devices like calipers or a ruler for fine-tuning.
Proper preparation guarantees safety, enhances your aim, and makes the sight adjustment process smoother and more effective.
Mark Your Sight and Impact Points for Accurate Corrections
To make accurate sight adjustments, you need to mark your impact points clearly and consistently.
Use a pencil to record both the impact and your sight position, drawing lines to measure how far your shots are from your aim.
Mark Sight Adjustment Directions
Marking your sight and impact points is essential for making accurate adjustments, as it provides a clear reference to track your corrections.
When performing a sight adjustment, use sight markings with arrows or labels to indicate the correction directions—right, left, up, or down. This helps you remember which way to turn the adjustment screws during each correction.
Mark your impact points and compare them to your point of aim, measuring the impact points with a ruler or caliper for impact measurement. Recording these measurements guarantees you can make precise corrections.
After adjusting, re-shoot to verify the new impact points. Clear sight markings and impact point labels make it easier to follow correction directions and improve your accuracy efficiently.
Record Impact Locations Precisely
Accurately recording your impact points is essential for making effective sight adjustments, especially when you’re aiming for precision.
To do this, mark the exact point of impact on your target, using a fine-tipped marker or pencil for clarity. Record the location relative to your point of aim, noting measurements in inches or millimeters to guarantee precise adjustments later.
Draw reference lines horizontally and vertically through your impact point to visualize how your sights need correction. Consistently measure and record each shot’s point of impact after every group to track patterns and changes.
This diligent record-keeping allows you to make informed adjustments to your sights, improving accuracy and consistency with each session. Properly marking and recording impact locations is key to sighting success.
Use Consistent Marking Methods
Using a consistent marking method is essential for tracking your sight and impact points effectively. By clearly marking the impact point with a fine-tipped marker, you can see deviations from your aiming point during each shooting session.
Employing a uniform approach, like drawing crosshairs or grid lines, helps you record the exact impact relative to your aim. Mark your sights with a pencil or tape to track how much and in which direction you move them during calibration.
After each shot group, compare your impact marks to the aiming point, then adjust your sights accordingly. Maintaining detailed records of your markings and adjustments guarantees accurate, repeatable sight correction over multiple sessions, making your sight adjustment process more precise and effective.
Fire a Test Group to See Where Your Shots Hit
To determine how your pistol’s sights are aligned, you’ll need to fire a test group by shooting a series of 3 to 5 shots from a steady rest or a consistent stance.
This helps you see where your shots land relative to your point of aim. Measure the distance between the point of aim and the point of impact for each shot, noting if hits are high, low, left, or right.
Use a printed grid or target with measurement marks to gauge shot deviation accurately. Record the average point of impact if your shots are spread out, which guides your adjustments.
This process improves target accuracy and shot grouping.
Here’s a visual to imagine your shot pattern:
| Shot 1 | Shot 2 | Shot 3 |
|---|---|---|
| High left | Center | Low right |
| Point of aim | Point of impact | Shot deviation |
Analyze Impact and Decide How Much and Which Way to Adjust
Once you’ve fired your test group, the next step is to analyze where your shots landed relative to your point of aim.
Look at the impact pattern to determine the deviation—whether shots are left, right, above, or below the center.
Assess your shot grouping to identify horizontal or vertical deviations from your target.
If the group is left of your aim, you’ll need to move the sights right; if right, move them left.
Measure the impact deviation in inches or scoring rings to decide how much to adjust.
Use the formula: (sight radius / distance in inches) × impact deviation to calculate the number of clicks needed.
Decide whether to adjust the front or rear sights based on whether you need to move impact vertically or horizontally.
Keep your adjustments small and incremental, considering how severe the shift is and your firearm’s zeroing parameters.
This careful analysis ensures your sights are aligned for better accuracy and more consistent shot placement.
Make Small, Precise Sight Adjustments With the Right Tools
Making small, precise sight adjustments is essential for accurate shooting, and the right tools can make all the difference. A calibrated sight pusher allows you to move sights accurately without damage, ensuring consistent adjustments.
Before making any changes, mark the sight or slide with a pencil to track the direction and amount of movement. Always make incremental adjustments—just a few thousandths of an inch—so you don’t overshoot your target point of impact.
Count the clicks on the adjustment knob carefully, knowing each click corresponds to a specific MOA (minute of angle) movement. After making adjustments, test fire to verify how the impact shifts.
If needed, continue to make small, controlled adjustments, gradually fine-tuning your zero. Using the right tools and taking careful, incremental steps helps you achieve a precise zero, saving time and effort in the long run.
Test Your Adjustments and Confirm the New Zero
After you’ve adjusted your sights, it’s essential to verify that your corrections result in a true zero.
Start by firing a group at your intended sight zero distance, focusing on consistency in your technique to confirm that changes in impact are due to sight adjustments, not shooter error.
Begin by firing a group at your zero distance, ensuring consistent technique to isolate sight adjustments from shooter error.
Measure the deviation between where your bullets hit and your point of aim, then compare this to your expected correction based on your sight adjustments.
If the impacts aren’t aligned, make further precise adjustments and retest.
Continue firing and measuring until your impact consistently matches your point of aim, confirming a successful zero.
During this process, document the number of clicks or sight movement used for each correction.
This record allows you to replicate or fine-tune your sight zero in future shooting sessions, ensuring your sight adjustments are accurate and reliable for consistent shooting performance.
Fine-Tune and Record Your Sight Settings for Future Shooting
To guarantee your pistol remains accurately zeroed over time, it’s important to fine-tune and record your sight settings after each adjustment.
During sight adjustment, shoot a test group to verify the impact point and observe how changes affect your sight picture.
Use a marking tool, like tape or a permanent marker, to note the position of your sight adjustment knobs, ensuring you can replicate or revert settings easily.
Record settings in a dedicated log or digital record, including target distance, ammunition type, and shooting results.
Keep in mind, a change in ammunition or sight radius may require further adjustments and updates to your records.
Revisit your sight record periodically to maintain consistent zeroing, especially after switching ammo.
Accurate record-keeping helps you quickly restore your sights if they shift and ensures your zero remains reliable for future shooting sessions.
Frequently Asked Questions
What Is the Basic Rule for Sight Adjustment Pistol?
The basic rule for sight adjustment is to move the sight in the same direction you want the point of impact to shift.
If your shots hit left, move the rear sight right or the front sight left.
For high impacts, lower the sight; for low impacts, raise it.
Make small adjustments, then check your accuracy.
This way, you’ll fine-tune your aim effectively and consistently improve your shooting accuracy.
Do You Need a Tool to Adjust Iron Sights?
Think of adjusting your iron sights like tuning a musical instrument—you need the right tools to hit the perfect note.
Usually, yes, you do need a tool to make precise adjustments. Many sights require a specialized sight pusher or a punch and hammer, especially for high-quality or adjustable sights.
Using the proper tool helps prevent damage and guarantees your sight is aligned perfectly, making your shot more accurate.
Do I Have to Zero Iron Sights?
Yes, you should zero your iron sights.
Zeroing guarantees your point of impact matches your point of aim at a specific distance, usually 25 yards. It helps you shoot accurately without relying on optics, especially in rugged situations.
Regularly zeroing is important because ammunition and wear can affect accuracy. By zeroing your sights, you’ll improve your shooting consistency and confidence, making every shot more precise.
Can Iron Sights Be Misaligned?
Yes, iron sights can be misaligned due to impacts, rough handling, or wear over time.
You might notice your shots aren’t hitting where you aim, which indicates misalignment.
Regularly inspecting your sights helps catch issues early.
If you find they’re off, adjusting them is straightforward.
Just follow proper steps to realign your sights so your shots stay on target, ensuring accuracy and safety with your firearm.
Conclusion
Adjusting your pistol sights might seem intimidating at first, but with patience, you’ll hit your target more consistently.
Imagine finally nailing that difficult shot after hours of fine-tuning—you’ll feel confident and proud.
Just like Sarah, who struggled at the range until she learned these steps, you can turn frustration into success.
Keep practicing, stay precise, and soon, every shot will feel just right.
Your improved accuracy awaits—trust the process and enjoy the results.
Remember, mastering how to adjust pistol sights is the key to becoming a better shooter.