How to Mount a Gun Safe to the Floor in 7 Simple Steps
Engaging Opening Paragraph
If you own a gun safe, you know that simply having one isn’t enough. The increasing worry about theft or unauthorized access often leaves many gun owners feeling uneasy. You’re not alone in this—many people struggle with how to securely mount their safes to ensure they’re truly safe.
Fortunately, mounting your gun safe to the floor is a straightforward solution that adds an extra layer of security. With just a few simple steps, you can rest easier, knowing your valuables are better protected. Let’s dive into how to do it effectively!
—
To mount your gun safe to the floor, first pick a discreet, solid spot away from traffic and flood risks.
Clear and level the floor, removing any carpets or tiles.
Mark anchor holes using the safe’s pre-drilled points, then drill properly sized holes.
Set the safe back, insert anchor bolts, and tighten them evenly.
Test the safe’s stability and adjust if needed.
Regular maintenance keeps it secure.
Keep going to discover helpful tips and detailed steps.
Key Takeaways
- Choose a solid, level concrete floor in a discreet, low-traffic area to securely mount the gun safe.
- Mark and drill holes through the safe’s anchor points into the floor using the correct drill bit size.
- Position the safe over the holes, insert anchor bolts, and tap them fully into place.
- Tighten all bolts evenly in a cross pattern, ensuring the safe is level and stable.
- Regularly inspect, tighten bolts, and maintain the mounting hardware to ensure ongoing security.
Choose the Best Location for Your Gun Safe
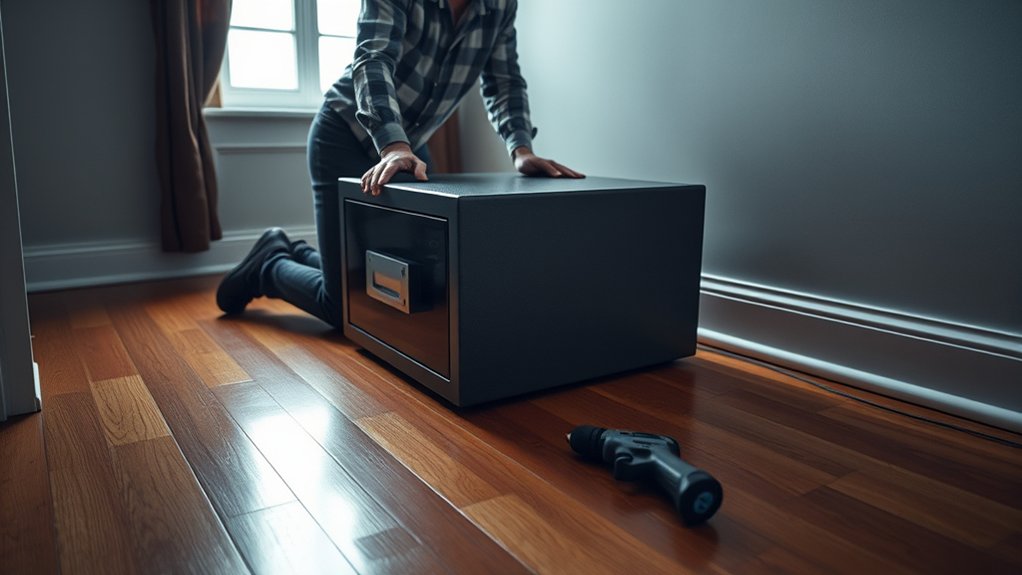
Where should you place your gun safe to keep it both secure and discreet? Start by choosing a discreet location, like a closet or a basement corner, where intruders are less likely to look.
Avoid high-traffic areas or spots near entry points to enhance security. Your location selection should prioritize a solid concrete floor with a level surface to guarantee proper support and maximize anchoring strength.
This stable base is vital for a secure installation and prevents shifting or tipping. Before finalizing your spot, measure your safe’s dimensions and confirm the floor can handle its weight.
Also, steer clear of flood-prone areas, especially if you’re placing the safe in a basement or below ground level.
Prepare Your Safe and Floor: Leveling and Clearing the Area
Before you mount your gun safe, make certain the floor is clear of any obstacles and debris for easy access.
You’ll want to place the safe on a flat, level surface to guarantee it sits securely without tilting.
Using a spirit level, double-check that the safe is perfectly horizontal before you start drilling.
Leveling The Safe
Although mounting your gun safe securely is essential, starting with proper leveling guarantees the entire process goes smoothly.
Begin by placing your safe on a flat, crack-free floor to ensure a stable base. Use a spirit level to check if the safe is perfectly horizontal from front to back and side to side.
If you notice any tilt or wobble, adjust the safe’s position by inserting shims or pads beneath it. These adjustments are vital for secure mounting, preventing future shifting or instability.
Before proceeding, confirm that the floor can support your safe’s weight, especially if it’s heavy. Taking these leveling steps carefully will set a solid foundation, making sure your safe sits firmly and securely on the floor.
Clearing Installation Area
After leveling your safe to guarantee stability, the next step is clearing the installation area.
You need to verify the floor flatness by using a level to check for any uneven spots.
Remove all flooring elements like carpets or tiles so the safe sits directly on a solid floor or wall surface.
Clear away debris and any obstructions that could interfere with secure placement.
Also, verify the floor’s weight capacity to handle the safe and any additional load.
Consider door clearance and discreet positioning for security.
| Task | Purpose |
|---|---|
| Remove debris | Prevent interference |
| Check floor flatness | Avoid wobbling or tilting |
| Remove flooring elements | Direct contact with floor |
| Confirm weight capacity | Support safe and contents |
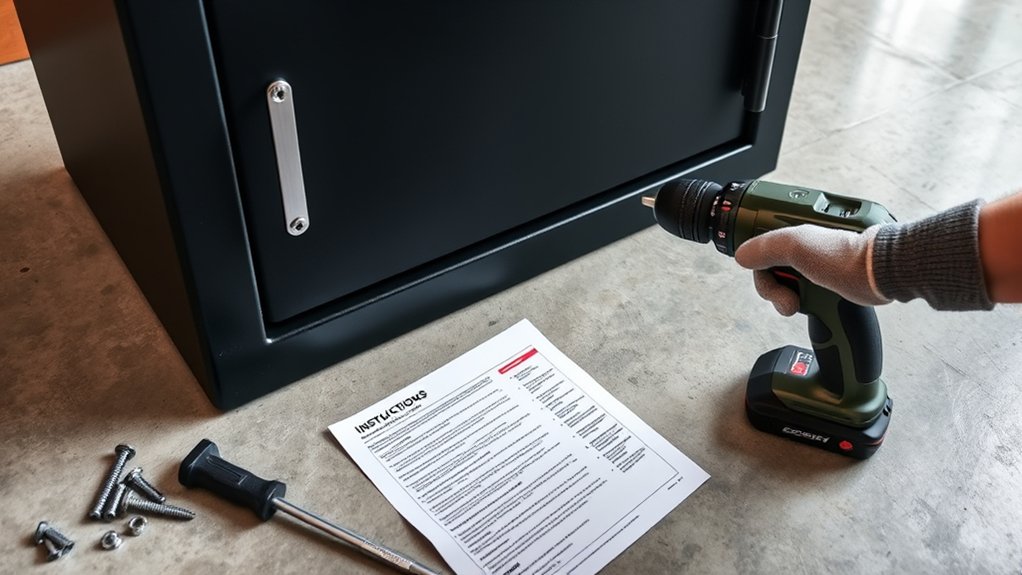
Mark and Drill Anchor Holes for Your Gun Safe
Once you’ve positioned your gun safe where you want it, use a pencil to mark the exact spots for the anchor holes by poking through or tracing the safe’s pre-drilled holes.
Position your gun safe and mark anchor hole spots by tracing through its pre-drilled holes with a pencil.
Before moving the safe aside, double-check your measurements and alignment to verify the marks correspond perfectly to the safe’s mounting holes.
Make sure the floor is clear of carpet, tiles, or debris—remove any coverings so you have direct access to the surface.
Next, select the appropriate drill bit size based on the anchor type and the manufacturer’s instructions; it should match the diameter of the anchor bolts.
When drilling, hold the drill perpendicular to the floor and apply steady pressure.
Drill each anchor hole deep enough to securely fit the anchors, guaranteeing a strong and stable mounting for your safe.
Accurate marking and drilling are essential steps to confirm your gun safe is safely and securely mounted to the floor.
Position Your Safe and Insert Anchor Bolts
Now that you’ve marked and drilled the anchor holes, it’s time to position your safe carefully.
Make sure the mounting holes line up perfectly with the drilled spots before inserting the anchor bolts.
Once aligned, insert the bolts through the base and get ready to secure them firmly.
Align Safe Correctly
Before securing your gun safe, you’ll want to position it precisely where you want it, making sure it’s level and has enough clearance for the door to open fully.
Use a level to check the safe’s alignment and make any necessary adjustments for proper placement.
Once level, mark the locations of the mounting holes on the floor through the safe’s anchor points with a pencil.
Remove the safe to drill the marked holes accurately.
After drilling, reposition the safe carefully, aligning the holes for a perfect fit before moving on to bolt insertion.
| Step | Action |
|---|---|
| 1. Position Safe | Ensure level and clearance |
| 2. Check Alignment | Use a level, adjust as needed |
| 3. Mark Holes | Mark through anchor points |
| 4. Drill & Reposition | Drill holes, align holes again |
Insert And Secure Bolts
After you’ve carefully repositioned your safe over the drilled holes, make sure the bolt holes line up perfectly with the floor anchors.
Insert the anchor bolts through your safe’s mounting holes into the pre-drilled holes in the floor.
If needed, gently tap the bolts with a plastic or rubber hammer to seat them fully into the anchors.
Then, use a socket wrench to tighten the nuts, applying consistent pressure to verify the bolts are securely anchored.
Proper anchoring is vital for stability and safety.
- Confirm bolt holes align exactly with drilled holes
- Insert anchor bolts firmly into floor anchors
- Gently tap bolts to fully seat if necessary
- Tighten the nuts evenly to secure the safe
This final step in the installation process guarantees your safe won’t wobble or shift.
Tighten the Bolts to Secure Your Gun Safe
Although mounting your gun safe correctly is essential, tightening the bolts properly is what guarantees it stays securely in place.
Use a socket wrench to tighten the bolts evenly, applying gradual pressure in a cross pattern. This method helps prevent misalignment and ensures the safe’s mounting base is pressed down evenly against the floor.
Make sure each bolt is fully seated with no gaps or looseness to maximize holding power. Avoid over-tightening, as this can damage the mounting holes or warp the safe’s base, compromising its stability.
Once all bolts are tightened securely, double-check that they’re snug and evenly fastened.
Over time, recheck the bolts to maintain the safe’s secure mounting. Properly tightened bolts are the key to keeping your gun safe secure, preventing movement or tipping, and ensuring your valuables remain protected.
Test Your Gun Safe’s Stability and Adjust as Needed
Once you’ve tightened the bolts to secure your gun safe, the next step is to confirm it’s stable and properly anchored. You want to verify the safe’s stability so it won’t shift or tip over.
Start by using a level or straight edge to ensure the safe sits flat and aligned on the floor. Then, gently shake or apply pressure to check for looseness or any movement.
If you notice any wobble or looseness, don’t hesitate to loosen the bolts slightly, reposition, and tighten them again. Sometimes, drilling additional anchoring holes might be necessary for extra security.
To make sure your safe is securely anchored:
- Use a level to verify flat placement
- Gently shake the safe to check for movement
- Apply gentle pressure or tilt to test stability
- Tighten bolts again if any looseness is detected
Confirming these steps ensures your gun safe remains firmly fixed and safe.
Keep Your Gun Safe Secure With Regular Maintenance Checks
How often should you check your gun safe to keep it secure? Regular maintenance is key.
Conduct a thorough inspection of the bolts and hardware at least every few months to assure nothing’s loosening or corroding.
Tighten or replace any parts that show wear to keep your safe mounted securely.
Test the stability by gently rocking the safe; it shouldn’t shift or wobble if properly anchored.
Also, clean the mounting area regularly to remove dust and debris that might affect the secure fit.
Don’t forget to verify that the lock operates smoothly and securely during each maintenance check—this ensures quick access while maintaining safety.
Keeping a record of inspection dates and any maintenance work helps you maintain a consistent security protocol.
Frequently Asked Questions
Can a Safe Be Bolted to the Floor?
Yes, you can bolt a safe to the floor, and it’s actually a smart move for added security.
You’ll want to make sure the floor is concrete or another sturdy material to hold the anchors properly.
When you bolt it down, it becomes much harder for someone to steal or tip over your safe.
Just follow the manufacturer’s instructions carefully so you do it right and keep your valuables secure.
How to Fit a Safe in the Floor?
To fit a safe in the floor, first cut out a hole that matches the safe’s base dimensions. Ensure it’s deep enough for the safe to sit flush or slightly recessed.
Make sure the floor is level and clean. Place the safe into the hole, then secure it with bolts through pre-drilled mounting holes.
Using anchors in the floor helps keep your safe stable and harder to remove.
Can My Floor Hold a Gun Safe?
You can usually tell if your floor can hold a gun safe by checking its material and condition.
Concrete floors are ideal since they handle heavy weight well.
If you have wood floors, you’ll need to reinforce them to safely support the safe’s weight.
Make sure your floor is level and free of damage like rot or water issues.
When in doubt, get a structural engineer to assess your floor’s load capacity.
Do Gun Safes Need to Be Bolted to the Floor?
Absolutely, you should bolt your gun safe to the floor—think of it like securing a knight’s armor in battle.
Doing this keeps your safe stable, preventing it from tipping or being dragged away by thieves.
It’s especially vital if you live in an earthquake zone or want to meet insurance requirements.
Concrete floors work best for this.
Conclusion
Mounting your gun safe securely is essential—did you know over 50% of gun thefts happen because safes weren’t properly anchored?
By following these simple steps, you’ll greatly reduce the risk of theft and keep your firearms safe.
Remember, choosing the right spot and regularly checking your safe’s stability are key.
With a little effort, you’ll enjoy peace of mind knowing your valuables are securely fastened to the floor.
Stay safe and ensure your gun safe is properly mounted!