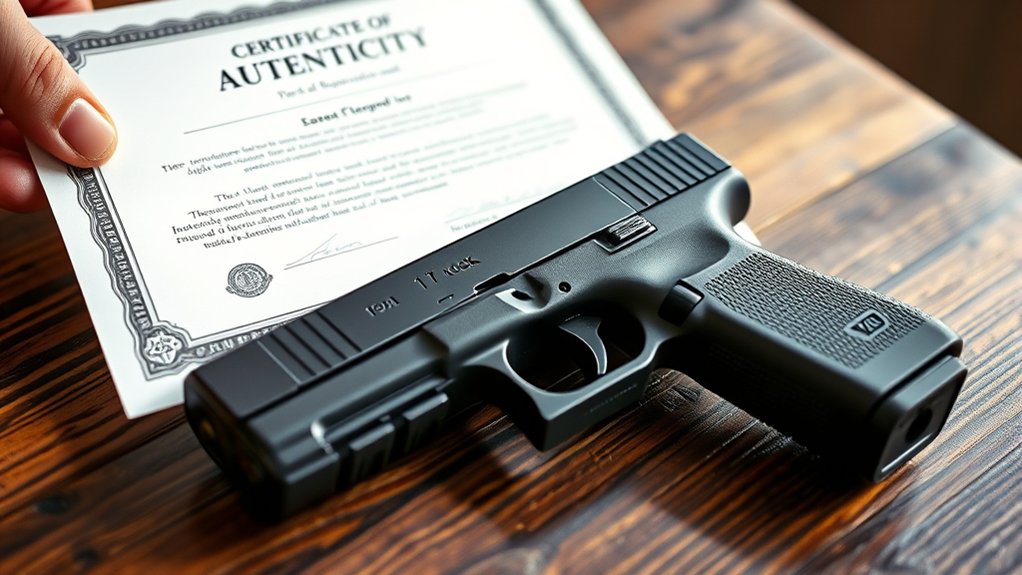
What Is Glock COA and How to Use It
If you’ve ever struggled with quickly acquiring your target or wished your Glock could offer better accuracy without adding bulk, you’re not alone. Many gun owners face the challenge of balancing precision with convenience, especially when it comes to concealed carry. Finding a solution that enhances your shooting experience without complicating your setup can feel like a hassle.
That’s where the Glock COA comes in.
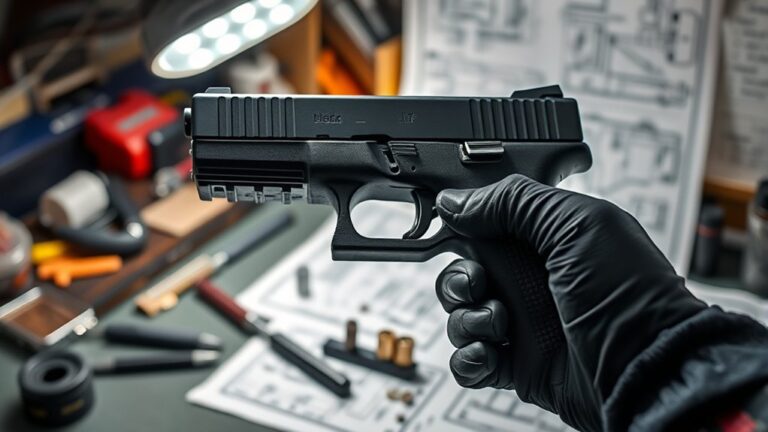
The Glock COA is a compact Aimpoint red dot sight built directly into certain Glock pistols, offering faster target acquisition and improved accuracy without bulky mounts. If your Glock has an A-CUT slide, installation is straightforward—just align, secure with screws, and adjust brightness to suit lighting.
It’s designed for concealed carry with a low profile, durable battery life, and reliable backup sights. Keep scrolling to discover how to install, maintain, and get the most from your Glock COA.
Key Takeaways
- Glock COA is an integrated Aimpoint optic designed for Glock pistols with A-CUT slides made after 2025, offering a low-profile, durable sight.
- Installation requires aligning the optic to the A-CUT mount, securing screws to specified torque, and ensuring proper fit and stability.
- Adjust brightness using tactile buttons, utilize the auto step-down feature, and lock settings to prevent accidental changes during use.
- Regularly check and tighten mount and battery tray screws, apply thread locker, and clean mounting surfaces to maintain reliability.
- The compact design enhances concealability by reducing printing, while backup iron sights provide reliable fallback in case of optic failure.
What the Glock COA Is and Why You’ll Want One
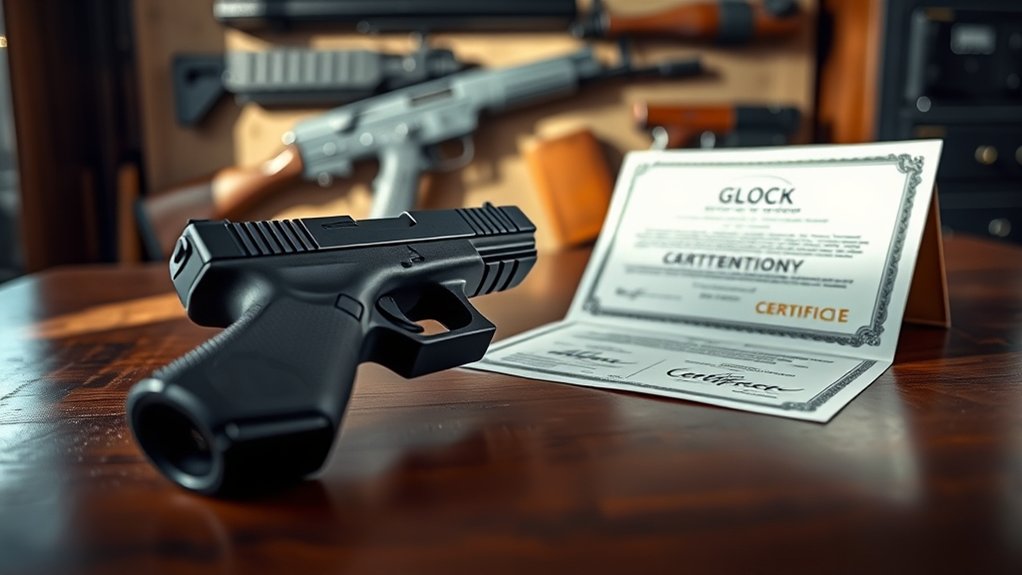
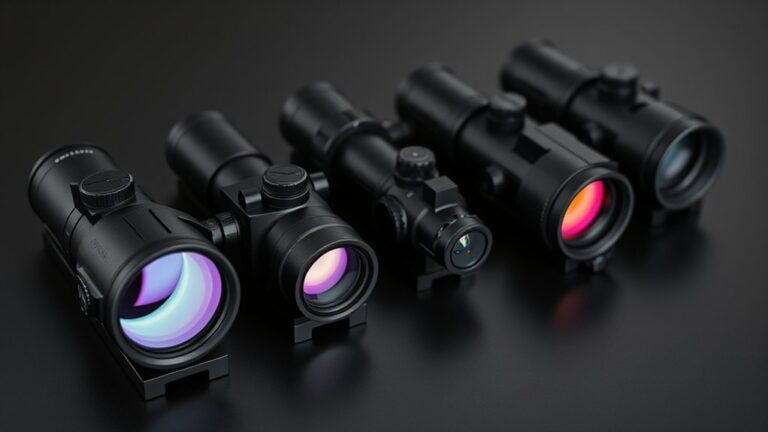
While you might already know about red dot sights, the Glock COA takes things a step further by integrating Aimpoint’s advanced technology directly into your Glock pistol with a low-profile mount. This gives you faster target acquisition and better accuracy without bulky adapters.
This integrated red dot sight system combines the Aimpoint COA optic with a unique A-CUT mounting system, designed specifically for Glock slides. The fully enclosed emitter and 3.5 MOA reticle provide precision and durability, while the mount’s low profile ensures a natural sight picture and easy co-witness with iron sights.
With up to 50,000 hours of battery life, the Aimpoint COA is reliable for extended use. Its compact, lightweight design keeps your Glock concealed and maneuverable, making it ideal for tactical situations or everyday carry.
Which Glock Models Are Compatible With the Glock COA?
Since the Glock COA is built around the A-CUT slide design, you’ll find it compatible with models like the G19, G45, G47, G48, and G43X, primarily those made after 2025. These Glock pistols feature specific dimensions and slide lengths optimized for the COA system, ensuring a secure fit and reliable sight compatibility.
The Aimpoint COA sight is engineered specifically for these A-CUT slides, providing proper alignment and functionality without modification. If you own an older Glock, compatibility may vary since those models often lack the dedicated A-CUT interface.
In that case, you’ll want to verify compatibility with Glock or an authorized dealer before purchasing. Overall, the Glock COA sight offers a streamlined solution for newer Glock pistols designed to accommodate this system, making it a smart upgrade if your model supports the A-CUT slide design.
How to Install the Glock COA
Before you mount the Glock COA, make sure your slide has the A-CUT interface and is clean, removing any iron sights if needed.
Next, align the Aimpoint COA with the mount, ensuring proper fit and indexing.
Finally, secure the optic with the screws and test for stability to confirm a solid installation.
Preparing The Pistol
Although installing the Glock COA requires careful attention, you’ll find the process straightforward if you follow the steps closely. First, confirm your pistol is unloaded and remove the magazine to guarantee safety.
Next, detach the slide to prepare for installation. Use the provided A-CUT mounting system to achieve proper alignment of the COA red dot with the slide recess. This alignment is essential for a secure fit and accurate performance.
Once aligned, tighten the mount screws to the manufacturer’s recommended torque, marking them with paint for future stability checks. Finally, reinstall the slide onto the frame, verifying the optic is seated correctly.
This preparation ensures a smooth installation process and reliable function when you’re ready to mount the Aimpoint COA.
Mounting The Aimpoint COA
When you’re ready to mount the Aimpoint COA, make sure the Glock slide’s A-CUT interface is clean and dry to guarantee a secure fit. The Aimpoint COA red dot mounts directly to this A-CUT mounting interface, so you won’t need any adapter plates.
Position the optic carefully, ensuring it sits flush against the slide and aligns with your iron sights for accuracy. Use the mounting screws provided to secure the optic, tightening them to the manufacturer’s recommended torque.
This direct-mount system simplifies installation while maintaining stability. Although you’re not securing or testing it yet, keep in mind that you’ll want to inspect and re-tighten these screws after some use to maintain a solid attachment.
This method gives you a reliable, streamlined setup for your Glock COA.
Securing And Testing
Since securing the Aimpoint COA properly is vital for reliable performance, start by carefully removing the slide from your Glock and ensuring it’s clean and free of debris. Next, focus on the mounting and stability of the optic. Follow these steps:
- Align the A-CUT interface on the slide with the Aimpoint COA mounting points.
- Tighten the mounting screws to the manufacturer’s specified torque for secure attachment.
- Apply gentle force to check for any movement or shifting during recoil.
- Mark the screw positions with a marker, then recheck after firing a few rounds.
- Perform regular inspection of screws and mounting during routine maintenance to ensure ongoing stability.
Ensuring a Secure and Stable Glock COA Mount
To keep your Glock COA mount secure and stable, you’ll need to regularly check and tighten the screws, especially after heavy use. Loose mounting hardware can compromise security, so applying proper torque is crucial to withstand recoil forces.
Use a thread locker on the screws to prevent them from loosening over time. After tightening, mark the screws with paint or an indicator; this makes it easy to spot any movement during routine inspections.
Apply thread locker and mark screws to easily detect any loosening during inspections.
Don’t forget to periodically remove the mount and clean the mounting surfaces, degreasing them to maintain peak grip and stability. Conduct thorough inspections after extensive shooting sessions to guarantee everything remains firmly in place.
Neglecting these steps could lead to mount failure or movement, affecting accuracy and safety. By staying proactive with your maintenance, you’ll keep your Glock COA mount reliably secure and stable every time you head to the range.
Adjusting Brightness and Settings on the Glock COA
Although the Glock COA offers a range of brightness levels, adjusting them is straightforward with its glove-friendly tactile buttons. You can easily tailor the sight’s brightness and settings to suit different lighting conditions, ensuring ideal visibility and battery efficiency.
Here’s how to manage it effectively:
- Use the plus (+) and minus (–) buttons to adjust brightness from levels 1-4 for night vision and 5-12 for daylight.
- Listen and feel the tactile feedback confirming each brightness change.
- Take advantage of the auto step-down feature, which automatically lowers brightness after inactivity to save battery life.
- Use the lock/unlock function to prevent accidental brightness adjustments during use.
- Regularly check and modify brightness settings based on ambient light for the best target clarity.
Keeping Your Glock COA Running: Battery and Screw Tips
To keep your Glock COA running smoothly, regularly check the battery tray screw and tighten it with the right torque. Applying thread locker during reassembly can prevent the screw from loosening over time.
Also, keep a small screwdriver handy for quick battery changes without removing the entire optic.
Battery Tray Maintenance
How often have you checked the battery tray screw on your Glock COA? Proper maintenance is key to keeping your battery secure and the device functioning reliably.
Here’s what you should do regularly:
- Inspect the battery tray screw for tightness and security.
- Apply a thread locker like Loctite when reinstalling the screw.
- Remove the screw carefully when replacing the battery to avoid losing it.
- Clean the battery tray and screw threads to remove dirt and grease.
- Check the screw’s stability after heavy range use or extended carry.
Screw Tightening Tips
Keeping the battery tray screw secure is just one part of maintaining your Glock COA; the mount screws also need regular attention. You should regularly check these screws to verify they stay tight, as loose screws can affect optic stability.
During installation, use a torque wrench to tighten screws to the manufacturer’s recommended torque, usually between 1.5 and 2.0 Nm, preventing over-tightening or loosening. Applying a small amount of thread locker on the screws during installation helps keep them secure through recoil.
After shooting sessions, inspect the screws for any signs of loosening and re-tighten if necessary. When reapplying thread locker, always remove, clean, and degrease the screw threads to guarantee the best adhesion and long-lasting security.
Thread Locker Usage
Although it might seem like a small step, applying thread locker to your Glock COA’s screws plays a crucial role in maintaining stability and preventing loosening during use. Using thread locker on mounting screws, especially the battery tray screw, ensures your COA stays secure under recoil.
To maximize security:
- Remove and clean screw threads before applying thread locker for better adhesion
- Apply a small amount of thread locker to prevent screws from loosening
- Use the correct torque (15-20 in-lb) when tightening to avoid damage or loosening
- Regularly inspect and re-tighten mounting screws to maintain zero
- Mark screws with paint or a witness line to easily spot any movement during checks
Following these tips keeps your Glock COA reliable and secure in the field.
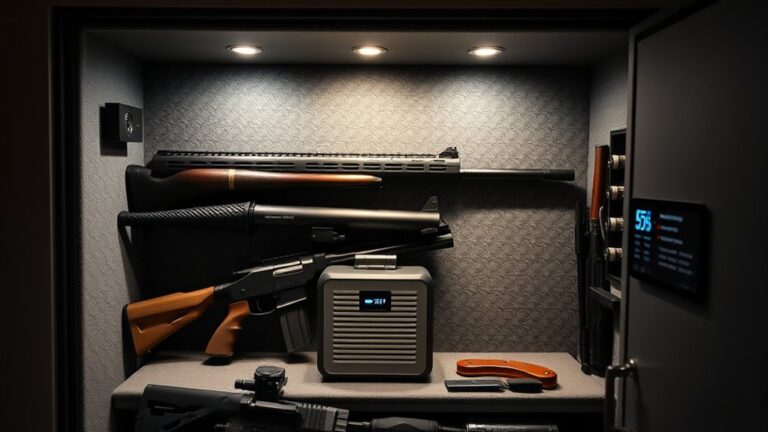
Practical Benefits of Using the Glock COA for Concealed Carry
Because the Glock COA features an integrated, lower-mounted design, it considerably enhances concealability by reducing printing compared to traditional optics. Its compact design and integrated mounting system make it ideal for concealed carry, ensuring your red dot sight stays low-profile and comfortable.
The enclosed emitter boosts durability, while the standard iron sights serve as reliable backups without compromising concealment. This setup allows quick, intuitive target acquisition, helping you stay ready in any self-defense scenario.
| Feature | Benefit | Concealed Carry Impact |
|---|---|---|
| Integrated Mounting | Low profile, secure fit | Reduces printing |
| Compact Design | Lightweight, minimal bulk | Comfortable for all-day wear |
| Red Dot Sight | Fast target acquisition | Enhances readiness |
| Enclosed Emitter | Durable, protected optics | Reliable in daily carry |
Using the Glock COA means you get a practical, durable, and comfortable optic tailored to your concealed carry needs.
Fixing Common Problems With the Glock COA
If you want your Glock COA to perform reliably, you’ll need to address a few common issues that can arise during regular use. One frequent problem is loose mount screws, which compromise stability and accuracy. Proper installation and maintenance are key to avoiding this.
Here’s how to fix common issues:
- Regularly check and tighten all mount screws to prevent looseness.
- Use thread locker on screws and apply correct torque for a secure fit.
- Inspect the battery tray screw often, as it tends to loosen over time.
- Clean and degrease mounting surfaces before installation to improve grip.
- Monitor the COA’s stability during shooting sessions and re-tighten screws if you notice any movement.
Tips for Maximizing Your Glock COA Performance
To get the most out of your Glock COA, focus on maintaining secure mounting and mastering sight use. Regularly check and tighten mounting screws, especially the battery tray screw, to prevent loosening. Using thread locker and applying the correct torque will help keep everything stable.
Clean and degrease the A-CUT interface before installation to reduce movement. Practice rapid battery change through the side-loading battery tray to keep peak brightness without removing the sight. Finally, conduct routine range drills to improve your sight picture and dot tracking for consistent performance.
| Tip | Description |
|---|---|
| Mounting Screws | Tighten regularly; use thread locker |
| Battery Tray | Check screw tightness; enables rapid change |
| A-CUT Interface | Clean and degrease before mounting |
| Rapid Battery Change | Practice side-loading tray use |
| Sight Picture & Tracking | Train with drills for consistent acquisition |
Frequently Asked Questions
Is a Glock Coa Worth It?
Yes, a Glock COA is worth it if you want a durable, reliable optic that’s built to last. You’ll appreciate its quick target acquisition thanks to the low mounting position. The long battery life means less hassle replacing power.
Plus, the fully enclosed design keeps it protected from dirt and damage. If you carry regularly or need a tough sight setup, it’s definitely a solid investment for your Glock.
What Is a Coa GLOCK Pistol?
You might’ve heard the Glock COA pistol is just a regular Glock with a sight, but it’s way more than that. It’s a Glock model built with an integrated Aimpoint COA red dot sight, designed for quick target acquisition and durability.
What Is Special About the Glock 45 COA?
The Glock 45 COA stands out because it combines a compact slide with a full-size frame, giving you a perfect balance of size and control. You’ll appreciate the factory-installed Aimpoint COA red dot sight, which sits lower for quicker target acquisition.
Its Gen6 features boost durability and grip, making it versatile for duty or concealed carry. Basically, it’s designed to offer reliability and seamless optic integration right out of the box.
How Much Is a Glock COA Pistol?
Imagine walking into a gun store and seeing the Glock COA with an Aimpoint optic priced at around $834. That’s a solid example of what you can expect to pay.
Prices can shift a bit depending on where you shop or if you add accessories, but generally, you’ll find it in the $800 to $900 range. It’s a premium firearm, so you’re paying for quality and innovation.
Conclusion
So, you’ve got your Glock COA all set up, ready to make your shooting smoother and your carry smarter. Ironically, the one thing you won’t need to worry about is missing your target—or your coffee, for that matter.
With the COA’s precision and your new skills, you’ll wonder how you ever managed without it. Just remember, it’s not magic—just smart tech making your Glock smarter.
In conclusion, using the Glock COA effectively can truly enhance your shooting experience and overall firearm handling.