Can You Bore Sight a Red Dot? Simple Steps for Fast, Accurate Zeroing
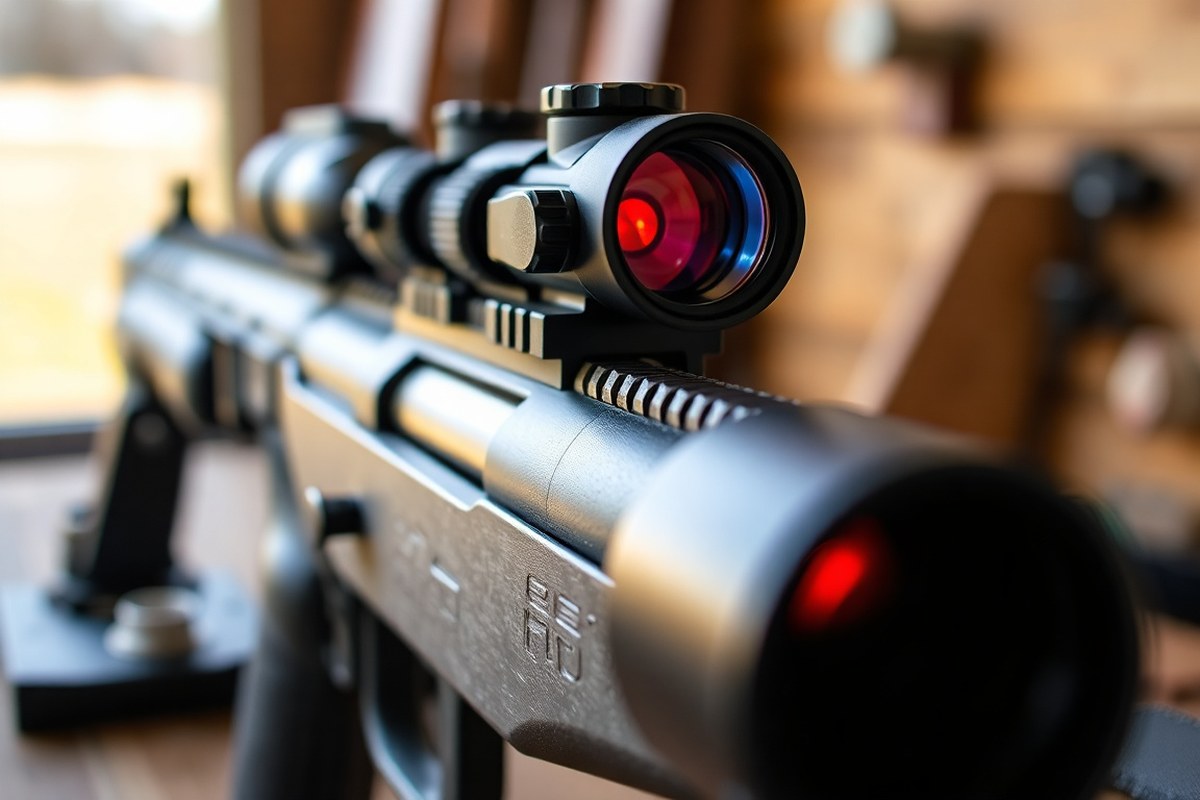
Can you bore sight a red dot? Yes, you can effectively bore sight a red dot sight to quickly align it with your firearm’s bore axis. Using a laser bore sighter helps position the dot close enough, within a few inches at 25 yards, to hit paper on your first shot. Start by ensuring your red dot sight is securely mounted and aligned before bore sighting for the best results.
Key Takeaways
- Use a laser bore sighter to align the red dot with the barrel’s centerline before live firing.
- Mount the red dot tightly on the firearm to prevent shifts during bore sighting and shooting.
- Set your zero distance based on the firearm: around 25 yards for rifles and 10 yards for pistols.
- Adjust red dot clicks in ½ to 1 MOA increments to quickly “walk” the point of aim onto the bore reference.
- Verify and fine-tune your zero at the range, starting from your bore sight baseline, to improve accuracy.
- Account for parallax error at close range by aiming slightly higher when shooting inside 10 yards.
Can You Bore Sight a Red Dot Sight Effectively?
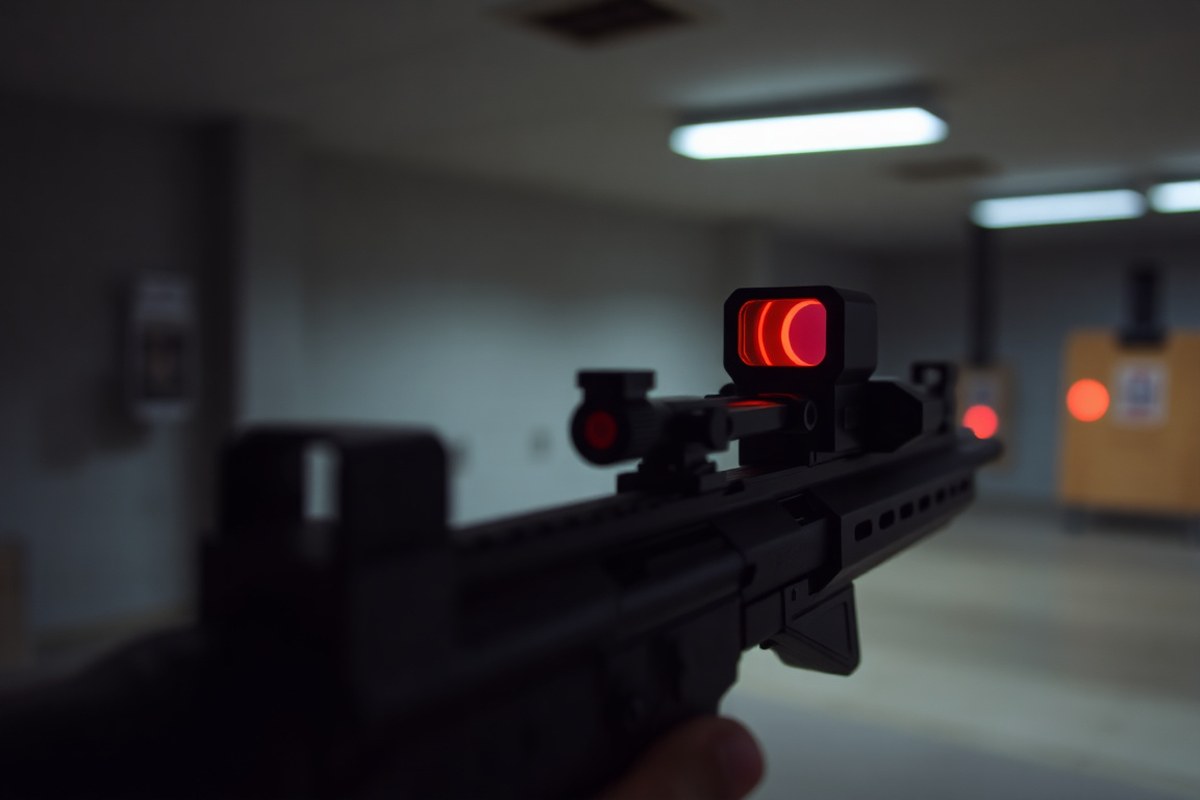
Aligning a red dot sight using bore sighting serves as a useful initial step to roughly match the optic’s aim with the firearm’s bore axis prior to shooting live rounds. This technique conserves ammunition and speeds up the zeroing process by visually setting the red dot to coincide with the barrel’s center. You can achieve this by employing a bore sighting device, such as a laser bore sighter, or by peering through the barrel at a distant object if the firearm’s design permits it.
Not every red dot sight supports bore sighting equally well. The effectiveness depends largely on the design and mounting system of your red dot. Most sights with clear, repeatable windage and elevation adjustments enable precise alignment during bore sighting. In contrast, some red dots lack adjustable turrets or have coarse adjustment increments, such as half or full MOA per click, making fine-tuning less precise at this stage. Identifying your sight’s adjustability before bore sighting ensures you don’t waste time attempting to align a non-adjustable optic.
To bore sight effectively, start by securely mounting your red dot on the firearm, verifying the mount does not shift under slight pressure. Then, with the firearm stable, use a laser bore sighter inserted into the chamber or attached to the muzzle, projecting a beam downrange. Look through the red dot sight and adjust the optic until the red dot aligns with the laser dot on your target. Without a laser bore sighter, take out the bolt and visually align the firearm’s bore with a distant target. Then adjust the red dot sight so its point of aim matches where the bore is aimed. This helps set a good initial zero.
Bore sighting typically gets you close to zeroing but not exactly perfect. Environmental factors, parallax errors, and the red dot’s reticle size may cause slight deviations from the bore line. Therefore, bore sighting should never replace live-fire adjustments but rather serve as a time-saving baseline. Accuracy improves notably by combining bore sighting with live shots at a range, refining the zero with shot group feedback.
Cost-wise, laser bore sighters range between $30 to $100 depending on quality and compatibility, an affordable investment compared to the cost of wasted ammunition during trial-and-error zeroing. Lower-cost red dots or those without proper adjustment mechanisms might limit the benefits of bore sighting and require more reliance on live firing adjustments. Remember that bore sight alignment is affected by how repeatable and stable the mounting system is, so ensuring your sight is properly mounted is essential for bore sighting to be truly effective.
Essential Tools and Safety Checks for Bore Sighting Red Dots
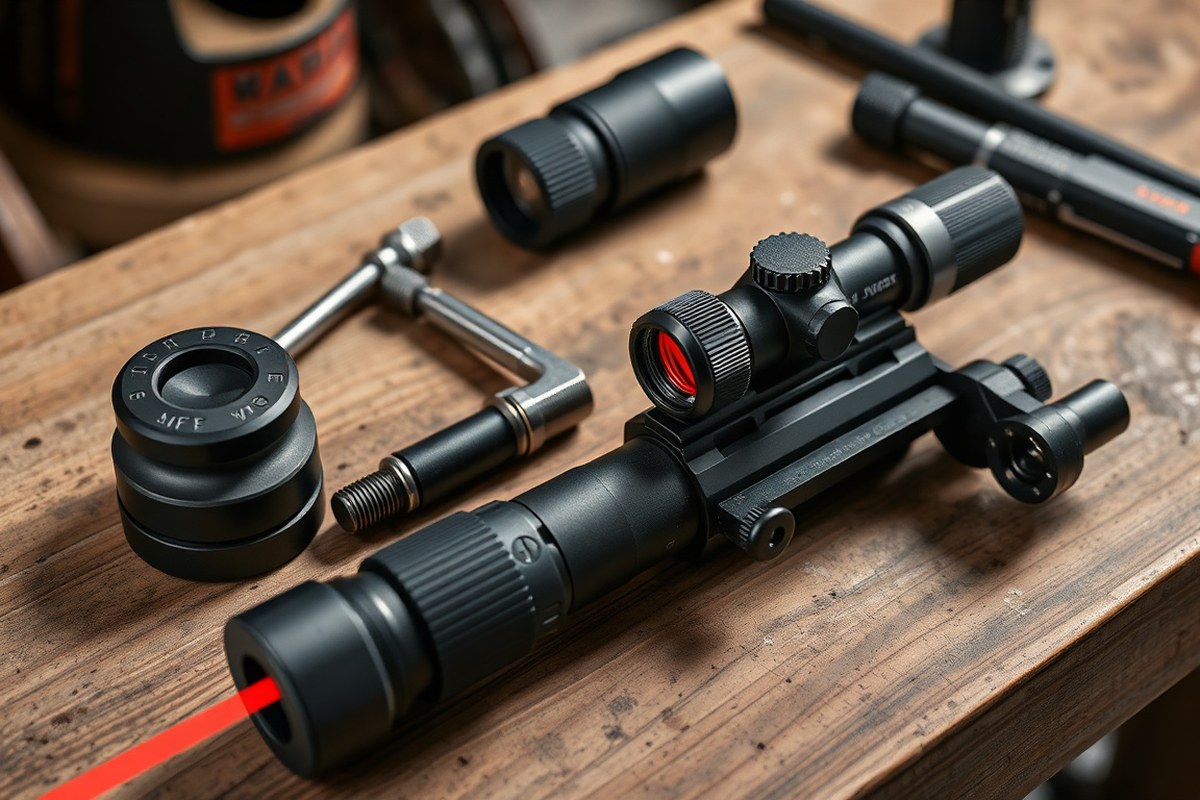
Before bore sighting your red dot sight, gather all necessary tools to ensure proper alignment and safety. Essential equipment includes a laser bore sight specifically designed for your firearm’s caliber, a reliable torque wrench for mounting adjustments, and the appropriate mounting hardware for your red dot. Having a stable rest or shooting bench helps keep the firearm steady without removing the barrel or using a vise, which many shooters successfully avoid. These tools support precise alignment by providing a consistent reference point projecting from the bore axis toward the target.
Prioritize safety by performing critical checks before starting. Confirm the firearm is unloaded by visually and physically inspecting the chamber and magazine, then remove any ammunition from the workspace. Work in a well-lit area free of distractions and point the barrel in a safe direction at all times. Double-check that the red dot sight is securely mounted according to the manufacturer’s torque specifications to prevent any shift during adjustments. Taking these steps saves time and prevents errors that might cause dangerous misfires or incorrect zeroing.
- Laser bore sight matching your firearm caliber
- Torque wrench for mounting screws
- Red dot mount and mounting tools
- Stable firearm rest or shooting bench
- Clear workspace and proper lighting
- Verification that firearm is unloaded
- Protective eyewear and ear protection recommended
The laser bore sight emits a precise point from the bore axis, allowing you to align your red dot sight’s reticle roughly within a few inches of the target at close range. This step reduces the time and ammunition spent in live fire zeroing. Confirm the laser bore sight is properly seated in the chamber or attached magnetically or via cartridge fit. Once everything is secured, adjust the red dot until the sight’s dot aligns with the laser point on your target. Take your time to check for any looseness in the mount or any movement that may occur when tightening screws, as a stable setup influences bore sighting accuracy.
Always treat your firearm as loaded until you personally verify it is not, and keep the muzzle pointed in a safe direction throughout the bore sighting process.
Using a red dot sight with an adjustable reticle and a quick-detach mount can ease the bore sighting process by offering more flexibility in fine-tuning alignment. Avoid rushing adjustments; small incremental changes with equal torque on mounting screws help maintain consistent zero. Skipping safety checks or using improperly matched tools can lead to inaccurate bore sighting or damage your optic and firearm. Proper preparation lays the foundation for a successful zero at the range.
How to Mount and Prepare Your Red Dot Sight Correctly
Mounting your red dot sight properly is important for accurate and repeatable bore sighting. Securing the optic firmly prevents movement during shooting and adjustments, which could throw off your zero. You can mount and prepare your red dot sight without removing the barrel, as long as the mounting base is secure and accessible.
Mounting the Sight Securely
Start by positioning your red dot sight on the firearm’s mounting base. Proper alignment with the mounting holes or rail ensures that the optic sits straight and in the correct orientation for use. Different firearms may use Picatinny, Weaver, or proprietary mounting systems, so make sure your red dot and firearm have compatible interfaces. Follow these steps to mount the sight correctly:
- Place the red dot sight onto the firearm’s mounting base, lining up the holes or rail slots.
- Insert the mounting screws or bolts by hand to avoid cross-threading.
- Use the recommended mounting hardware supplied with your sight or firearm.
- Ensure the optic is positioned to offer comfortable eye relief and clear dot visibility.
- Gradually tighten the screws in a crisscross pattern to apply even pressure.
- Consult the manufacturer’s instructions for any specific positioning nuances.
Checking Mount Stability and Torque
A secure and stable mount helps the sight hold zero after bore sighting and during shooting sessions. Applying the correct torque to the mounting screws prevents loosening from recoil or handling. Over-torquing can damage threads or warp mounts, while under-torquing leads to optic movement and inaccurate sighting.
Most manufacturers provide torque specifications, often ranging from 15 to 25 inch-pounds for small optics screws. Use a torque screwdriver or wrench to achieve proper tightness. After mounting, inspect the optic for any lateral or vertical movement by gently trying to wiggle it. Perform a quick stability check:
- Apply gradual pressure side to side and up and down on the optic’s body.
- Listen for creaks or feel looseness during movement.
- Retorque screws if any movement is detected.
- Recheck torque periodically before and after shooting sessions.
Confirming the Firearm Is Unloaded
Safety must be your top priority before mounting the sight or starting bore sighting. Confirm the firearm is unloaded and the chamber is clear to prevent accidental discharge. This step does not require barrel removal and can be done safely in any controlled environment. Follow these safety steps before handling your firearm or optic:
- Remove the magazine if applicable.
- Open the action or bolt to visually and physically check the chamber for no ammunition.
- Point the firearm in a safe direction at all times during inspection and mounting.
- Engage any safety mechanism once you confirm the firearm is clear.
By verifying your firearm is unloaded before mounting the red dot sight, you reduce risks and establish a safe working environment for bore sighting and zeroing.
Choosing the Right Distance and Dot Size for Bore Sighting
Choosing the right distance to bore sight your red dot sight is key for aligning it effectively. For pistols, set the zero at about 10 yards. This distance balances the need for close-range accuracy while keeping the point of aim reasonable for typical self-defense or target shooting scenarios. Rifles usually require a zero around 25 yards, reflecting their longer engagement ranges and more precise shot placement demands. These distances help ensure your red dot matches real-world shooting conditions.
The size of the red dot itself also affects bore sighting accuracy. Smaller dots, such as 3 to 4 MOA (minutes of angle), provide a more precise aiming point but can be harder to see quickly under certain lighting. Larger dots, like 6 MOA or above, are faster to acquire but offer less pinpoint precision. When bore sighting, a smaller dot helps you detect smaller misalignments between the bore and the sight’s point of impact, making it easier to fine-tune adjustments. For example, with a 3 MOA dot at 25 yards, one MOA corresponds roughly to 0.25 inches, letting you see small deviations clearly.
To decide which zero distance and dot size suit your needs, consider this rule: match the zero distance to your expected shooting range and the dot size to your accuracy needs and eye preference. For close engagements (pistols or sub-100-yard rifle shots), a 10-yard zero with a 4 MOA dot works well. For longer ranges or precision shooting, go with 25 yards or more and a 3 MOA dot. Larger dots and shorter zero distances make sense when speed takes priority over pinpoint precision.
| Firearm Type | Recommended Zero Distance | Red Dot Size (MOA) | Use Case |
|---|---|---|---|
| Pistol | 10 yards | 4 to 6 MOA | Close-range self-defense, quick target acquisition |
| Rifle | 25 yards | 3 to 4 MOA | Medium-range accuracy, target shooting |
Once you set your zero distance, bore sight by aligning the bore sighter’s laser with your barrel, then adjust your red dot to center on that laser dot at your chosen distance. This process cuts down the time and ammo needed when you move to live fire zeroing. Good results mean the red dot remains close to the point of impact at your zero distance, simplifying final sighting changes. Incorrect zero distances or using an unsuitable dot size can cause misalignment that only appears under real shooting conditions, though bore sighting never replaces live-fire zeroing.
Step-by-Step Process to Bore Sight a Red Dot Using a Laser Bore Sighter
Bore sighting a red dot using a laser bore sighter lets you quickly align your optic’s point of aim close to the barrel’s bore axis. This step saves time and ammunition by ensuring your initial zero is on target before live firing. Adjusting the windage and elevation dials on your red dot sight to match the laser point seen through the bore is the key to proper alignment.
Installing the Laser Bore Sighter
Start by securely mounting the laser bore sighter into your firearm’s chamber or muzzle, depending on the model you have. The laser projects a beam aligned with the bore axis, serving as a precise reference point for your sight. Make sure the firearm is rested steadily on a stable surface or rest to prevent movement during the process. Here’s how to install the laser bore sighter properly:
- Ensure the firearm is unloaded and pointed in a safe direction.
- Remove any existing optics caps or protective covers from the bore.
- Insert the laser bore sighter into the chamber if it’s cartridge-style or attach it to the muzzle if it’s clamp-on.
- Power on the laser and verify that the beam projects out directly along the bore line.
- Secure the firearm in a gun rest or sandbags to hold it steady throughout sight adjustment.
Always double-check that your firearm is unloaded before starting the bore sighting process to avoid accidents.
Aligning the Red Dot with the Laser Point
With the laser activated, look through your red dot sight and locate the laser dot projected on a target placed at close range, usually around 10 to 25 yards. The laser point represents your bore’s center, so you want the red dot to match this point exactly in your sight window. This ensures your optic is roughly aligned with the barrel’s trajectory. In some red dots with fixed mounts, alignment moves can be limited, but most offer windage and elevation adjustments. To get started:
- Aim the firearm at a blank target or wall that clearly shows the laser dot.
- Look through your red dot and note the location of the optic’s aiming dot relative to the laser point.
- If they do not line up, prepare to make adjustments on your sight’s windage and elevation turrets.
Making Windage and Elevation Adjustments
Use the screwdrivers or Allen wrenches specified by your red dot’s manufacturer to access the windage (horizontal) and elevation (vertical) turrets. These controls shift the aiming dot to coincide with the laser beam’s position. The goal is to position the red dot directly over the same spot the laser marks on the target. Follow these adjustment steps for accurate alignment:
- Maintain the firearm’s steady position to keep the laser dot fixed on the target.
- Turn the windage turret slowly to move the red dot left or right towards the laser point.
- Adjust the elevation turret to raise or lower the red dot until it rests over the laser dot.
- Make incremental adjustments and check the alignment after each change to avoid overshooting.
- Repeat until the red dot perfectly overlays the laser dot when you look through the sight.
A successful bore sight alignment using a laser bore sighter typically places your red dot within 2 to 4 inches of the point of impact at 25 yards. This is close enough to ensure the first live round hits paper, minimizing guesswork and allowing you to zero your red dot more efficiently at the range.
How to Verify and Refine Zero After Bore Sighting
Verifying and refining your red dot zero after bore sighting requires live-fire testing at the range. Bore sighting gets you close, but shooting groups and adjusting based on where your rounds hit is necessary for accuracy and consistency. Expect to spend an additional 20 to 40 minutes at the range to confirm your zero.
Shooting Initial Groups at Chosen Distance
Once your red dot aligns roughly with the bore, head to the range with a stable rest and a known target distance, typically 25 to 50 yards for initial zeroing. Consistent shooting posture and steady aim reduce variables such as parallax or shooter error. Fire a 3 to 5 shot group while aiming at the center of your target.
This group shows your point of impact relative to the red dot’s point of aim. Keep notes or mark the target to identify the group’s center, which helps you know how much adjustment your red dot needs.
Adjusting Based on Point of Impact
Make sight adjustments based on the group’s center. When your impacts hit low and left, move the red dot sight up and right to align the bullet strike with the target. Most red dot sights have turrets or dials that allow precise clicks, commonly 1/2 or 1/4 MOA (about a quarter-inch at 25 yards) per click.
After adjustments, don’t guess. Each click affects the bullet’s point of impact, so small, measured moves improve accuracy. Depending on your sight, adjustments can cost between a few seconds to a couple of minutes, but accuracy benefits are significant.
Confirming Zero with Follow-Up Shots
After adjusting, shoot another 3, 5 round group to verify the new point of impact matches your red dot’s aim. When the group centers on the target, you have completed zeroing. Keep adjusting and shooting until your shots land where you aim consistently.
Consistency is key, so keep your shooting setup steady. Once confirmed, your red dot zero accounts for real-world variables like bullet drop and rifle characteristics, which bore sighting alone can’t provide.
- Unload the firearm and double-check safety.
- Mount your target at a known distance, ideally 25 to 50 yards.
- Fire a 3, 5 shot group aiming at the target center.
- Inspect the group’s center and measure the offset from your aiming point.
- Adjust the red dot sight turrets according to the measured offset.
- Fire a follow-up group to verify the adjustment.
- Repeat steps 4 to 6 until the group’s center aligns with your aim.
Common Mistakes When Bore Sighting Red Dots and How to Fix Them
Bore sighting a red dot sight requires careful attention to avoid common errors that can waste time and cause frustration. One frequent mistake is assuming the red dot will perfectly align after just one adjustment. Small errors in initial mounting or not centering the bore sighter correctly lead to persistent misalignment. Another typical issue involves inconsistent eye positioning, which affects how the dot lines up with the bore when you look through the sight. This can make a properly set sight appear off during bore sighting.
Another problem is failing to stabilize the firearm firmly during bore sighting. Movement, even slight, alters the alignment and gives inaccurate results. Also, overlooking parallax adjustments on your red dot sight may cause the dot to shift when your head moves, hiding an otherwise correct zero. Some shooters skip verifying the bore or barrel direction beforehand, resulting in a sight adjusted to the wrong point entirely.
- Confirm the bore sighter is firmly seated and centered in the barrel before starting.
- Maintain consistent eye position relative to the sight to avoid parallax errors.
- Use a solid rest or shooting bench to stabilize your firearm during bore sighting.
- Check and adjust parallax compensation on your red dot if your model has it.
- Verify the firearm’s barrel direction is clean and unobstructed for accurate bore alignment.
- Adjust in small increments, then recheck alignment multiple times to confirm accuracy.
- Ensure the red dot sight is properly mounted and tightened before bore sighting.
Start troubleshooting by repeating the bore sighting steps carefully, paying close attention to the list above, when the red dot appears misaligned after bore sighting. Re-examine mounting screws for looseness and double-check that the bore sighter remains centered. Moving your head even slightly off axis can cause alignment shifts, keep your eye steady and straight behind the sight. Parallax issues can be diagnosed by shifting your eye left and right; if the dot moves relative to the target, adjust the sight’s parallax settings or check if the model supports parallax-free aiming.
For persistent issues, inspect the bore itself under good light to confirm it’s clear and not bent or damaged. Use a laser bore sighter with a stable and correctly positioned laser beam in the bore to ensure accuracy. Adjust your sight in small clicks, then step back to a standard zeroing distance to fire confirmation shots. This confirms that your bore sighting worked as a time-saving preliminary step, rather than fully zeroing your firearm.
Factors Affecting Bore Sighting Accuracy and When to Seek Professional Help
Bore sighting accuracy depends on several key factors that influence how closely your red dot aligns with the firearm’s bore axis. Parallax is one of the primary considerations. Although most modern red dot sights are designed to be parallax-free at a set distance, usually around 50 yards, small parallax errors can occur at very close or very long ranges, affecting the initial bore sight alignment. This means a red dot aimed at the center of the bore may appear slightly off depending on your eye position and the sight’s design.
Adjustment increments on your red dot also play a role. Many red dots adjust in 1 or 0.5 MOA (Minute of Angle) clicks, with one MOA equating to roughly 1 inch at 100 yards. When bore sighting at shorter distances, each click moves the point of aim by a smaller absolute distance, which can make fine tuning before live-fire zeroing tricky. Your sight’s adjustments might be too coarse or its internal mechanisms may have excessive play, making bore sighting less accurate than you hope.
Environmental factors like lighting, temperature, and wind should also be considered, though they affect the process less than the mechanical and optical variables. Bright sunlight or glare can make the red dot harder to see clearly during bore sighting. Temperature extremes may slightly alter the sight or firearm components’ fit, potentially shifting your point of impact when you move from bore sighting indoors to shooting outdoors. Wind is mostly a concern later during live fire zeroing rather than bore sighting itself.
Professional zeroing services become advisable when you require precise accuracy beyond what initial bore sighting can offer or when you lack the necessary tools and environment. For example, if you want to ensure sub-minute accuracy at 100 yards or longer, a certified gunsmith using a precision shooting rest and chronograph can provide a more reliable zero. Your red dot may have proprietary mounting systems or warranties requiring professional installation or zeroing to avoid voiding coverage. Otherwise, adjusting or removing the sight in an unapproved manner might compromise coverage for repairs or replacement.
When deciding whether to seek professional help, consider the complexity of your setup, your comfort with shooting groups for refinement, and the cost-benefit balance. Professional zeroing can cost between $50 and $150 depending on the service, location, and desired precision. For casual or defensive use, basic bore sighting followed by live-fire adjustments is often adequate. For competition, long-range shooting, or hunting where precise shot placement is critical, professional zeroing reduces guesswork and increases confidence.
Always consult your red dot sight’s warranty and installation guidelines before making major adjustments or mounting changes to avoid voiding coverage and losing factory support.
Step-by-Step Action Plan
Follow these steps to bore sight your red dot sight efficiently and improve your shooting accuracy before live firing.
- Before you start: Gather essential tools, a laser bore sighter, your firearm, your red dot sight, and a stable rest. Check all safety measures to ensure the firearm is unloaded and pointed in a safe direction.
- Day 1: Mount your red dot sight securely and level it according to the manufacturer’s instructions. Confirm the battery is fresh to avoid brightness issues during alignment.
- Day 1: Insert the laser bore sighter and turn it on. Adjust the red dot until it aligns precisely with the laser dot seen at your chosen distance (usually 10 to 25 yards). This will get you close to zero.
- Day 1 or 2: Move to a shooting range and fire a three-shot group at the zeroing distance (commonly 25 yards). Adjust the red dot to center your group on the target.
- After initial shots: Confirm consistent grouping by firing additional rounds. Make finer adjustments to the red dot as needed until your shots group tightly around the bullseye.
- After 1 week: Practice shooting with your zeroed red dot in various positions and lighting conditions to confirm reliability and comfort.
- After 2 weeks: Re-check the zero after your first live practice session. Adjust the sight if you notice any shift in point of impact due to recoil or handling.
Frequently Asked Questions
Can You Bore Sight a Red Dot Sight Without a Laser Bore Sighter?
Boresighting a red dot sight without a laser is possible by visually aligning the sight with the barrel or employing a basic alignment tool, but this approach usually requires more time and provides less accuracy than a laser bore sighter.
Is Bore Sighting Necessary for Every Red Dot Sight Installation?
Bore sighting isn’t strictly necessary but highly recommended to save time and ammo by roughly aligning the red dot before live firing.
Can Bore Sighting a Red Dot Improve Accuracy at Long Distances?
Bore sighting mainly helps initial alignment and isn’t precise enough for long-distance accuracy; final zeroing should be done on the range.
Does Bore Sighting a Red Dot Sight Work on Pistols as Well as Rifles?
Yes, you can bore sight a red dot on pistols and rifles to improve initial alignment, but the process may vary slightly for handguns.
Can Bore Sighting Damage the Red Dot Sight or Firearm?
Bore sighting itself doesn’t damage the sight or firearm when done carefully and with proper tools; always follow manufacturer instructions and safety checks.
Is It Possible to Bore Sight a Red Dot Without Removing the Barrel?
Yes, bore sighting a red dot does not require barrel removal; it can be done with the sight mounted on the firearm.
Final Thoughts
Bore sighting your red dot sight helps speed up the zeroing process by getting you close to accurate on the first shots. Start with a stable setup and basic tools to reduce guesswork. Next, take your firearm to the range, fire groups, and fine-tune your settings for the best results. Making these adjustments before live firing saves time and ammo while improving your confidence and accuracy.