How to Mount Gun Safe on Wall in 7 Easy Steps
Finding the Right Spot for Your Gun Safe: A Guide
If you’re like many gun owners, securing your firearms is a top priority. You want to protect your investment while keeping your family safe, but mounting a gun safe can feel overwhelming. You’re not alone—many people struggle with finding the right location and ensuring it’s properly installed.
But don’t worry! We’ve got you covered. In this guide, we’ll walk you through the process of mounting your gun safe on the wall in seven easy steps.
—
To mount your gun safe on the wall, first assess the wall’s strength and pick a concealed spot, ideally on a solid stud.
Gather the right tools and hardware for your wall type.
Locate studs carefully and watch for wiring or pipes.
Measure and cut the wall opening precisely, then drill pilot holes into studs.
Secure the safe firmly with heavy-duty bolts and washers.
Finally, test the locking mechanism and door operation to guarantee safety.
For a detailed guide on each step, keep exploring.
Key Takeaways
- Locate and mark wall studs using a stud finder to ensure secure mounting and avoid electrical wiring or plumbing.
- Measure and mark safe dimensions on the wall, ensuring clearance and level straight lines for accurate cutting.
- Drill pilot holes to check for obstructions, then cut the wall opening gradually using a drywall saw or utility knife.
- Use heavy-duty bolts with large washers to firmly anchor the safe into studs or solid wall material.
- Test the safe’s locking mechanism, door operation, and ensure all fasteners are tight for final security and safety.
Assess Wall Strength and Pick a Concealed Location
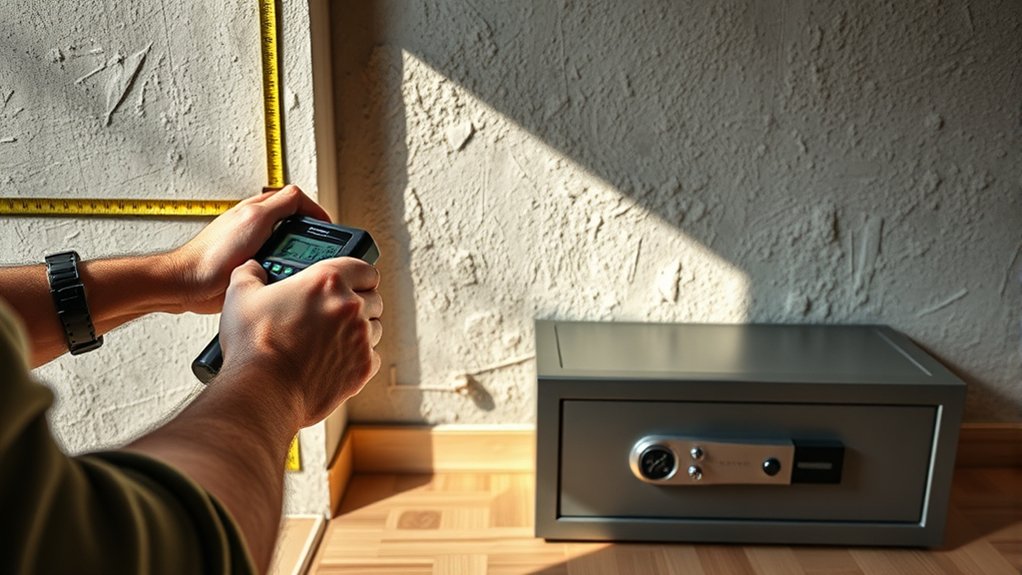
Before you mount your gun safe, make sure the wall can support its weight, which often means choosing solid concrete or brick.
Ensure your wall can support your gun safe’s heavy weight, ideally solid concrete or brick.
The wall strength is vital because gun safes can weigh several hundred pounds, and you don’t want any risk of collapse.
Use a stud finder to locate wall studs since these provide the best support for secure mounting.
Avoid hollow areas or places with electrical wiring or plumbing to prevent complications during installation.
Check the wall thickness, too; you’ll generally need at least 4-6 inches to properly accommodate mounting hardware.
When selecting a concealed location, aim for spots behind furniture, mirrors, or decorative panels.
This keeps your safe hidden from plain sight and adds an extra layer of security.
Also, steer clear of high-traffic areas like bedrooms or garages, which could expose the safe to accidental damage or tampering.
Thoughtful assessment of wall strength and location guarantees your gun safe stays secure and discreet.
Get Your Tools and Hardware Ready for Installation
Once you know where your gun safe will go, gather all the necessary tools and hardware to make installation smooth and secure.
Start with essential tools like a power drill, screwdriver, marker, and level. Having these ready will help with precise drilling and mounting.
Make certain your safe has pre-drilled mounting holes and check the manufacturer’s recommended bolt size and type to match the hardware.
Use heavy-duty lag bolts or anchors with washers, typically at least 30mm x 3mm, for a strong hold.
Depending on your wall material, you might need a drywall saw or hole cutter to prepare the surface.
Before you begin installation, verify all tools and hardware are in good condition and suitable for your wall type.
Proper preparation ensures safer, easier, and more secure mounting, preventing issues during drilling or mounting that could compromise the gun safe’s stability.
Find Studs and Watch Out for Wires or Pipes
Before you start drilling, make sure to locate the wall studs using a stud finder for a secure mount.
You’ll also want to check for any hidden electrical wires or pipes to avoid hazards or damage.
Mark the studs clearly and steer clear of any detected wiring or plumbing.
Locate Studs Accurately
Although mounting your gun safe securely is essential, you’ll need to locate the studs in your wall precisely to guarantee a strong hold.
Start by using a stud finder to detect the edges and center of each stud, then mark the studs with a pencil.
To confirm, tap along the wall—solid sounds indicate stud locations, while hollow spots do not.
Before drilling holes, be cautious to detect wiring by drilling small pilot holes carefully or using a wire detector.
This helps avoid damaging electrical lines or pipes hidden inside the wall.
Also, check your wall thickness to ensure it can support the weight of the safe and mounting hardware.
Accurate stud placement is key for a secure and stable installation.
Identify Hidden Wiring
How can you be certain there aren’t hidden wires or pipes behind the wall where you plan to mount your gun safe?
Start by using a stud finder with wiring detection to locate studs and identify any hidden wiring. Tap lightly on the wall to listen for hollow spots or solid areas, helping you distinguish where wires or pipes might run.
Look for nearby outlets, switches, or plumbing fixtures as clues to wiring locations. Before drilling holes, always turn off power at the circuit breaker to avoid hazards.
Carefully drill small testing holes to visually confirm there’s no wiring or pipes behind the wall. Taking these steps guarantees you avoid damaging hidden wiring while securely installing your wall safes.
Cut the Wall Opening Precisely for Your Gun Safe
When you’re ready to cut the wall opening for your gun safe, start by measuring the safe’s dimensions carefully and marking the spot on the wall with a pencil.
Leave enough clearance for installation. Use a stud finder to avoid electrical wiring or plumbing before drawing the cut lines.
Make sure the opening is precisely marked using a level for straight edges.
Next, drill a small pilot hole inside the marked area to confirm no hidden obstructions.
Begin cutting the wall with a drywall saw or utility knife, starting small and enlarging gradually to maintain precision.
| Step | Action |
|---|---|
| Measure & Mark | Measure safe, mark wall with clearance |
| Locate Hazards | Use stud finder to avoid wiring/plumbing |
| Draw Outline | Use level for straight, precise lines |
| Cut Opening | Drill pilot hole, cut carefully with saw |
This approach ensures a clean, accurate wall opening for your gun safe.
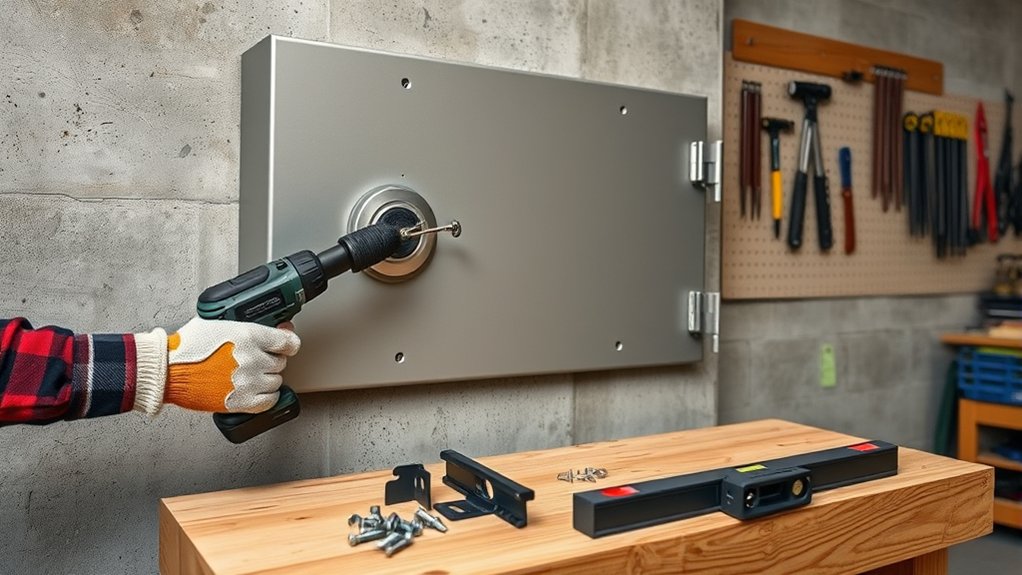
Drill Pilot Holes in Studs for Secure Mounting
After cutting the wall opening, the next step is to locate the studs where your gun safe will be mounted.
Use a stud finder or tap the wall to pinpoint the stud centers. Mark the drilling spots on the studs through the safe’s mounting holes, making certain perfect alignment with the safe’s pre-drilled points.
When drilling pilot holes, choose the right drill bit size—usually 1/8-inch for light framing or larger for anchor bolts used in heavy-duty secure mounting.
Make certain the pilot holes are straight to avoid damaging the studs or misalignment.
Here’s what to keep in mind during drilling:
- Confirm stud location and mark precisely for pilot holes.
- Drill carefully, keeping holes straight and aligned.
- Clear dust from holes before proceeding with anchor bolts.
This preparation ensures a secure mounting foundation for your gun safe without compromising the wall’s structural integrity.
Secure Your Gun Safe With Bolts and Washers
Although drilling pilot holes sets the foundation, securing your gun safe firmly requires using heavy-duty bolts paired with large washers.
To properly anchor your safe, use strong bolts like M10 rawlbolts or lag bolts that can handle the load.
Each bolt should be paired with a large washer—at least 30mm in diameter and 3mm thick—to evenly distribute pressure and protect both the safe and wall from damage.
Make sure the washers fit the bolt size and sit flush against the safe’s mounting holes for maximum stability.
When you install the bolts, tighten them securely to prevent any shifting, tipping, or prying attempts.
This secure connection is key to keeping your safe firmly attached over time.
Don’t forget to periodically check both bolts and washers for tightness and signs of corrosion, ensuring your gun safe remains reliably anchored and stable on the wall.
Test the Safe Installation and Complete Setup
Securing your gun safe with bolts and washers provides a strong foundation, but you’ll need to verify the installation holds up under real-world conditions.
Start by performing the final tightening on all mounting hardware to ensure the safe is firmly anchored and won’t shift or tip.
Perform a final tightening on all mounting hardware to keep your safe securely anchored and stable.
Next, test the lock mechanism thoroughly—whether it’s a combination dial or electronic keypad—to guarantee smooth, reliable operation.
Be sure to check the safe door for proper alignment.
Open and close it several times to confirm there are no obstructions or misalignments that could impede access.
Finally, complete your setup by inspecting the entire installation to verify it’s flush with the wall or only slightly protruding and that no components are loose.
To wrap up, remember to:
- Test the lock mechanism carefully
- Check for obstructions on the safe door
- Confirm the safe is firmly anchored to secure your valuables properly
Frequently Asked Questions
How Do You Attach a Safe to the Wall?
You attach a safe to the wall by drilling through its pre-existing mounting holes or brackets, then securing it with heavy-duty bolts like M10 lag bolts.
Make sure you align the safe with wall studs or solid masonry for strong support.
Use washers to spread the load evenly and tighten the bolts firmly so the safe won’t shift or tip.
Finally, test the attachment by gently applying force to confirm it’s secure.
Where Not to Put a Gun Safe?
Don’t put your gun safe where it’s “low-hanging fruit” for thieves.
Avoid the master bedroom, since burglars often target it first.
Skip the garage, kitchen, and under the bed—those spots are either too accessible, too hot, or too obvious.
Also, never mount it on staircases; it’s too visible and could tip over.
Instead, choose a discreet, secure spot that’s both safe and out of plain sight.
Does a Gun Safe Have to Be Bolted to the Floor and Wall?
Yes, you should bolt your gun safe to both the floor and wall whenever possible.
Doing so makes it much harder for thieves to tip or carry it away, boosting your safe’s security.
Many manufacturers and insurance policies actually require this for coverage.
While smaller safes might be okay without bolting, heavier, high-security models are designed to be anchored to keep your firearms protected and comply with safety standards.
Where Not to Put a Safe in Your House?
You shouldn’t put your safe in the master bedroom, garage, under stairs, kitchen, closet, or under the bed.
These spots are either common targets, too accessible, or have environmental factors that can damage your safe’s contents.
Instead, pick a discreet, secure location with minimal traffic and controlled temperature.
Avoid obvious hiding places burglars expect, and make certain the spot offers solid support if you plan to bolt it down.
Conclusion
Now that you’ve securely mounted your gun safe, you can rest easy knowing it’s both protected and concealed.
For example, a homeowner in Texas avoided a costly burglary after mounting their safe inside a stud wall, hidden behind a painting. The burglars never found it.
By following these steps, you’re not just installing a safe—you’re safeguarding your valuables and gaining peace of mind.
Take your time, be precise, and your investment will pay off.
Remember, mounting your gun safe on the wall is a smart move for both security and concealment.