How to Paint a Gun Safe for Lasting Protection and Great Looks
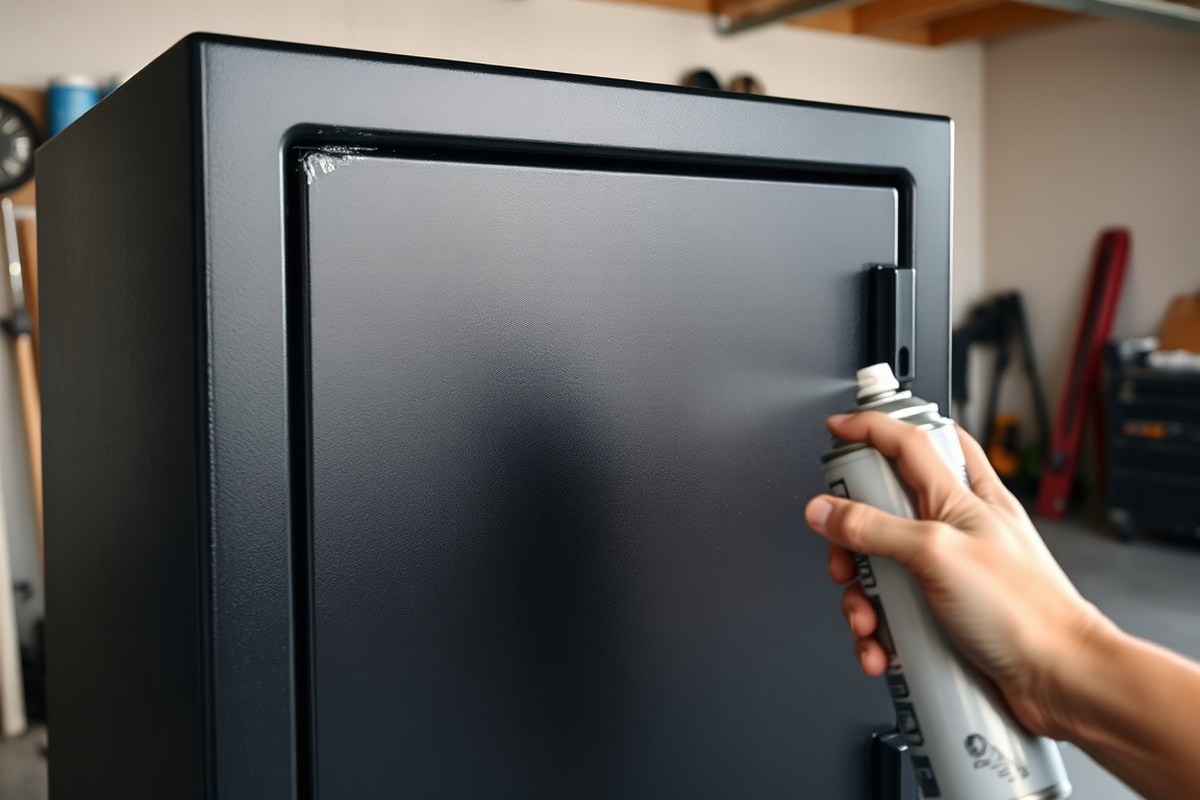
Knowing how to paint a gun safe helps protect it from rust and wear while giving it a fresh, appealing look. The key is cleaning and priming the surface thoroughly before applying two to three thin coats of the right paint. Starting with a well-prepped surface ensures strong paint adhesion and makes the finish last up to a decade.
Key Takeaways
- Clean the safe’s surface with alcohol-based cleaner to remove oils without damaging plastic parts.
- Sand the metal lightly to create a rough texture that helps paint stick better.
- Use a primer designed for metal to prevent corrosion and improve paint durability.
- Apply paint in thin, even coats, holding the sprayer 6 to 8 inches away from the surface.
- Paint in temperatures between 50°F and 85°F for optimal drying and curing times.
- Wait at least 24 to 48 hours for the paint to fully cure before handling the safe.
How to Paint a Gun Safe: Step-by-Step Process
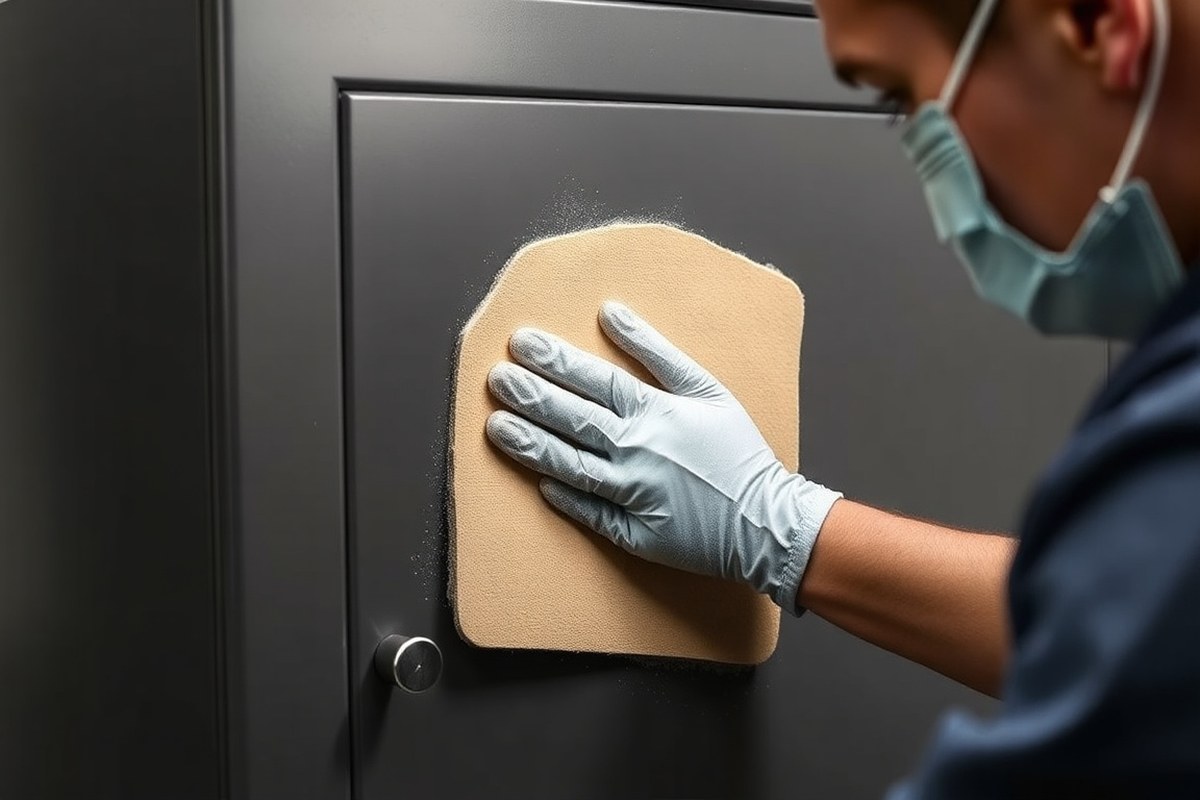
Painting a gun safe requires careful attention to each phase of the process to ensure a durable finish that lasts for years. Applying multiple thin coats of paint helps avoid drips and uneven surfaces, while proper surface preparation and priming guarantee the paint adheres well and resists corrosion. Using tools like spray guns or foam rollers produces a smooth look compared to brushing alone. Following a structured sequence from cleaning to final coating helps you achieve a professional appearance and long-term protection. Here is a step-by-step approach to painting your gun safe:
- Clean the surface thoroughly. Remove all dust, dirt, oils, and any grease with a degreaser or mild detergent and water. This step prevents contaminants from interfering with primer adhesion and is critical for durability.
- Sand the gun safe with medium grit sandpaper. Use 120- to 220-grit sandpaper to smooth the metal surface and remove rust or loose paint. This creates a rough texture that helps the primer bond effectively.
- Apply an appropriate metal primer. Select a primer designed for metal surfaces and rust prevention. Spray or brush on one even coat and allow it to dry completely according to the manufacturer’s instructions, usually around 24 hours. The primer ensures strong paint adhesion and prevents peeling.
- Paint the first thin coat. Use a spray gun, foam roller, or high-quality brush to apply a light, even layer of your chosen paint. Thin coats dry faster and produce a smoother finished look. Allow this coat to dry fully, typically 4 to 6 hours depending on the paint type and temperature.
- Apply a second and optionally a third coat. Repeat the painting process with additional thin coats until the surface exhibits uniform coverage and color depth. Two to three coats usually provide an optimal balance of thickness and durability.
- Add a clear protective topcoat (optional). For improve scratch resistance, moisture protection, and UV stability, apply a clear polyurethane or enamel clear coat. This step is especially valuable if your safe will be in a high-traffic or humid environment.
- Allow full curing. After the final coat, let the paint cure for 24 to 48 hours before handling the safe. Proper curing maximizes the paint’s toughness and lifespan.
Doing several thin coats instead of one thick layer minimizes risks of runs, bubbles, and uneven textures. Proper drying and curing times between coats avoid trapping solvents, which can cause soft spots or paint failure later. Using a primer specifically formulated for metal surfaces addresses the gun safe’s unique adhesion challenges, preventing peeling and corrosion over time. A smooth, consistent finish free of drips and rough patches means you’ve completed the process correctly.
How to Prepare Your Gun Safe Surface for Painting
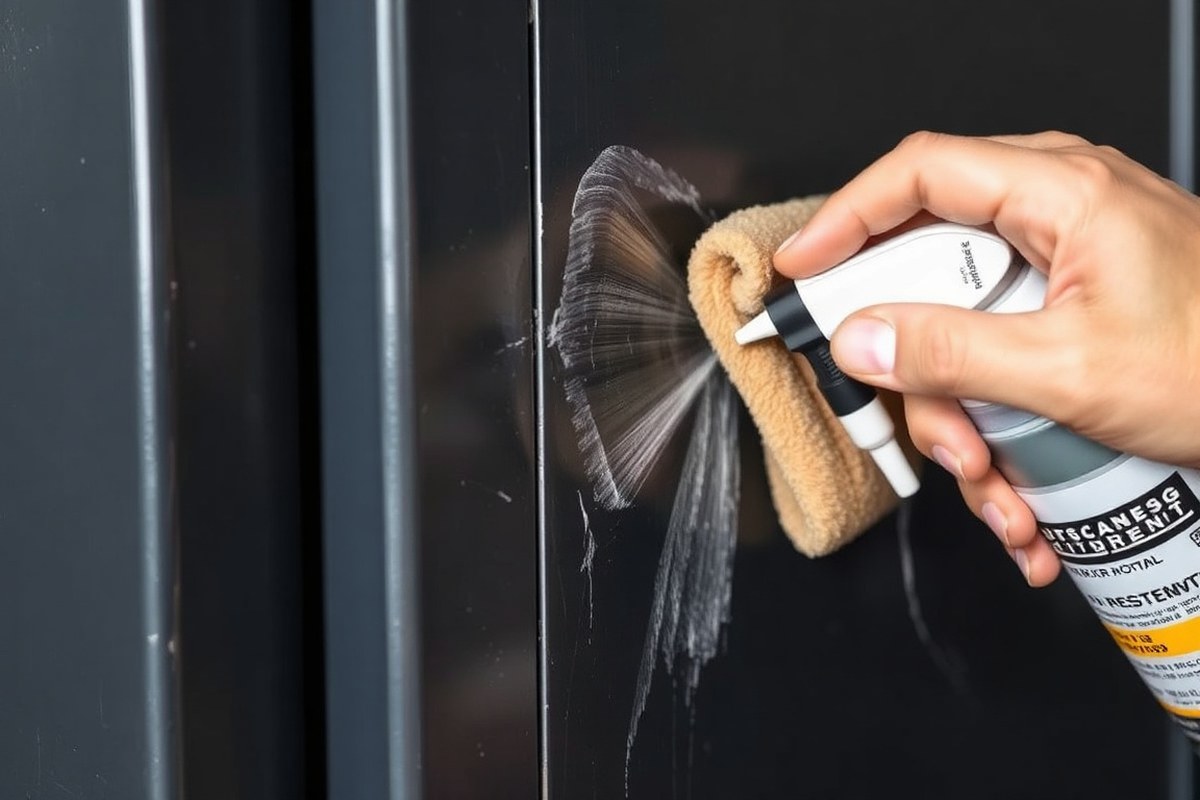
Preparing your gun safe’s surface is essential for a smooth, long-lasting finish. Thorough cleaning, careful sanding, and addressing rust or paint damage ensures the new paint adheres properly and resists wear. Skipping these steps often leads to peeling, bubbling, or uneven coating.
Cleaning and Degreasing the Metal
Removing all grease, oil, and dirt is the first step in prepping your gun safe. A wax and grease remover works best to dissolve gun oil, silicone, and other residues left on the exterior. Avoid regular soap, as it often leaves behind film that can interfere with paint adhesion.
Use clean, lint-free cloths and apply the remover liberally to all painted and bare metal surfaces. For plastic parts like handles or trim, use 91% isopropyl alcohol to avoid damage and ensure proper surface prep. Wearing gloves prevents oils from your skin from contaminating clean surfaces.
- Clean entire exterior using wax and grease remover
- Wipe plastic or non-metal parts with isopropyl alcohol
- Remove dust and loose dirt with a dry cloth before degreasing
- Allow surfaces to dry completely before sanding
- Work in a well-ventilated area due to chemical fumes
Do not skip degreasing, the paint won’t bond properly if oils remain on the surface.
Sanding for Better Paint Adhesion
Sanding roughens the surface just enough for paint to grip without removing too much metal or damaging the original finish. Start with 120-grit sandpaper on all painted or powder-coated areas, applying even pressure to create a consistent texture. Avoid heavy sanding that exposes too much bare metal.
For intact paint, use finer sandpaper in the 180-320 grit range to scuff the surface lightly. Feather the edges of chipped or peeling paint to blend with surrounding areas and prevent sharp edges. Use a sanding block or orbital sander for even results on flat surfaces, and sand by hand in corners or on detailed parts.
- Sand entire safe surface lightly with 120-grit paper
- Scuff intact paint with 180-320 grit for light abrasion
- Feather edges of chipped paint before repainting
- Use sanding block or orbital sander for flats, hand sand tight spots
- Clean dust away with a tack cloth after sanding
Proper sanding takes time but improves paint adhesion significantly. It usually takes 30 to 60 minutes depending on the safe’s size and condition. Too little sanding causes paint peeling, while too much can expose rust-prone bare metal.
Rust and Damage Repair Methods
Inspect your gun safe carefully for rust spots, corrosion, or old flaking paint before painting. Rust prevents paint from bonding and can worsen behind the coating. Remove rust by sanding with medium-grit sandpaper until the metal is bright, then treat any bare steel spots with an epoxy or self-etching primer designed to improve corrosion resistance.
For larger rust patches, use a wire brush or chemical rust remover before sanding. If old paint is cracked or peeling, remove it fully and feather the edges to smooth transitions. Applying a primer to bare or repaired steel helps the topcoat adhere better and extends the safe’s protection against corrosion.
- Remove rust using medium-grit sandpaper or wire brush
- Apply epoxy or self-etch primer on bare steel areas
- Strip or sand off flaking old paint completely
- Feather edges to avoid sharp paint lines
- Mask parts that should not be painted before primer
Failing to properly remove rust and primer bare metal leads to peeling and long-term corrosion problems.
Choosing the Right Paint for Your Gun Safe
Selecting the right type of paint for your gun safe ensures durable protection against corrosion and keeps the finish looking professional. Metal-compatible enamel or epoxy-based paints are optimal choices because they form a strong, rust-resistant coating when applied properly. These paints adhere well to prepped surfaces and resist chipping from typical wear and tear. A primer designed for metal is essential to promote adhesion and to build a solid foundation for the paint layers.
Fire resistance can be influenced by the paint’s composition. Coatings incompatible with the safe’s material or that do not bond well might reduce fire protection. Using paints formulated specifically for metal and following proper application techniques can help maintain the safe’s original fire resistance ratings.
For lasting results and improve durability, applying a clear coat like automotive polyurethane or acrylic over the paint is recommended. This final layer protects against scratches and environmental damage while adding a sheen that improves the safe’s appearance. Sheens ranging from matte to glossy are available, with satin finishes often preferred for balancing subtlety with ease of maintenance.
| Paint Type | Durability on Metal | Fire Resistance Impact | Finish Options | Typical Application | Estimated Cost |
|---|---|---|---|---|---|
| Epoxy-Based Paint | High resistance to chipping and rust | Minimal if applied correctly | Matte to semi-gloss | Apply 2, 3 thin coats, cure at room temperature | $20, $40 per quart |
| Enamel Paint (Rust-Resistant) | Strong durability, good rust protection | Low impact with metal primer | Glossy to satin | Apply 2, 3 even coats, allow 4+ hours drying | $15, $35 per quart |
| Clear Coat (Automotive Polyurethane) | Very high scratch and weather resistance | Neutral | Glossy or satin | Apply over dry paint, 2 thin coats recommended | $25, $50 per quart |
| Acrylic Paint | Moderate durability on metal | Better if compatible with primer and clear coat | Matte to semi-gloss | Requires primer; 2 coats recommended | $15, $30 per quart |
Start surface prep by sanding with 120 grit paper to roughen the metal, improving primer and paint grip. After degreasing, apply a metal primer evenly and allow it to cure fully before painting. Use multiple thin coats rather than one thick layer to avoid runs and ensure even coverage. To extend the paint’s life significantly, consider baking the painted parts at roughly 150 degrees Fahrenheit for a couple of hours. This method hardens the paint and improve adhesion, although it’s usually only practical for smaller components removable from the safe.
Does Painting Affect Fire Resistance or Warranty?
Painting your gun safe can impact both its fire resistance and warranty status, so you need to proceed carefully. The fire resistance of a safe depends on its construction materials and any factory-applied coatings designed to protect it from heat. Applying paint that is not heat-resistant or covers critical seals and vents may reduce the safe’s ability to withstand fire. For example, many fire-resistant safes have specific intumescent seals that expand at high temperatures to prevent heat and smoke entry. Covering or changing these seals with paint or other coatings can compromise that protection.
Before painting, always check your safe’s manufacturer guidelines. These instructions usually specify which parts can be painted, what types of paint are compatible, and any surface preparation required to avoid voiding the warranty. Since warranty terms vary widely by brand, following these instructions exactly is the best way to ensure you don’t lose coverage. Some manufacturers explicitly prohibit painting the interior because fumes and chemicals inside can damage firearms or ammunition. Painting only the exterior with approved, heat-resistant paint keeps fireproof features intact and your warranty valid.
The key decision rule is to pick paint labeled heat-resistant or formulated for metal exposed to high temperatures. Look for paints with heat tolerance at least equal to or above the safe’s fire rating, such as those rated for 1200°F or more. These paints protect the metal surface without degrading when exposed to heat, helping maintain the safe’s structural integrity during a fire. Avoid paints that require baking unless you can remove internal parts or protect your firearms beforehand, since oven curing risks damaging contents inside the safe.
Applying paint also requires preparing the surface correctly to maintain warranty coverage and fire resistance. Typically, this involves cleaning the safe’s exterior with a degreaser and sanding lightly to promote adhesion but avoiding damage to protective seals or coatings. Paint should be applied in thin, even coats, allowing each layer to dry fully, often between 1 to 2 hours depending on humidity, before adding the next. Multiple thin coats improve durability without risking paint cracking or peeling, which could expose the metal to rust and reduce fire protection.
Costs vary depending on the paint chosen; heat-resistant metal paints generally range from $15 to $40 per quart and should cover ample surface area for one gun safe. Using cheaper or inappropriate paint can result in poor adhesion, discoloration, or voiding the fire rating, increasing risk during emergencies. Ensure your painting environment is dry and well-ventilated to enable proper drying and reduce contaminant buildup that might harm paint performance.
Painting the safe’s exterior with the right products and methods keeps fire resistance intact and your warranty safe. Avoid painting the interior due to fireproofing concerns and the risk of chemical exposure. Following the manufacturer’s advice, using heat-resistant paints, and adhering to correct painting steps all help preserve both safety features and warranty benefits.
Safety Precautions When Painting a Gun Safe
Protecting yourself and your environment during the painting of a gun safe is key to keeping safe from harmful fumes and dust. Use the right protective gear, ensure proper ventilation, and dispose of leftover paint correctly to maintain a healthy workspace and prevent contamination.
Personal Protective Gear Recommendations
Wearing proper protective equipment shields you from inhaling paint fumes and keeps your skin and eyes safe from splashes or dust. A respirator mask is essential for filtering out fumes that can irritate your respiratory system. Safety goggles protect your eyes from unexpected splatters. Nitrile gloves prevent direct chemical contact with your skin, reducing irritation or allergic reactions. Protective clothing or a paint apron stops paint from staining or damaging your clothes and protects your skin.
Use this gear consistently throughout every stage, from surface prep to finishing. Keep in mind that using spray paints inside the safe is not recommended due to the increased risks of fumes and flammability, so brush or roller methods paired with this protective gear work best.
Creating a Safe Painting Environment
Setting up a well-ventilated area minimizes hazardous exposure to fumes and dust. Choose a workspace with ample airflow, such as an open garage door or a room with multiple windows. Use fans to push fumes outside and away from yourself. Keep your workspace clear of flammable materials and avoid painting near ignition sources. Follow this checklist for creating a safe painting environment:
- Open windows and doors to increase airflow
- Use an exhaust fan or a box fan to direct fumes outdoors
- Maintain temperature between 50°F and 85°F for best paint drying
- Wear protective gear at all times to avoid inhaling dust and fumes
- Cover floors and nearby surfaces with drop cloths to catch spills
- Keep a fire extinguisher nearby due to paint flammability
- Allow sufficient drying time between coats (usually 4-6 hours)
Do not paint in enclosed spaces without proper ventilation; fumes can build up quickly and become dangerous.
Maintaining airflow throughout the painting process helps prevent headaches, dizziness, or respiratory issues caused by inhaling fumes or dust. Avoid painting your gun safe inside living spaces or bedrooms.
Disposal of Leftover Paint and Materials
Proper disposal of paint waste and used materials protects the environment and complies with local regulations. Never pour leftover paint down drains or into storm sewers, as it can contaminate water supplies. Instead, store leftover latex or oil-based paint in tightly sealed containers labeled with the contents and date.
Take leftover paint and used cleaning solvents to a local hazardous waste collection site or a paint recycling center. Rags and brush cleaning water with paint residue should never be released into the environment. Follow these disposal tips for leftover paint and materials:
- Check local government websites for hazardous waste collection schedules
- Use up small paint quantities on touch-up projects before disposal
- Allow leftover paint to dry out in a safe, well-ventilated area before discarding solidified paint in regular trash (latex only)
- Store paint cans upright with lids tightly sealed to prevent spills
- Dispose of gloves and protective clothing appropriately after use
Never burn paint or solvent residues; toxic fumes can be very harmful and illegal to release.
Common Painting Mistakes and How to Fix Them
Peeling or bubbling paint on a gun safe usually happens when the surface wasn’t properly prepped or the paint is incompatible. Paint needs a clean, dry, and rust-free metal surface to stick well. If oil, dust, or rust remains, the paint won’t bond and can separate or bubble under the finish. Using a paint not designed for metal or exterior use also causes adhesion and durability problems. To fix peeling or bubbling, start by sanding the affected area down to bare metal, removing all loose paint and rust. Clean the surface with a degreaser and dry it thoroughly. Apply a rust-inhibiting primer before repainting with a metal-compatible paint formulated for wear resistance.
Uneven finishes, visible brush marks, or drips result from applying too thick layers or painting in inappropriate conditions. Thick coats take longer to dry and often run or sag, leaving bumps and streaks. Painting in high humidity or below 50°F slows drying and worsens unevenness. Correct this by sanding smooth the drips and rough patches with fine-grit sandpaper once dry. Lightly wipe the surface to remove dust, then apply thin, even coats allowing 1 to 2 hours drying time between layers. Use a high-quality synthetic brush or a spray paint with a steady hand for a smooth finish. Maintain temperatures between 65°F and 85°F for optimal drying.
Rust appearing after painting usually means rust wasn’t fully removed or the coating failed to seal out moisture. Rust spots can spread under the paint causing bubbling and peeling later. Address new rust by sanding and wire-brushing back to clean metal. Treat with a rust converter if necessary, then prime with a rust-resistant metal primer before repainting. Avoid painting over rust without treatment, as it will reoccur and ruin the finish.
- Remove loose paint and rust with 120-grit sandpaper or a wire brush
- Clean the surface with a degreasing cleaner and a lint-free cloth
- Use a rust-inhibiting primer designed for metal surfaces
- Apply paint in thin, even coats with a brush, roller, or spray can
- Allow proper drying time between coats, usually 1-2 hours
- Paint in temperatures between 65°F and 85°F with low humidity
- Fix drips or rough areas by sanding smooth before the next coat
Expect properly painted gun safes to have a smooth, even surface with no visible runs or patchiness. Paint should feel firmly bonded with no flaking or bubbling. Spend time on prep and avoid thick coats to prevent common mistakes. The cost of fixing peeling or rust-related problems includes labor for sanding and buying quality primer and paint, typically adding $20 to $50 depending on products and time. Good results protect your safe from corrosion and keep it looking clean for years.
Environmental and Weather Considerations for Painting
Painting a gun safe requires careful attention to temperature, humidity, and weather to ensure the paint adheres properly and dries well. The ideal environment is typically between 50°F and 85°F with low to moderate humidity. These conditions help prevent moisture and dust from compromising the finish while allowing the paint to cure fully over time.
Ideal Temperature and Humidity Conditions
The best temperature range for painting a gun safe is between 50°F and 85°F. Paint adhesion and drying become less reliable outside this range, as colder temperatures can slow the chemical reaction that cures the paint, while hotter temperatures might cause it to dry too fast and crack. Maintaining humidity around 50% is equally important because high moisture levels can cause the paint to bubble or peel, while very low humidity might lead to uneven drying or cracking.
For optimal results, aim to paint in an environment close to 70°F with 50% humidity. These settings balance drying speed with proper film formation, giving the paint enough time to level out and bond to the metal surface. You can monitor these conditions with a basic indoor thermometer and a humidity gauge, which cost around $10 to $20 each at most hardware stores.
How Weather Impacts Drying and Curing
Weather conditions affect both the drying and curing stages of painting a gun safe. Drying usually takes 24 to 48 hours when the temperature and humidity are ideal, but this can extend significantly if it’s too cold or too humid. Even though the paint might feel dry to the touch after a few hours, it isn’t fully cured and remains vulnerable to smudges or damage. Full curing can take up to 30 days, especially in cooler or damper climates.
Moisture during drying can trap water in the paint, leading to a cloudy or uneven finish, while dust and dirt blown by the wind outdoors can stick to the wet surface and ruin the appearance. Avoid painting on days with high humidity or forecasted rain, since moisture can interfere with paint adhesion and cause peeling later on.
Indoor vs Outdoor Painting Advantages
Indoor painting offers a more controlled environment, which helps keep temperature and humidity stable. This reduces the risk of dust and moisture contamination during drying, resulting in a smoother, more durable finish. Choose a well-ventilated indoor space with moderate airflow whenever you can to speed drying without blowing dust onto the surface. This setup requires at least 24 to 48 hours afterward to allow the paint to dry undisturbed.
Outdoor painting is an option when the weather conditions are ideal, temperatures in the mid-70s with low humidity and little wind. However, painting outdoors during winter or cold months is not recommended because temperatures below 50°F slow drying dramatically and increase the chance of paint defects. Avoid outdoor work when possible; paint on calm, dry days and protect the safe from moisture until fully cured using a temporary cover like a tarp that doesn’t touch the wet paint.
When to Hire a Professional for Gun Safe Painting
DIY painting a gun safe works well for most surface issues such as minor scratches, light rust, or faded paint. When these problems appear, a carefully followed refinishing process can restore your safe’s appearance without risking its durability or warranty. However, certain conditions and goals call for professional help to ensure long-lasting and high-quality results.
One key reason to hire a professional is when your gun safe has significant corrosion or structural damage under the surface paint. Heavy rust may require sandblasting or chemical rust removal, which involves specialized equipment and knowledge of metal treatments to avoid further damage. Professionals also handle repairs like welding cracks or reinforcing weakened steel, tasks beyond typical DIY tools and skills.
If you want a custom finish beyond simple solid coats, such as textured powder coatings, multi-layer finishes, or durable industrial paints, a pro offers equipment and experience that home setups usually lack. These advanced finishes improve resistance to wear and scratches, extending your safe’s life, though they often require controlled environments and precise application techniques expensive to replicate at home.
Time and convenience factor into the decision. Hiring a professional can save you days or weeks of prep work, drying, and potential touch-ups. Professionals typically charge around $200 to $500 for refinishing a gun safe depending on size and finish complexity, which can compare favorably to the cost of buying specialized tools and materials yourself, especially if your DIY skills or workspace are limited.
A reliable way to select a professional gun safe painter includes checking credentials for experience with metal and security equipment, verifying reviews or testimonials from other gun owners, and confirming that the service keeps your safe’s warranty intact. Request details about their surface prep, type of paint, and curing process to ensure a quality job. Many professionals will also provide a warranty on their work, adding peace of mind to your investment.
Choose professional refinishing if you’re uncertain about your ability to fully prepare the surface, maintain fire resistance standards, or if you seek a flawless, durable finish. Otherwise, a careful DIY approach suits most aesthetic upgrades and basic restorations without compromising safety.
Only attempt DIY painting if you can properly remove rust and prepare metal; improper prep or paint can lead to peeling or compromised protection over time.
Step-by-Step Action Plan for Painting Your Gun Safe
Follow these clear steps to achieve a durable and attractive paint finish on your gun safe while maintaining its safety features.
- Day 1: Prepare the Area and Safe, Clean and degrease your gun safe surfaces. Check your work by wiping with a dry cloth to ensure no residue remains.
- Day 2: Sand the Surface, Use medium-grit sandpaper to roughen the paint surface. Test by running your hand over it; it should feel slightly rough but not dusty.
- Day 3: Apply Primer, Apply a rust-inhibiting primer suited for metal. Confirm coverage by looking for an even, matte finish without missed spots.
- Day 4: Paint the Safe, Use spray or brush-on oil-based or specialty metal paint. Let the first coat dry 24 hours, then lightly sand before applying a second coat.
- Day 6: Perform Final Inspection, Check for smooth, even coverage and no drips or bubbles. Areas that don’t meet this can be touched up and left to dry fully.
- After 48 Hours, Ensure paint cures completely; the surface should harden and resist fingerprints or scratches with light pressure.
- After 2 Weeks, Avoid heavy handling or moving the safe to allow paint to fully cure and bond to metal.
Frequently Asked Questions
Can I Paint over a Powder-Coated Gun Safe Without Sanding?
No, sanding is necessary to remove the smooth finish and help paint adhere properly. Skipping sanding can cause peeling and reduce durability.
How Long Should I Let the Primer Dry Before Painting a Gun Safe?
Let the primer dry for at least 24 hours to ensure proper adhesion. This prevents bubbling or peeling when you apply the paint.
Is Spray Paint Better Than Brush-On Paint for Gun Safes?
Spray paint usually provides a more even finish and fewer brush marks. It dries faster but requires good ventilation and careful masking.
Can I Use Rust Remover Instead of Sanding Before Painting a Rusty Gun Safe?
Rust remover helps but won’t replace sanding. You still need to sand to create a rough surface for prime and paint adhesion.
Should I Disassemble Parts of My Gun Safe Before Painting?
Removing handles or locks makes painting easier and prevents paint from affecting moving parts. Mask delicate areas if you can’t remove them.
How Often Should I Repaint a Gun Safe to Maintain Its Look?
Plan to repaint every 5 to 10 years, depending on wear and exposure. Regular cleaning can extend the paint life between coats.
Before You Go
Painting your gun safe can improve its appearance and protect its metal surface without compromising safety if done carefully. Start by selecting the right products and giving yourself time for preparation and curing. Your next step is to gather the materials and schedule your prep day to get started on a durable finish.